SOURCED FROM: MAYO CLINIC, Wikipedia
IS THIS DIET HEART SMART?
DASH DIET: MAYO CLINIC reports healthy eating to lower your blood pressure.
The DASH diet emphasizes the right portion sizes, variety of foods and nutrients. Discover how DASH can improve your health and lower your blood pressure.
DASH stands for Dietary Approaches to Stop Hypertension. The DASH diet is a lifelong approach to healthy eating that’s designed to help treat or prevent high blood pressure (hypertension). The DASH diet plan was developed to lower blood pressure without medication in research sponsored by the National Institutes of Health.
The DASH diet encourages you to reduce the sodium in your diet and eat a variety of foods rich in nutrients that help lower blood pressure, such as potassium, calcium and magnesium.
By following the DASH diet, you may be able to reduce your blood pressure by a few points in just two weeks. Over time, the top number of your blood pressure (systolic blood pressure) could drop by eight to 14 points, which can make a significant difference in your health risks.
Because the DASH diet is a healthy way of eating, it offers health benefits besides just lowering blood pressure. The DASH diet is also in line with dietary recommendations to prevent osteoporosis, cancer, heart disease, stroke and diabetes.
DASH diet: Sodium levels
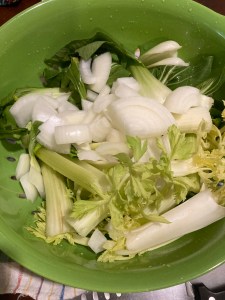
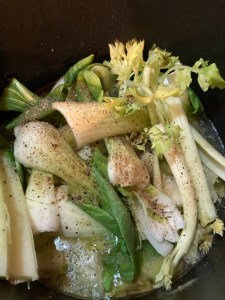
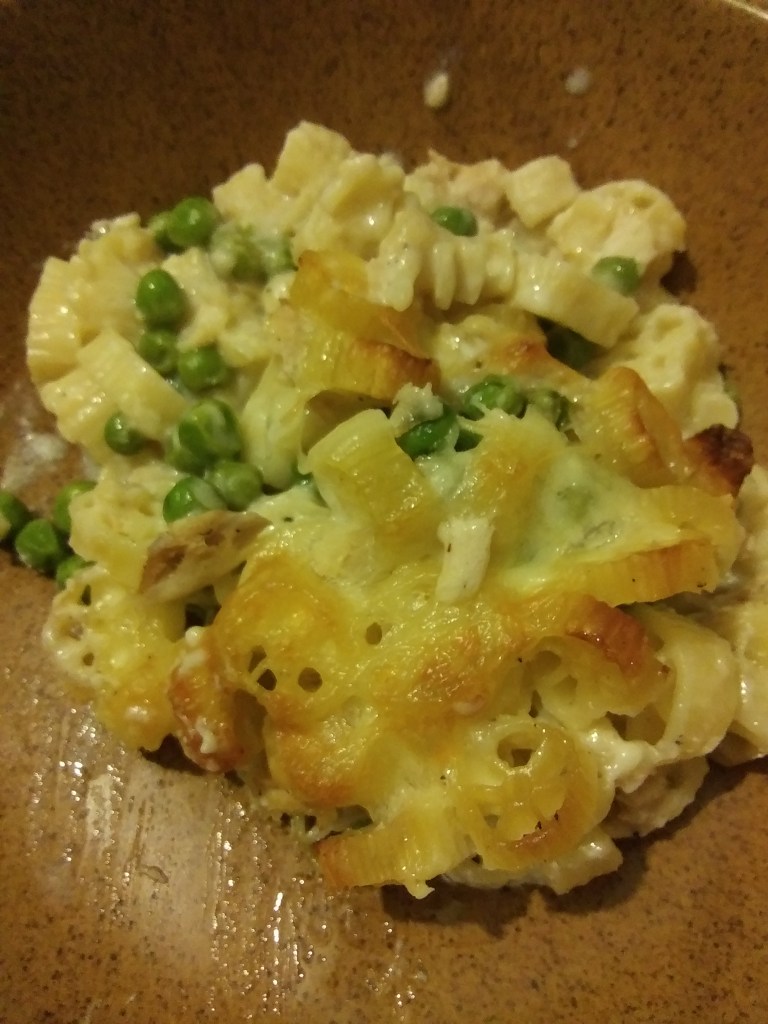
The DASH diet emphasizes vegetables, fruits and low-fat dairy foods — and moderate amounts of whole grains, fish, poultry and nuts.
In addition to the standard DASH diet, there is also a lower sodium version of the diet. You can choose the version of the diet that meets your health needs:
Standard DASH diet. You can consume up to 2,300 milligrams (mg) of sodium a day.
Lower sodium DASH diet. You can consume up to 1,500 mg of sodium a day.
Both versions of the DASH diet aim to reduce the amount of sodium in your diet compared with what you might get in a typical American diet, which can amount to a whopping 3,400 mg of sodium a day or more.
The standard DASH diet meets the recommendation from the Dietary Guidelines for Americans to keep daily sodium intake to less than 2,300 mg a day.
The American Heart Association recommends 1,500 mg a day of sodium as an upper limit for all adults. If you aren’t sure what sodium level is right for you, talk to your doctor.
DASH diet: What to eat
Both versions of the DASH diet include lots of whole grains, fruits, vegetables and low-fat dairy products. The DASH diet also includes some fish, poultry and legumes, and encourages a small amount of nuts and seeds a few times a week.
You can eat red meat, sweets and fats in small amounts. The DASH diet is low in saturated fat, trans fat and total fat.
Here’s a look at the recommended servings from each food group for the 2,000-calorie-a-day DASH diet.
Grains: 6 to 8 servings a day
Grains include bread, cereal, rice and pasta. Examples of one serving of grains include 1 slice whole-wheat bread, 1 ounce dry cereal, or 1/2 cup cooked cereal, rice or pasta.
Focus on whole grains because they have more fiber and nutrients than do refined grains. For instance, use brown rice instead of white rice, whole-wheat pasta instead of regular pasta and whole-grain bread instead of white bread. Look for products labeled “100% whole grain” or “100% whole wheat.”
Grains are naturally low in fat. Keep them this way by avoiding butter, cream and cheese sauces.
Vegetables: 4 to 5 servings a day
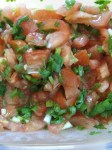
Tomatoes, carrots, broccoli, sweet potatoes, greens and other vegetables are full of fiber, vitamins, and such minerals as potassium and magnesium. Examples of one serving include 1 cup raw leafy green vegetables or 1/2 cup cut-up raw or cooked vegetables.
Don’t think of vegetables only as side dishes — a hearty blend of vegetables served over brown rice or whole-wheat noodles can serve as the main dish for a meal.
Fresh and frozen vegetables are both good choices. When buying frozen and canned vegetables, choose those labeled as low sodium or without added salt.
To increase the number of servings you fit in daily, be creative. In a stir-fry, for instance, cut the amount of meat in half and double up on the vegetables.
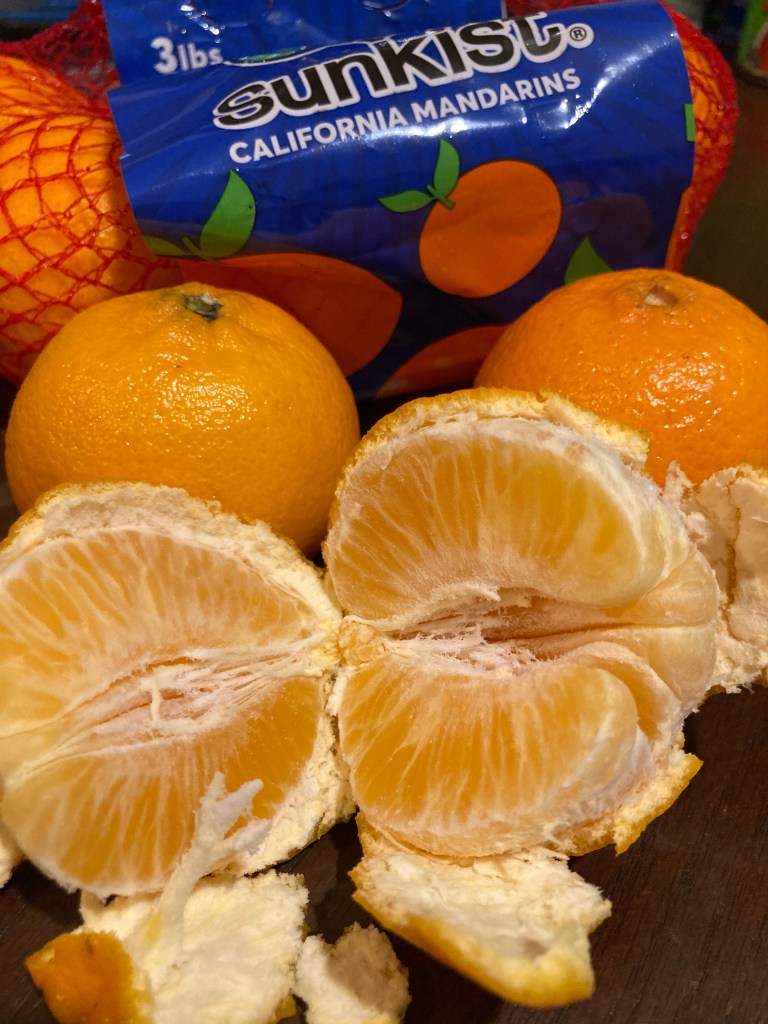
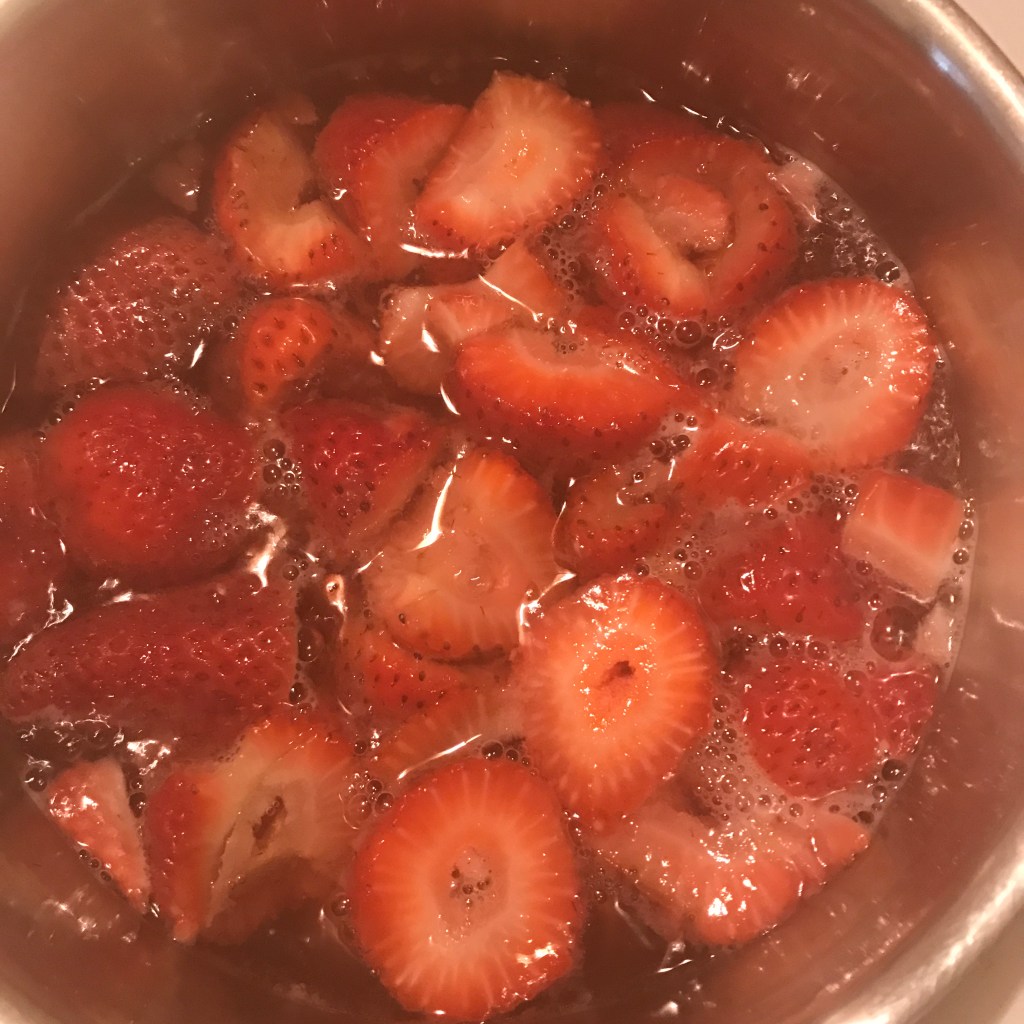
Fruits: 4 to 5 servings a day
Many fruits need little preparation to become a healthy part of a meal or snack. Like vegetables, they’re packed with fiber, potassium and magnesium and are typically low in fat — coconuts are an exception.
Examples of one serving include one medium fruit, 1/2 cup fresh, frozen or canned fruit, or 4 ounces of juice.
Have a piece of fruit with meals and one as a snack, then round out your day with a dessert of fresh fruits topped with a dollop of low-fat yogurt.
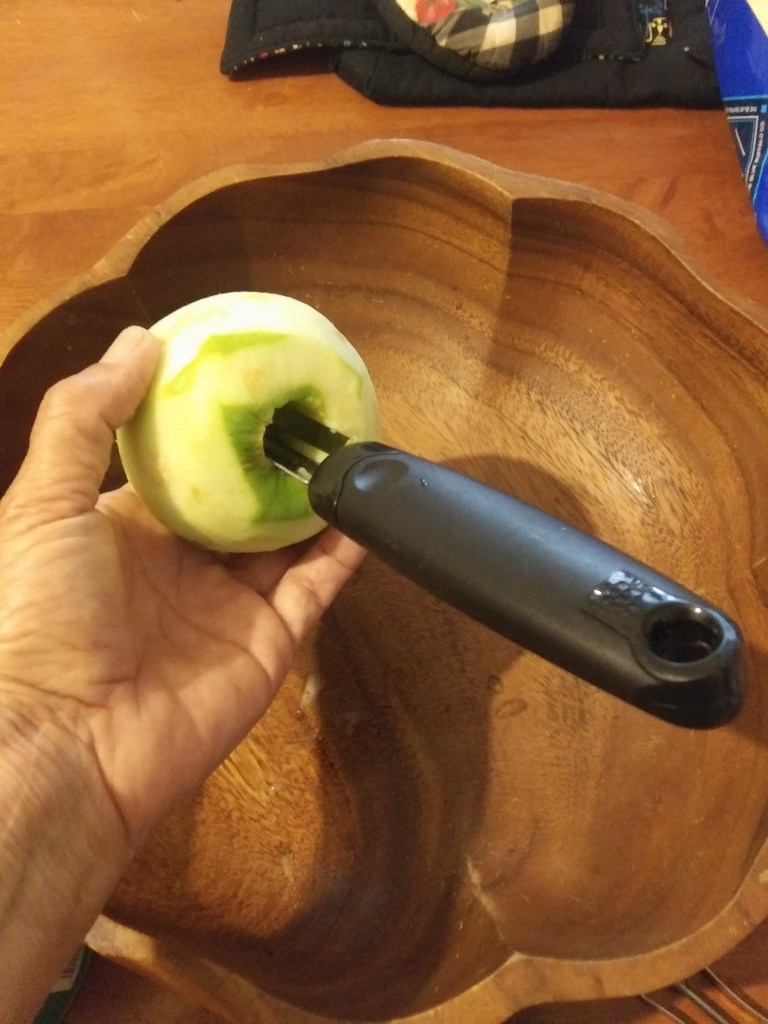
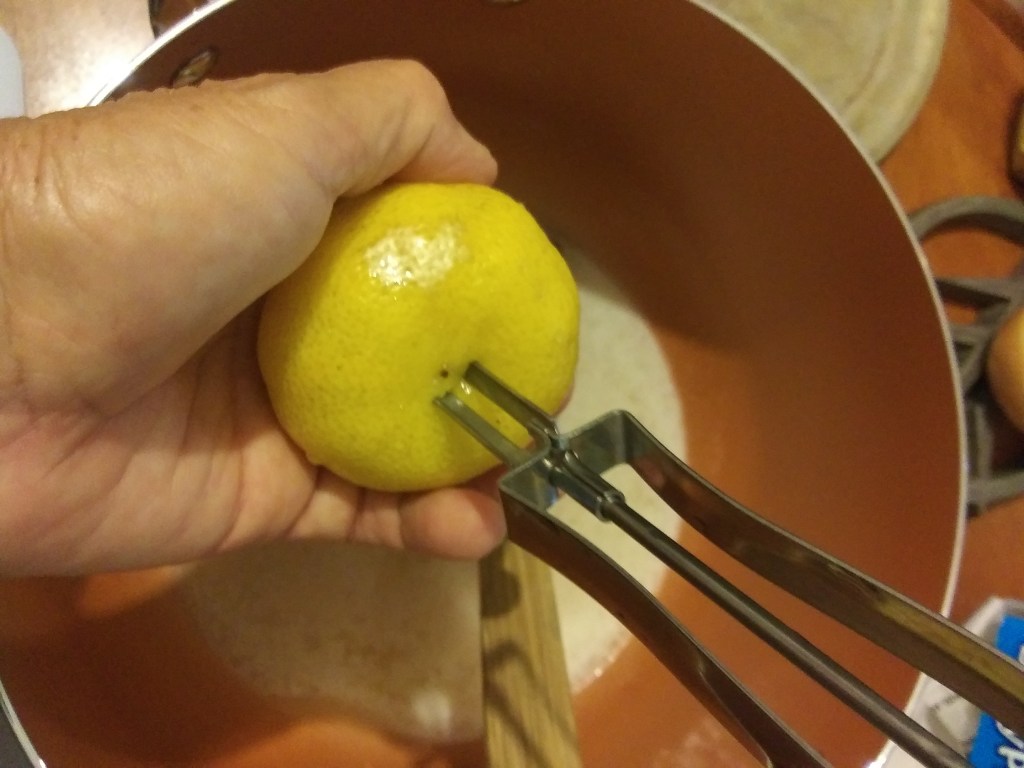
Leave on edible peels whenever possible. The peels of apples, pears and most fruits add interesting texture to recipes and contain healthy nutrients and fiber.
Remember that citrus fruits and juices, such as grapefruit, can interact with certain medications, so check with your doctor or pharmacist to see if they’re OK for you.
If you choose canned fruit or juice, make sure no sugar is added.
Dairy: 2 to 3 servings a day
Milk, yogurt, cheese and other dairy products are major sources of calcium, vitamin D and protein. But the key is to make sure that you choose dairy products that are low-fat or fat-free because otherwise they can be a major source of fat — and most of it is saturated.
Examples of one serving include 1 cup skim or 1 percent milk, 1 cup low-fat yogurt, or 1 1/2 ounces part-skim cheese.
Low-fat or fat-free frozen yogurt can help you boost the amount of dairy products you eat while offering a sweet treat. Add fruit for a healthy twist.
If you have trouble digesting dairy products, choose lactose-free products or consider taking an over-the-counter product that contains the enzyme lactase, which can reduce or prevent the symptoms of lactose intolerance.
Go easy on regular and even fat-free cheeses because they are typically high in sodium.
Lean meat, poultry and fish: 6 one-ounce servings or fewer a day
Meat can be a rich source of protein, B vitamins, iron and zinc. Choose lean varieties and aim for no more than 6 one-ounce servings a day. Cutting back on your meat portion will allow room for more vegetables.
Examples of one serving include 1 egg or 1 ounce of cooked meat, poultry or fish.
Trim away skin and fat from poultry and meat and then bake, broil, grill or roast instead of frying in fat.
Eat heart-healthy fish, such as salmon, herring and tuna. These types of fish are high in omega-3 fatty acids, which are healthy for your heart.
Nuts, seeds and legumes: 4 to 5 servings a week
Almonds, sunflower seeds, kidney beans, peas, lentils and other foods in this family are good sources of magnesium, potassium and protein.
They’re also full of fiber and phytochemicals, which are plant compounds that may protect against some cancers and cardiovascular disease.
Serving sizes are small and are intended to be consumed only a few times a week because these foods are higher in calories.
Examples of one serving include 1/3 cup nuts, 2 tablespoons seeds or nut butter, or 1/2 cup cooked beans or peas.
Nuts sometimes get a bad rap because of their fat content, but they contain healthy types of fat — monounsaturated fat and omega-3 fatty acids. Nuts are high in calories, however, so eat them in moderation. Try adding them to stir-fries, salads or cereals.
Soybean-based products, such as tofu and tempeh, can be a good alternative to meat because they contain all of the amino acids your body needs to make a complete protein, just like meat.
Fats and oils: 2 to 3 servings a day
Fat helps your body absorb essential vitamins and helps your body’s immune system. But too much fat increases your risk of heart disease, diabetes and obesity.
The DASH diet strives for a healthy balance by limiting total fat to less than 30 percent of daily calories from fat, with a focus on the healthier monounsaturated fats.
Examples of one serving include 1 teaspoon soft margarine, 1 tablespoon mayonnaise or 2 tablespoons salad dressing.
Saturated fat and trans fat are the main dietary culprits in increasing your risk of coronary artery disease. DASH helps keep your daily saturated fat to less than 6 percent of your total calories by limiting use of meat, butter, cheese, whole milk, cream and eggs in your diet, along with foods made from lard, solid shortenings, and palm and coconut oils.
Avoid trans fat, commonly found in such processed foods as crackers, baked goods and fried items.
Read food labels on margarine and salad dressing so that you can choose foods that are lowest in saturated fat and free of trans fat.
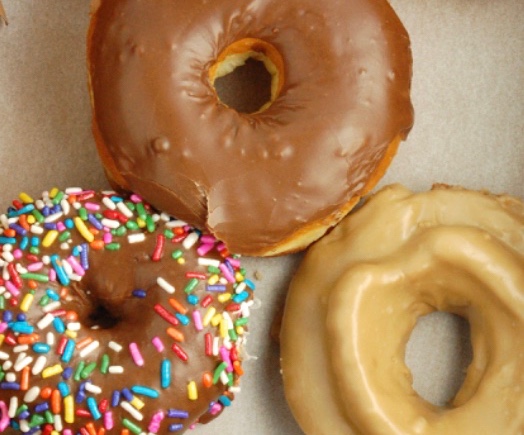
Sweets: 5 servings or fewer a week
You don’t have to banish sweets entirely while following the DASH diet — just go easy on them. Examples of one serving include 1 tablespoon sugar, jelly or jam, 1/2 cup sorbet, or 1 cup lemonade.
When you eat sweets, choose those that are fat-free or low-fat, such as sorbets, fruit ices, jelly beans, hard candy, graham crackers or low-fat cookies.
Artificial sweeteners such as aspartame (NutraSweet, Equal) and sucralose (Splenda) may help satisfy your sweet tooth while sparing the sugar. But remember that you still must use them sensibly. It’s OK to swap a diet cola for a regular cola, but not in place of a more nutritious beverage such as low-fat milk or even plain water.
Cut back on added sugar, which has no nutritional value but can pack on calories.
DASH diet: Alcohol and caffeine
Drinking too much alcohol can increase blood pressure. The Dietary Guidelines for Americans recommends that men limit alcohol to no more than two drinks a day and women to one or less.
The DASH diet doesn’t address caffeine consumption. The influence of caffeine on blood pressure remains unclear. But caffeine can cause your blood pressure to rise at least temporarily.
If you already have high blood pressure or if you think caffeine is affecting your blood pressure, talk to your doctor about your caffeine consumption.
DASH diet and weight loss
While the DASH diet is not a weight-loss program, you may indeed lose unwanted pounds because it can help guide you toward healthier food choices.
The DASH diet generally includes about 2,000 calories a day. If you’re trying to lose weight, you may need to eat fewer calories. You may also need to adjust your serving goals based on your individual circumstances — something your health care team can help you decide.
Tips to cut back on sodium
The foods at the core of the DASH diet are naturally low in sodium. So just by following the DASH diet, you’re likely to reduce your sodium intake. You also reduce sodium further by:
Using sodium-free spices or flavorings with your food instead of salt
Not adding salt when cooking rice, pasta or hot cereal
Rinsing canned foods to remove some of the sodium
Buying foods labeled “no salt added,” “sodium-free,” “low sodium” or “very low sodium”
One teaspoon of table salt has 2,325 mg of sodium. When you read food labels, you may be surprised at just how much sodium some processed foods contain.
Even low-fat soups, canned vegetables, ready-to-eat cereals and sliced turkey from the local deli — foods you may have considered healthy — often have lots of sodium.
You may notice a difference in taste when you choose low-sodium food and beverages. If things seem too bland, gradually introduce low-sodium foods and cut back on table salt until you reach your sodium goal. That’ll give your palate time to adjust.
Using salt-free seasoning blends or herbs and spices may also ease the transition. It can take several weeks for your taste buds to get used to less salty foods.
Putting the pieces of the DASH diet together
Try these strategies to get started on the DASH diet:
Change gradually. If you now eat only one or two servings of fruits or vegetables a day, try to add a serving at lunch and one at dinner. Rather than switching to all whole grains, start by making one or two of your grain servings whole grains. Increasing fruits, vegetables and whole grains gradually can also help prevent bloating or diarrhea that may occur if you aren’t used to eating a diet with lots of fiber. You can also try over-the-counter products to help reduce gas from beans and vegetables.
Reward successes and forgive slip-ups. Reward yourself with a nonfood treat for your accomplishments — rent a movie, purchase a book or get together with a friend. Everyone slips, especially when learning something new. Remember that changing your lifestyle is a long-term process. Find out what triggered your setback and then just pick up where you left off with the DASH diet.
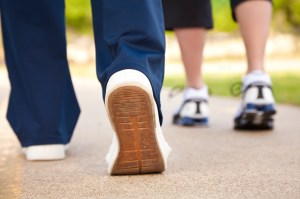
Add physical activity. To boost your blood pressure lowering efforts even more, consider increasing your physical activity in addition to following the DASH diet. Combining both the DASH diet and physical activity makes it more likely that you’ll reduce your blood pressure.
Get support if you need it. If you’re having trouble sticking to your diet, talk to your doctor or dietitian about it. You might get some tips that will help you stick to the DASH diet.
Remember, healthy eating isn’t an all-or-nothing proposition. What’s most important is that, on average, you eat healthier foods with plenty of variety — both to keep your diet nutritious and to avoid boredom or extremes. And with the DASH diet, you can have both.
Wikipedia Reports: DASH DIET needs more medical references for verification or relies too heavily on primary sources.
The DASH diet (Dietary Approaches to Stop Hypertension) is a dietary pattern promoted by the U.S.-based National Heart, Lung, and Blood Institute (part of the National Institutes of Health (NIH), an agency of the United States Department of Health and Human Services) to prevent and control hypertension. The DASH diet is rich in fruits, vegetables, whole grains, and low-fat dairy foods. It includes meat, fish, poultry, nuts, and beans, and is limited in sugar-sweetened foods and beverages, red meat, and added fats. In addition to its effect on blood pressure, it is designed to be a well-balanced approach to eating for the general public. DASH is recommended by the United States Department of Agriculture (USDA) as a healthy eating plan. The DASH diet is one of three healthy diets recommended in the 2015-2020 US Dietary Guidelines, which also include the Mediterranean diet or a vegetarian diet. The AHA considers the DASH diet «specific and well-documented across age, sex and ethnically diverse groups».
The DASH diet is based on NIH studies that examined three dietary plans and their results. None of the plans were vegetarian, but the DASH plan incorporated more fruits and vegetables, low fat or nonfat dairy, beans, and nuts than the others studied. The DASH diet reduced systolic blood pressure by 6 mm Hg and diastolic blood pressure by 3 mm Hg in patients with high normal blood pressure (formerly called “pre-hypertension”). Those with hypertension dropped by 11 and 6 mm Hg, respectively. These changes in blood pressure occurred with no changes in body weight. The DASH dietary pattern is adjusted based on daily caloric intake ranging from 1,600 to 3,100 dietary calories. Although this diet is associated with a reduction of blood pressure and improvement of gout, there are uncertainties around whether its recommendation of low-fat dairy products is beneficial or detrimental. The diet is also advised to diabetic or obese individuals.
The DASH diet was further tested and developed in the Optimal Macronutrient Intake Trial for Heart Health (OmniHeart diet). “The DASH and DASH-sodium trials demonstrated that a carbohydrate-rich diet that emphasizes fruits, vegetables, and low-fat dairy products and that is reduced in saturated fat, total fat, and cholesterol substantially lowered blood pressure and low-density lipoprotein cholesterol. OmniHeart demonstrated that partial replacement of carbohydrate with either protein (about half from plant sources) or with unsaturated fat (mostly monounsaturated fat) can further reduce blood pressure, low-density lipoprotein cholesterol, and coronary heart disease risk.”
In January 2018, DASH was named the number 1 for “Best Diets Overall” for the eighth year in a row,, and also as “For Healthy Eating”, and “Best Heart-Healthy Diet”; and tied number 2 “For Diabetes”(out of 40 diets tested) in the U.S. News & World Report’s annual “Best Diets” rankings.
The DASH diet is similar to the Mediterranean diet and the AHA diet.
PROS and CONS
It’s Your Life, Take Care Of It…
PROS: Dietary Approaches to Stop Hypertension, or DASH, has been voted as the best overall diet for several years…(DASH) was developed by a panel of experts at the National Institutes of Health to help Americans lower their blood pressure, but as it turns out it is also effective at weight loss as well.
CONS: DASH is not a weight loss plan for those looking for a “quick fix” solution. In the aforementioned U.S. News and World Report Best Diets rankings, DASH only ranked number nine for “best weight loss diets”. As with other diets, it must be adopted as a long-term lifestyle change in order to work.
All the information in this article is found in MAYO CLINIC, Wikipedia.
We do not endorse any product or research. It is up to you to make your own conclusion which is right for you.


 I decided to cut the tile down another 1/4 inch from where it was originally for the cabinet bases to fit properly without an issue. I can always put a wider baseboard along the bottom of cabinets until next summer.


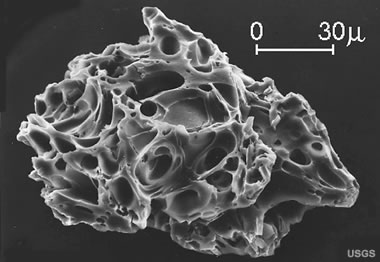 Volcanic ash is composed of fine particles of fragmented volcanic
 Eruptions can also generate thunder and lightning from
 Medical services can expect an increase in the number of patients