Prep Time: 50 minutes
Cook Time: 16 to 18 minutes
Total Time: 3 + hours
Yield: 24 to 36 servings
Skill Level: Advanced Beginner
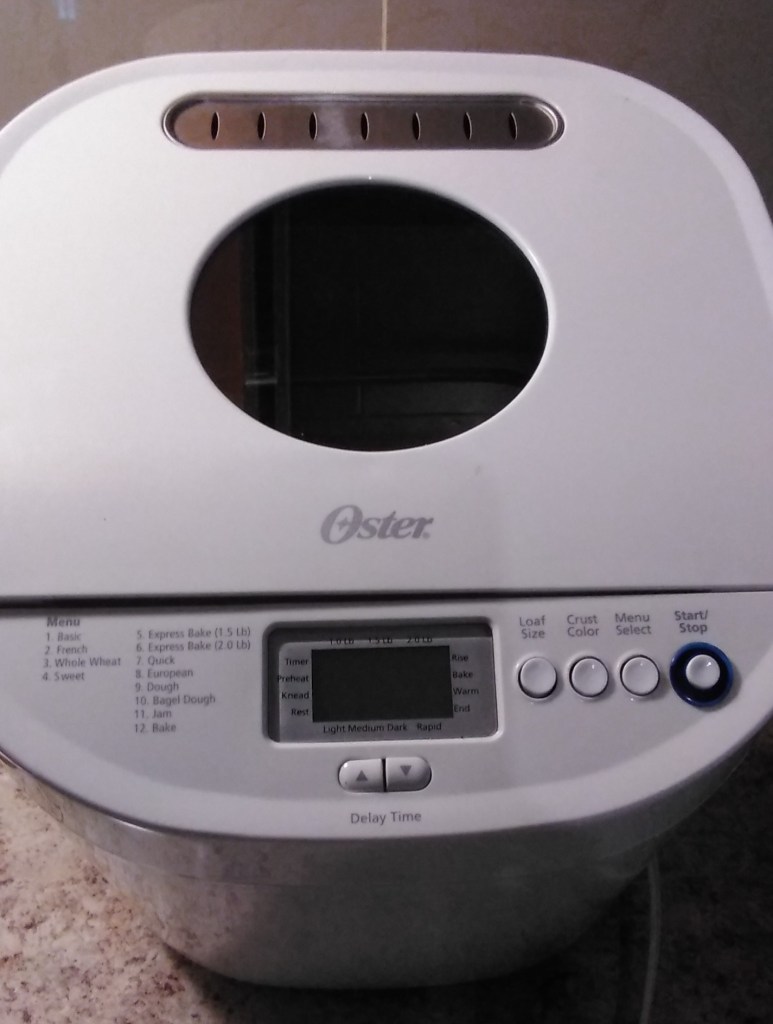
Kitchen Appliance: Oven, Bread Machine or Stand Mixer

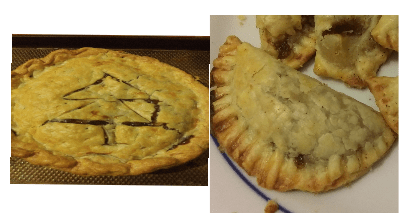
DANISH PASTRIES
Ingredients
Dough
2 cups (454g) unsalted butter, at cool room temperature
5 1/2 cups (659g) Unbleached All-Purpose Flour
1/3 cup (67g) granulated sugar
4 teaspoons instant yeast
2 1/2 teaspoons salt, if you use salted butter, reduce this to 1 1/2 teaspoons salt
1/2 to 1 teaspoon ground cardamom, optional; for traditional flavor
1 teaspoon vanilla
1 cup (227g) cold milk
1/3 to 1/2 cup (76g to 113g) lukewarm water*
2 large eggs
*Use the greater amount in winter, or in a dry climate; the lesser amount in summer, or when it’s humid out.
Cheese filling
1/2 cup (113g) cream cheese
1/2 cup (113g) cottage cheese or ricotta cheese
3 tablespoons (35g) granulated sugar
1 large egg
1/4 teaspoon salt
Fruit filling
about 1 to 1 1/4 cups (298g to 369g) jam, preserves, or canned fruit pie filling
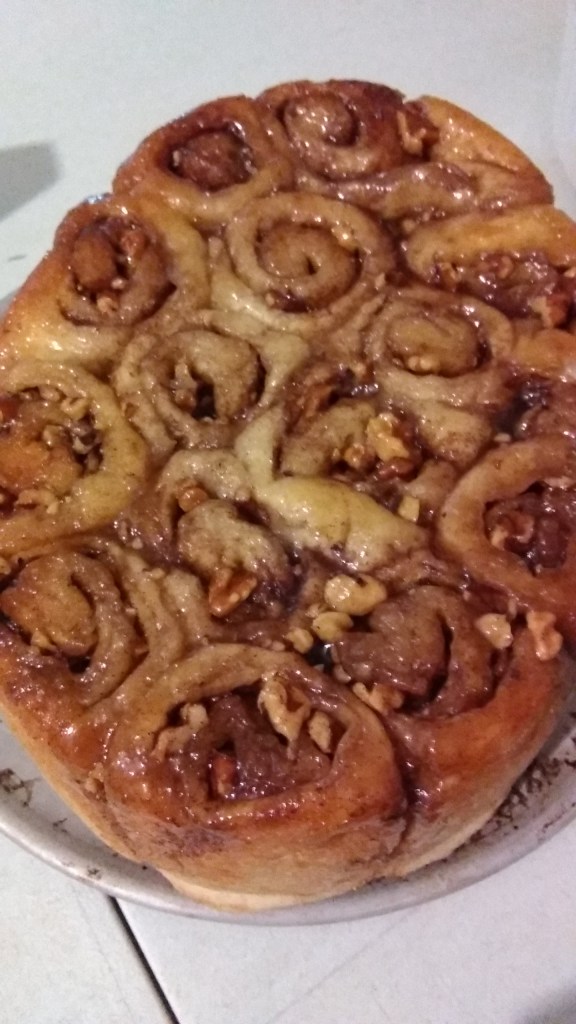
Cinnamon Sugar Nut Filling
About 1 stick butter, 3 tablespoons cinnamon, and 1/2 cup Sugar. blend together
Egg Wash
1 large egg white, beaten lightly with 1 tablespoon cold water
Glaze
1 1/2 cups (170g) confectioners’ sugar or glazing sugar
2 to 2 1/2 tablespoons (28g to 35g) water or milk, enough to make a “drizzlable” glaze
pinch of salt
crushed nuts, optional; to garnish
Instructions
Begin by cutting 1/4″ butter off the end of each of the 4 sticks in the pound; you’ll have about 2 tablespoons butter. Set them (and the remaining butter) aside. You’ll be using the 2 tablespoons butter immediately, but won’t need the remaining butter until after you’ve made the dough.
In a large bowl, whisk together the flour, sugar, yeast, salt, and cardamom. Add the 2 tablespoons cold butter, working it in with your fingers until no large lumps remain. This step coats the flour a bit with fat, making the pastry a tiny bit more tender.
Add the vanilla, milk, water, and eggs. Mix and knead to make a cohesive, but quite sticky dough. This is easily done in a bread machine set on the dough cycle; or in a mixer. If you use a mixer, the dough won’t completely clean the bowl; it’ll probably leave a narrow ring around the side, and stick at the bottom.
Scrape the dough into a ball, and transfer it to a floured work surface. Cover it with plastic wrap, and let it rest for 10 minutes while you prepare the butter.
Cut each stick of butter in half lengthwise, to make 8 long rectangles. On a piece of floured parchment or plastic wrap, line up 4 of the butter pieces side by side, to form a rectangle. Sprinkle lightly with flour, and cover with another piece of parchment or plastic wrap.
Gently pound and roll the butter until it’s about 6″ x 9″. The pieces may or may not meld together. If they do, great, they’ll be easier to work with. If not, though, that’s OK; don’t stress about it.
Repeat with the remaining 4 pieces of butter. You should now have two butter rectangles, about 6″ x 9″ each.
Roll the dough into a rectangle about 12″ wide and 24″ long. Don’t worry about being ultra-precise; this is just a guide, though you should try to get fairly close.
Place one of the butter pieces onto the center third of the dough. Fold one side over the butter to cover it. Place the other butter piece atop the folded-over dough, and fold the remaining dough up over it.
You now have a rectangular “packet” of dough-enclosed butter. Pinch the open ends and side closed as best you can.
Turn the dough 90°, so a 12″ side is closest to you.
Roll the dough into a 10″ x 24″ rectangle (approximately). Fold each side into the center; then fold one side over the other to make a rectangular packet about 6″ x 10″.Dust the surface of the dough with flour, wrap it in plastic wrap, and chill in the refrigerator for about 20 minutes.
Remove the dough from the fridge, and again roll it into a rectangle about 10″ x 24″. Fold it into a packet as you did in the last step ; it’ll be about 7″ x 12″.
Roll one final time, fold into a packet, and flour the dough lightly. Wrap loosely (but completely) in plastic, and chill it for 2 hours, or up to 16 hours; we prefer the longer refrigeration, as it gives the dough a chance to relax and rise.
Before shaping the pastries, select your filling(s). We like to use a variety. Either of the filling suggestions in this recipe make enough to fill all the pastries; so if you want to mix and match, make a half-recipe of the cheese filling, and use only half the amount of fruit filling called for.
To make the cheese filling, combine all of the ingredients, stirring until smooth. For the smoothest filling, process in a food processor.
When you’re ready to make pastries, remove the dough from the refrigerator, unwrap it, and cut off one-third.
You’ll work with this piece first; return the remainder to the fridge.
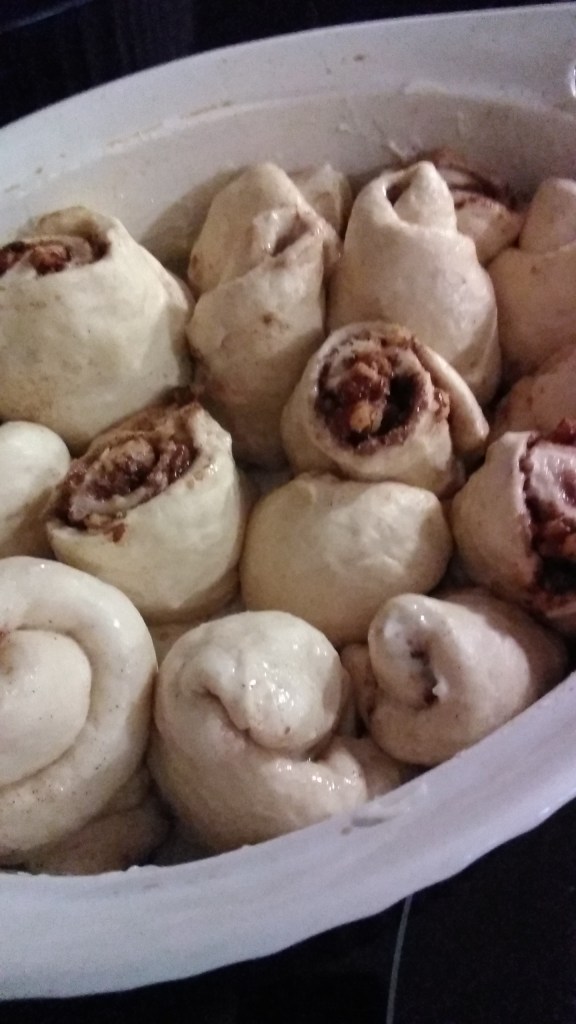
Divide the dough into 12 pieces. Roll each into a smooth ball, then flatten the balls into 3″ to 3 1/2″ rounds, making the center thinner than the edges. You want to build up a slight wall of dough all around the circumference; this will help hold the filling. Place the rounds on a parchment-lined or lightly greased baking sheet.
Working with one-half of the remaining dough at a time, repeat the process; you’ll finish with three baking sheets, each with 12 dough rounds.
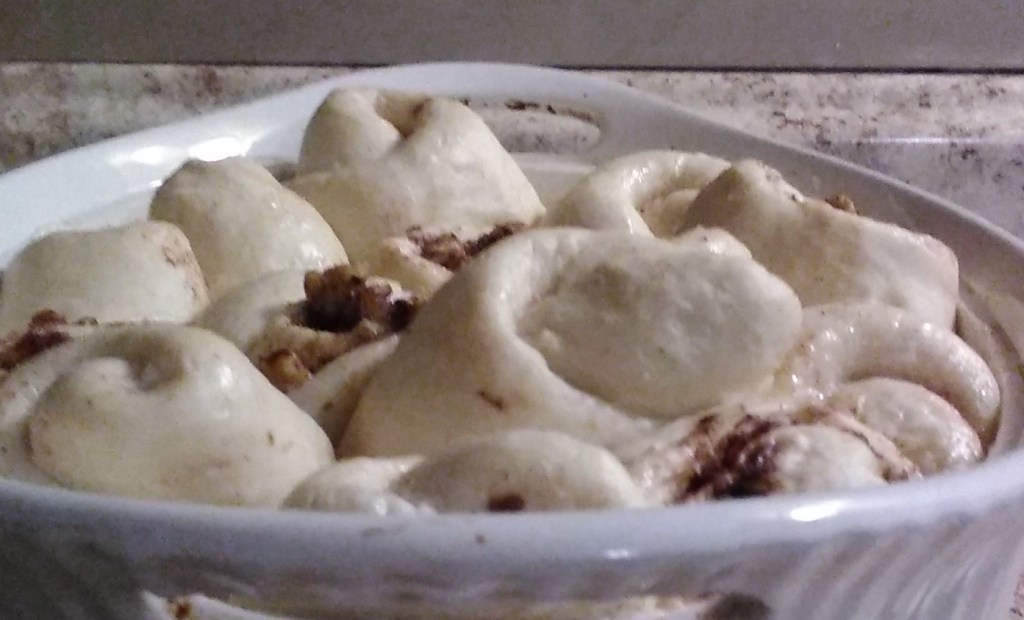
Cover the Danish lightly with greased plastic wrap, and let them rise for about 1 hour; they’ll become slightly puffy. Towards the end of the rising time, preheat the oven to 400°F.
Use your fingers to press the centers of the dough rounds as flat as possible, leaving the “sidewalls” puffed. Spoon a slightly heaping measuring teaspoon of filling into the well of each round.
Brush the exposed edges of pastry with the egg/water topping; this will create a satiny, golden crust.
Bake the pastries for 15 to 18 minutes, until they’re golden brown. Remove them from the oven, and transfer to a rack. Glaze and serve immediately; or wait until they cool, then glaze.
To make the glaze, here it is:
1 1/2 cups confectioners’ sugar or glazing sugar
2 to 2 1/2 tablespoons water or milk, enough to make a “drizzlable” glaze
pinch of salt
Whisk everything together. Drizzle over the pastries.
Drizzle the glaze atop the pastries. Sprinkle with crushed nuts, if desired.
SUBTITUTIONS
YEAST… Yes you can substitute them for each other: Active dry yeast and instant yeast can generally be used interchangeably, one-for-one (although active dry yeast may be slower to rise). So if a recipe calls for instant yeast and active dry yeast is used instead, you may want to consider adding an extra 10 to 15 minutes for the rise time.
Yes you can use salted butter instead of unsalted. If you choose to use salted butter, cut back the salt in the following recipe to 1 1/2 teaspoons.
You may want to know why?
Why all the rolling and folding? That’s what gives Danish pastry its flaky layers. Each time you roll, fold, and roll again, you’re creating more and thinner layers of butter — 128 layers, if you do the four “turns” indicated in the directions.
Why unsalted Butter? Because salt is sometimes used by unscrupulous butter manufacturers (though not our friends at Cabot or Land O’Lakes, certainly) to mask “off” flavors. So salted butter can have a longer sell-by date, and can stay in the refrigerator case at the supermarket longer than unsalted. We prefer our butter as fresh as possible. Also, using unsalted butter allows you to add as much (or little) salt as you need.