Kitchen Appliance: Stove, Oven, knife, Slap-Chopper, Frying pan for oven use.
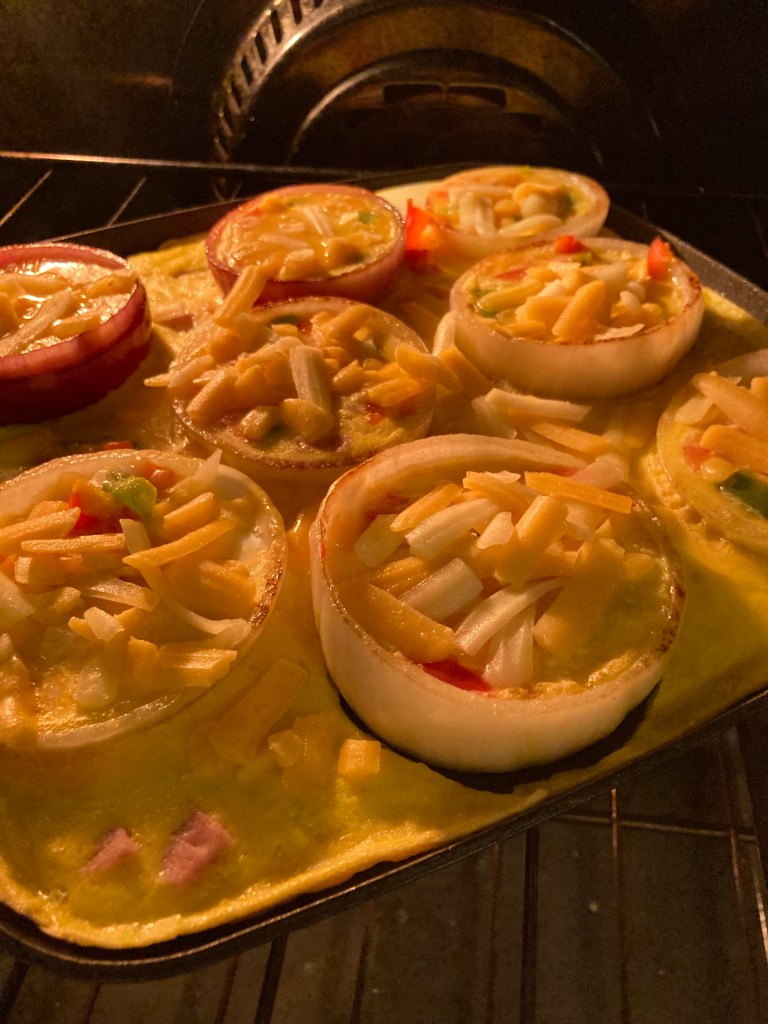
Onion rings with a Western Scramble in center
Ingredients
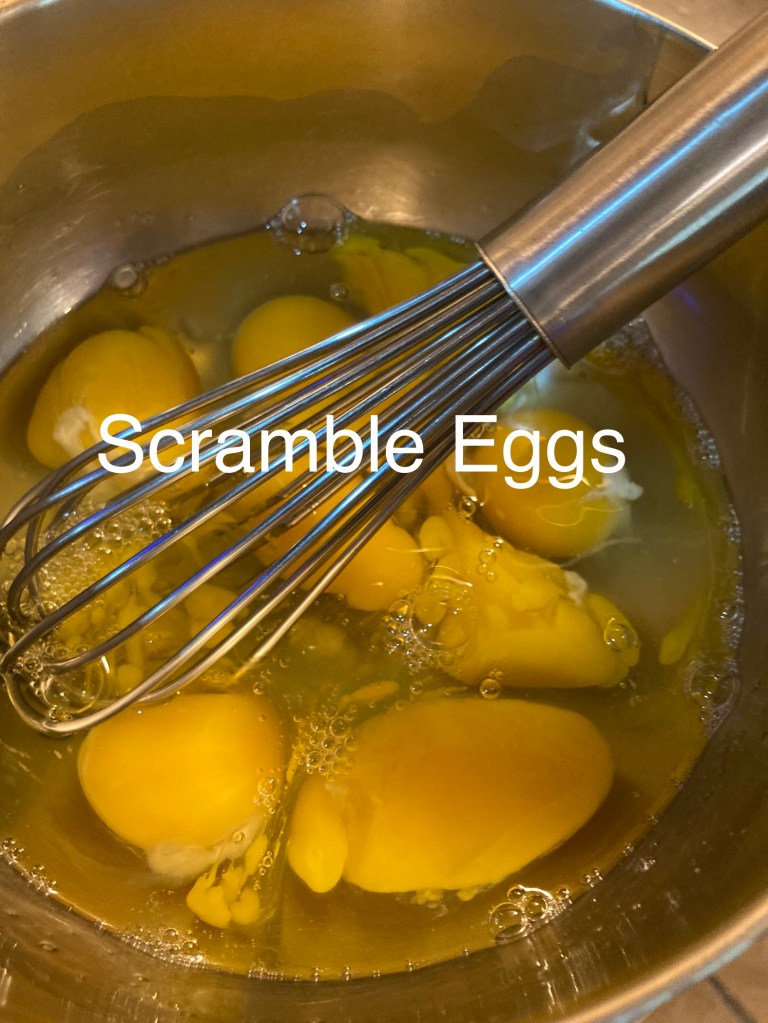
12 Eggs scrambled
Ham
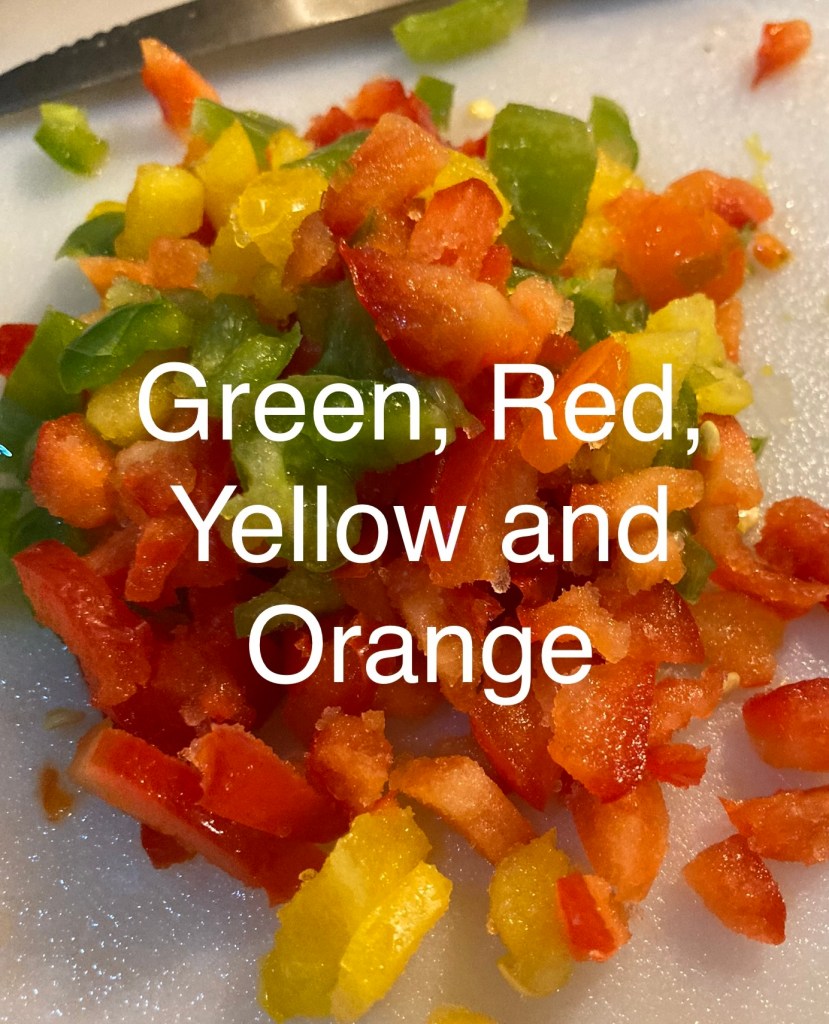
Green, Red and Yellow Peppers
12 or more Onion Rings (medium size)
Butter
Cheese
Salt and Ground Pepper to taste
Directions
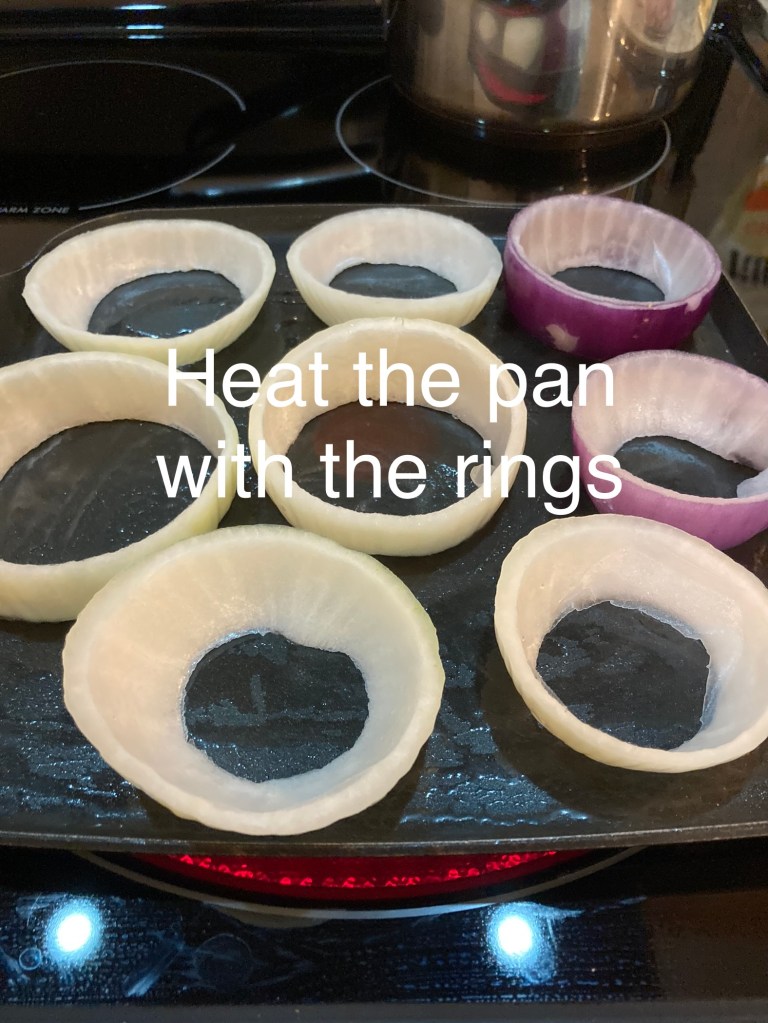
Cut your onion rings to 1″
Onions cut into 1” inch pieces
Cut Green, red and yellow sweet peppers into smal cubes
Lay them on paper towel to collect the liquid
Green, Red, Yellow and orange sweet peppers
Cut ham into small cubes
Cut ham into cubes
Crack 12 eggs and gently scramble in a bowl
Scramble eggs
Melt your butter in frying pan on medium heat
Place the 1″ cut onion rings in your pan
Place the onion rings on pan and heat to medium
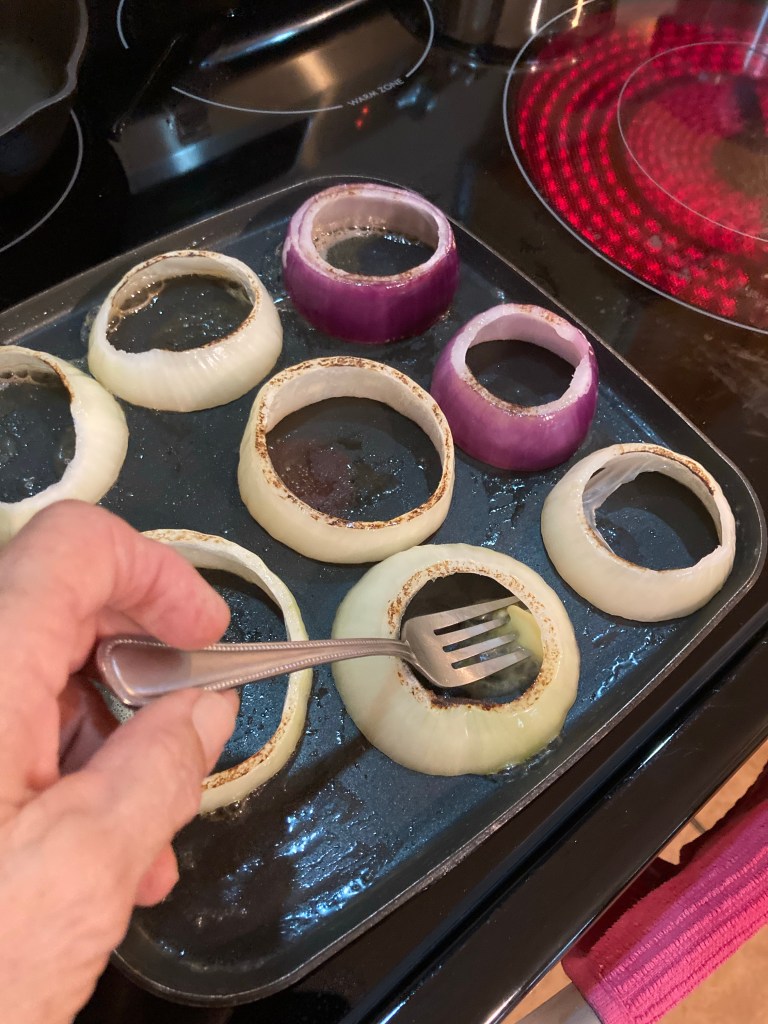
Flip onion rings over after a few minutes, put 1 tablespoon of butter in pan and flip back up.
Turn the onion rings over and add more butter
Place a scoop of egg in center of onion ring, add ham, green, red and yellow peppers and cheese.
Add by scooping egg into ring. It will leak out. Make sure your pan is hotPut in oven
Slide into the 400′ degree oven, bake for 5 minutes remove and add cheese. Put back in oven for 5 minutes, shake and test, if it jiggles put back in for 3 to 5 minutes, remove add salt and pepper.
Add cheese and place in oven for 5 minutes or less Yummy 😋 Western O-Rings
Another mouth watering recipe for your Latin Food file.
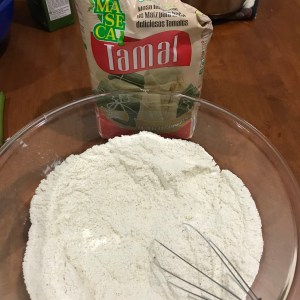
My recipe is a combination of of 5 different meat filling recipes. I made them until I found one that I really liked. Now I have my wonderful creation. The masa recipe is off the back of the Tamal Mesca bag. Simple easy. The only difference is I tan and use my Lard, Manteca or Tallow warm to enhance the flavor of the masa. Instructions down below.
A tamale is a traditional Mesoamerican dish, made of masa or dough, which is steamed in a corn husk or banana leaf. The wrapping can either be discarded prior to eating or used as a plate. Tamales can be filled with meats, cheeses, fruits, vegetables, chilies, chocolate or any thing your heart desires, and both the filling and the cooking liquid may be seasoned with what ever your main ingredient is in your tamale..
If you are trying to decide what to make for a special occasion, holiday or Christmas we think you might enjoy a little spice and sweetness instead.
The secret to a good tamale is moisture. Lard and broth are key ingredients to achieve a smooth creamy flavorful masa.
There are several variations of the tamale. From breakfast, lunch, dinner or dessert. The tamale base masa is like a white bread recipe that you make your own by adding your favorite ingredients. Use your imagination and be creative.
Today we will be making:
Red Chili Pork Tamales
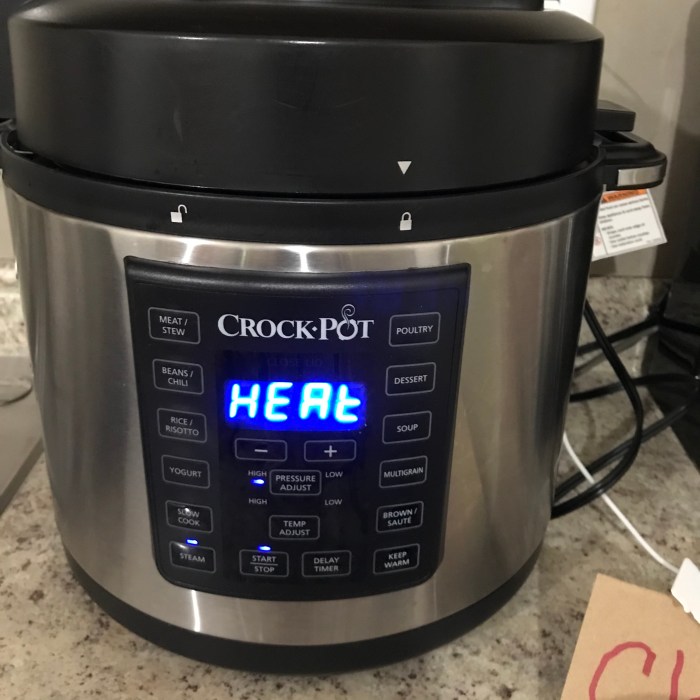
There are a few ways to Cook the Tamales. You can use a Pot with a wire rack to hold tamales out of water, Multi Cooker or Rice Cooker with a wire rack (45 min to 60 min) or a Crock Pot/ Slow Cooker function with wire rack (takes about 2 hours +or-). I use the “Steam” function on my Multi-Cooker by Crock-Pot for no less then 45 minutes to 80 minutes.
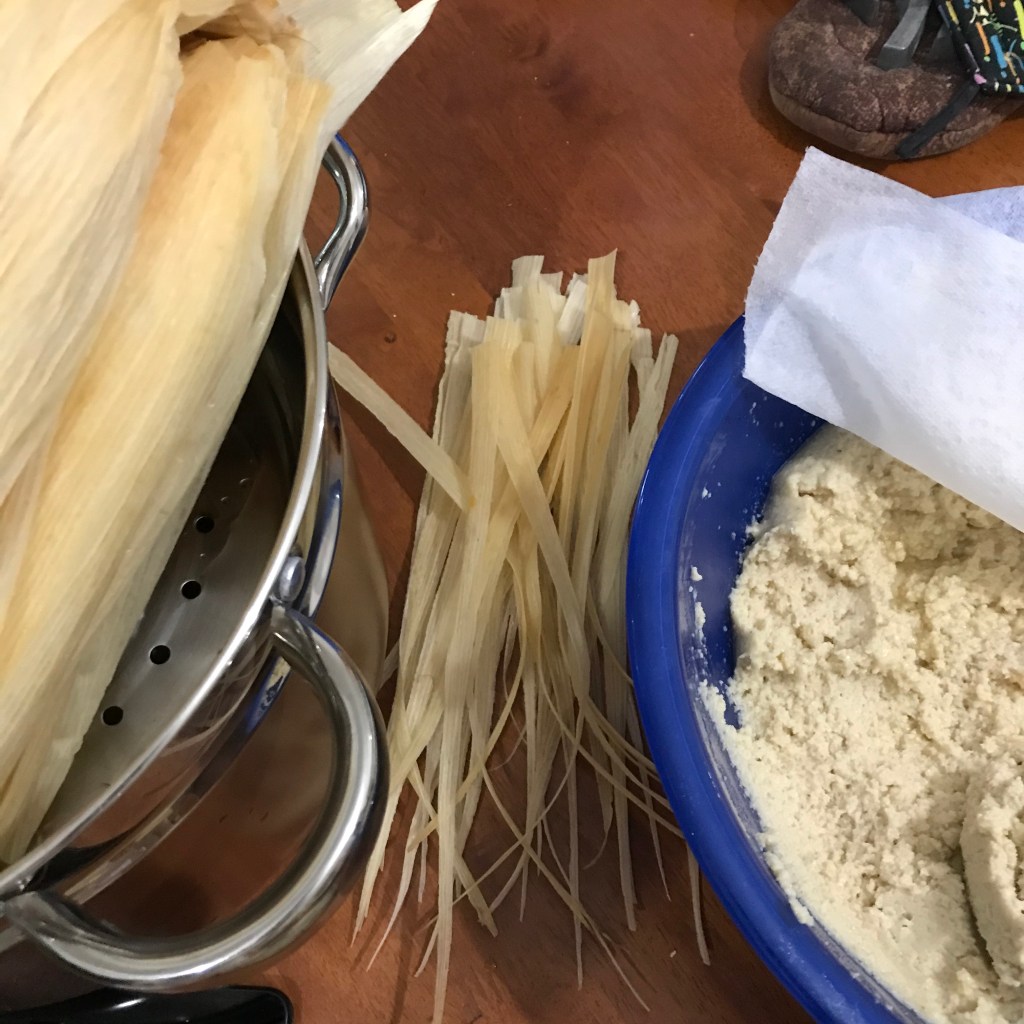
Prepare the Corn Husks by soaking them in a large pot with warm water. Make sure to separate each husk and clean thoroughly before you place them in the pot of warm water.
Preparing your filling is just as important as the masa. You need to pre cook your ingredients. Make sure you add enough moisture to your red chili sauce. This can be made ahead of time. I have made it when I had leftover pork and I just freeze it until I have time to make tamales.
RED CHILI PORK INGREDIENTS
Pork better if mixed parts like the butt, chops or loin ( fat and lean meats mixed)
1/2 cup water
1 can 10 oz. Enchilada sauce
10 dried red chili’s chopped in blender
1 Teaspoon cumin
1 Tablespoon salt
1 whole clove of garlic
1 onion
1 small bunch fresh cilantro (leaves only)
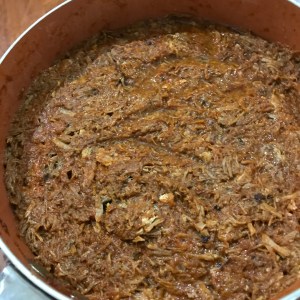
Rub pork with cumin and salt. Place all the ingredients in the multi cooker and stir. Select meat on the pressure cooker function. Cook until the pork is tender, approximately 90 minutes. Using slow cooker or pot on the stove method to cook your meat, at least 2- 3 hours until tender.
Open the multi cooker or pot and mix all ingredients together, break the meat down. Pork is broken down and shredded.
Place lid back on and slow cook for 2 hours.
After 1 hour check to make sure you have plenty of moisture if not add another cup of water and mix together.
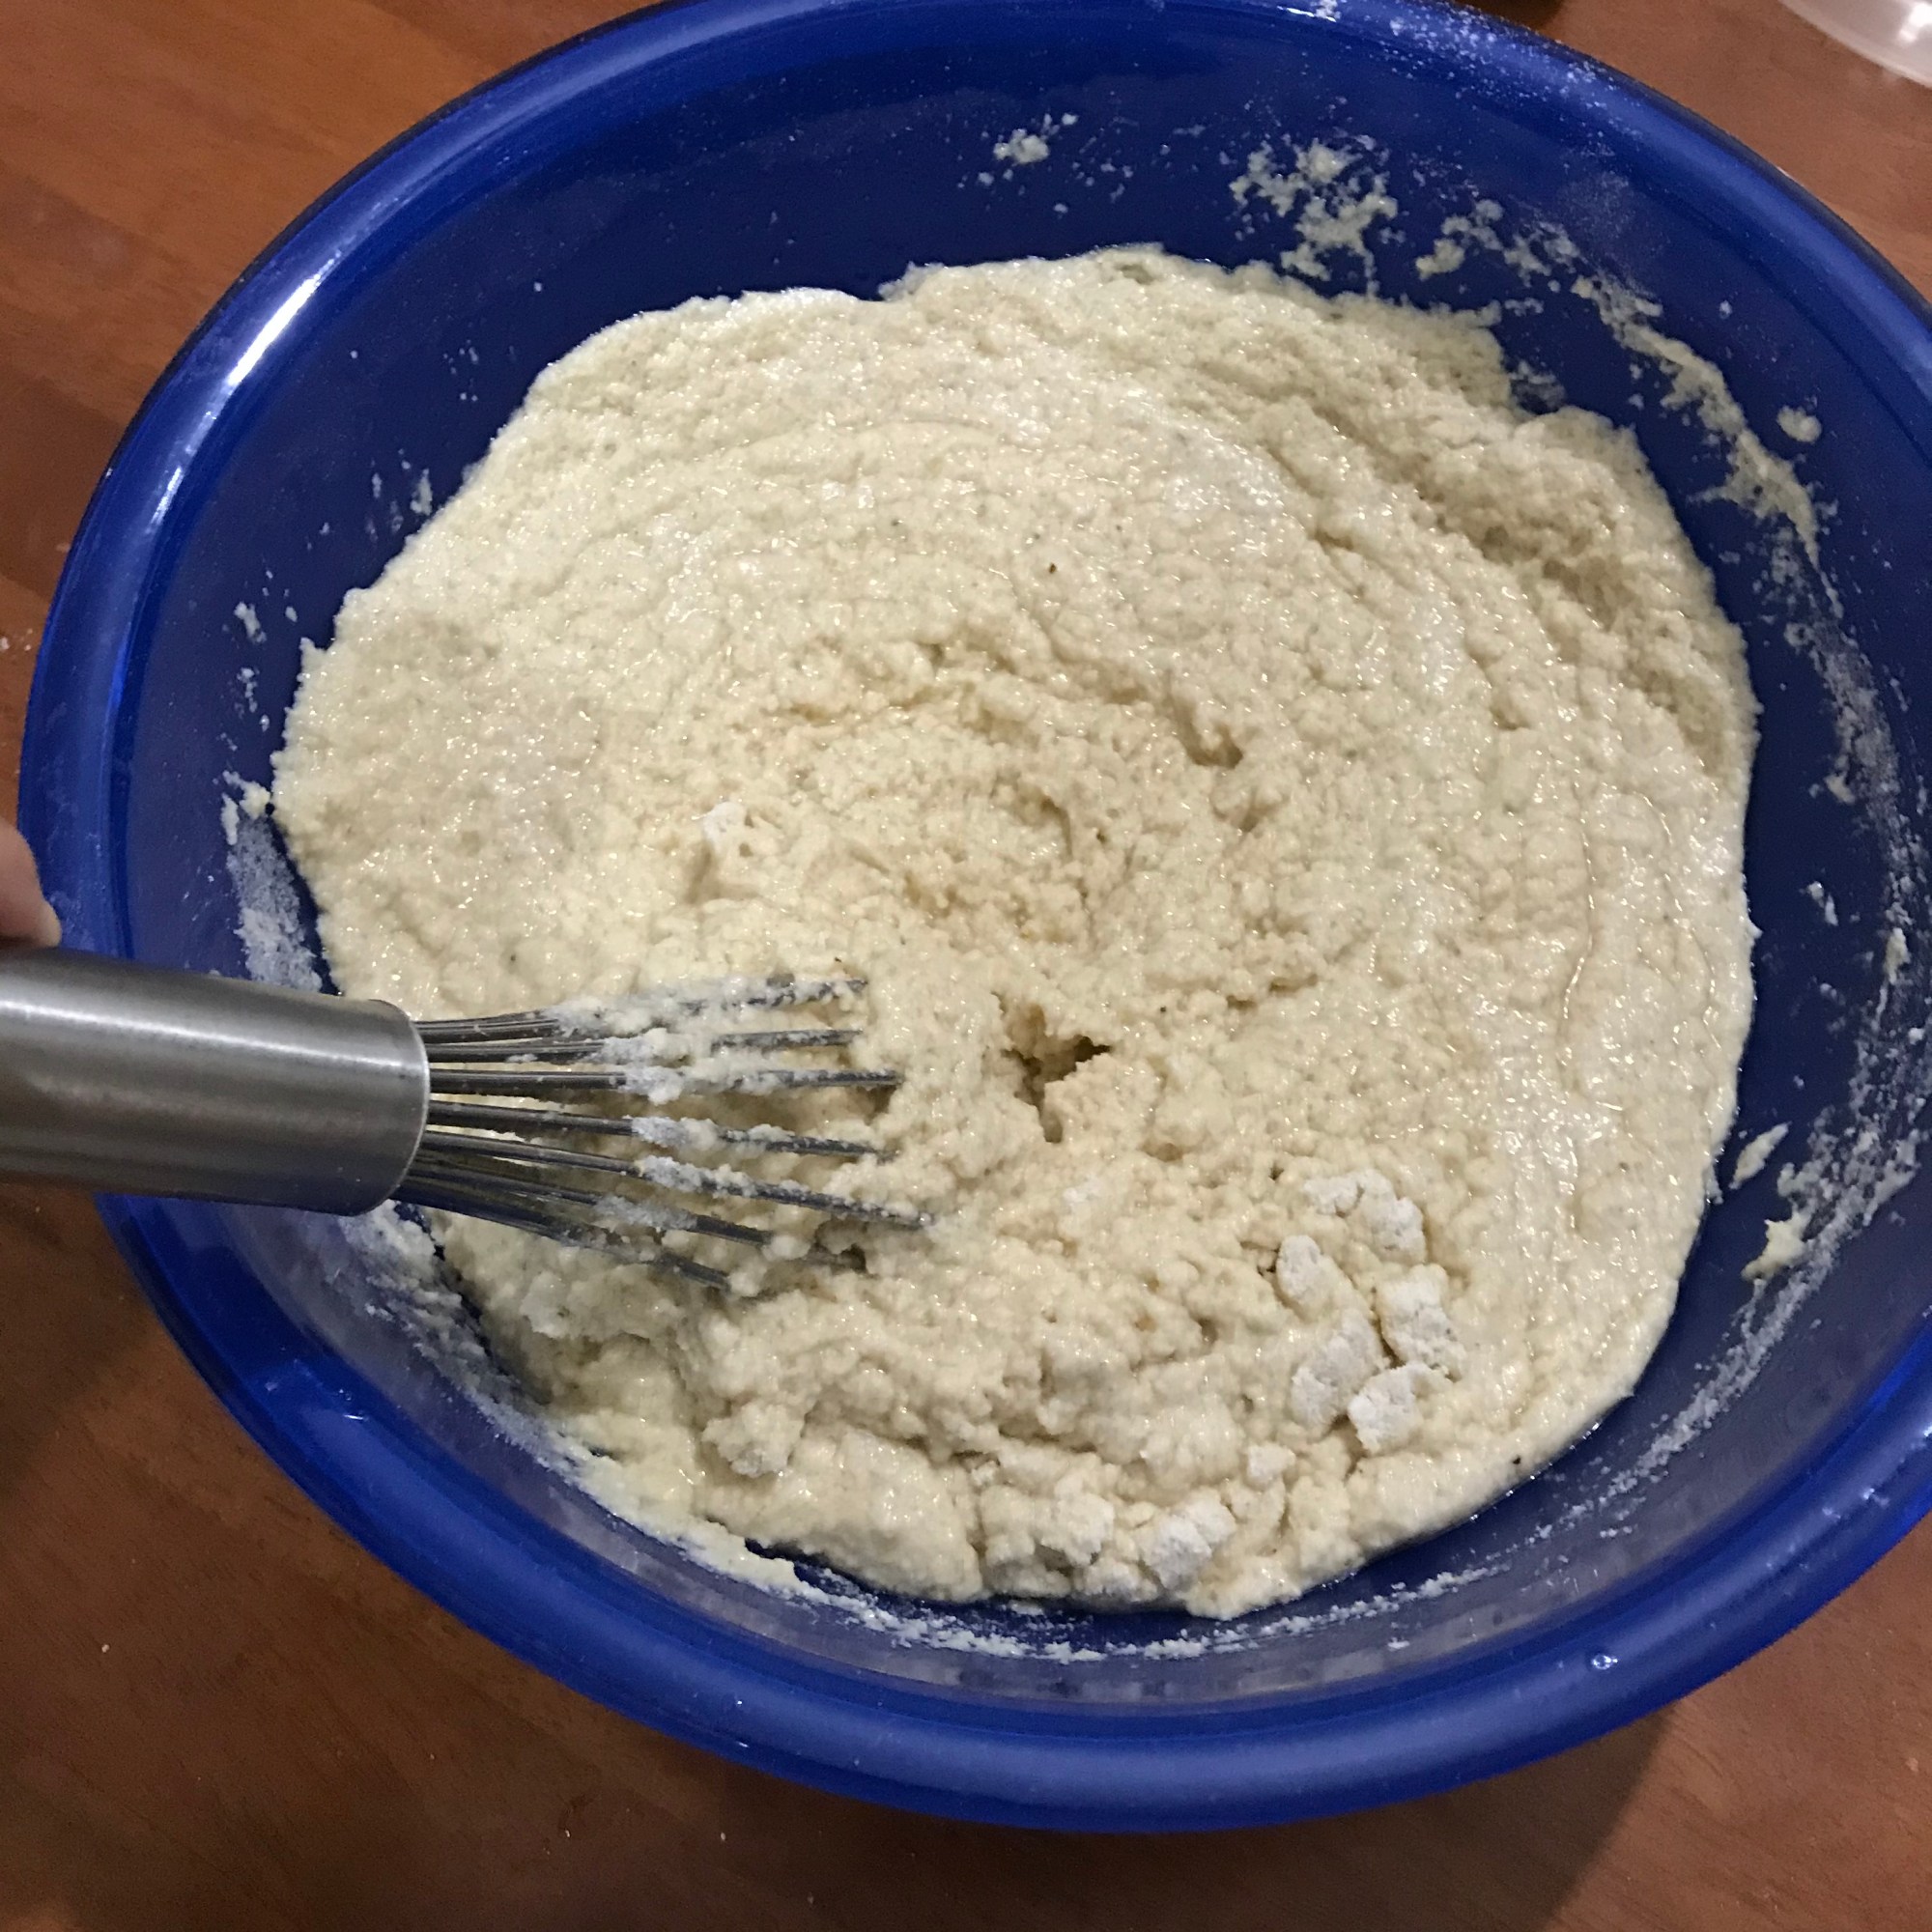
Preparing Your Masa Its important to remember your liquid to dry ingredient ratio. It will be better if the masa is a little moist than dry.
VIDEO BELOW
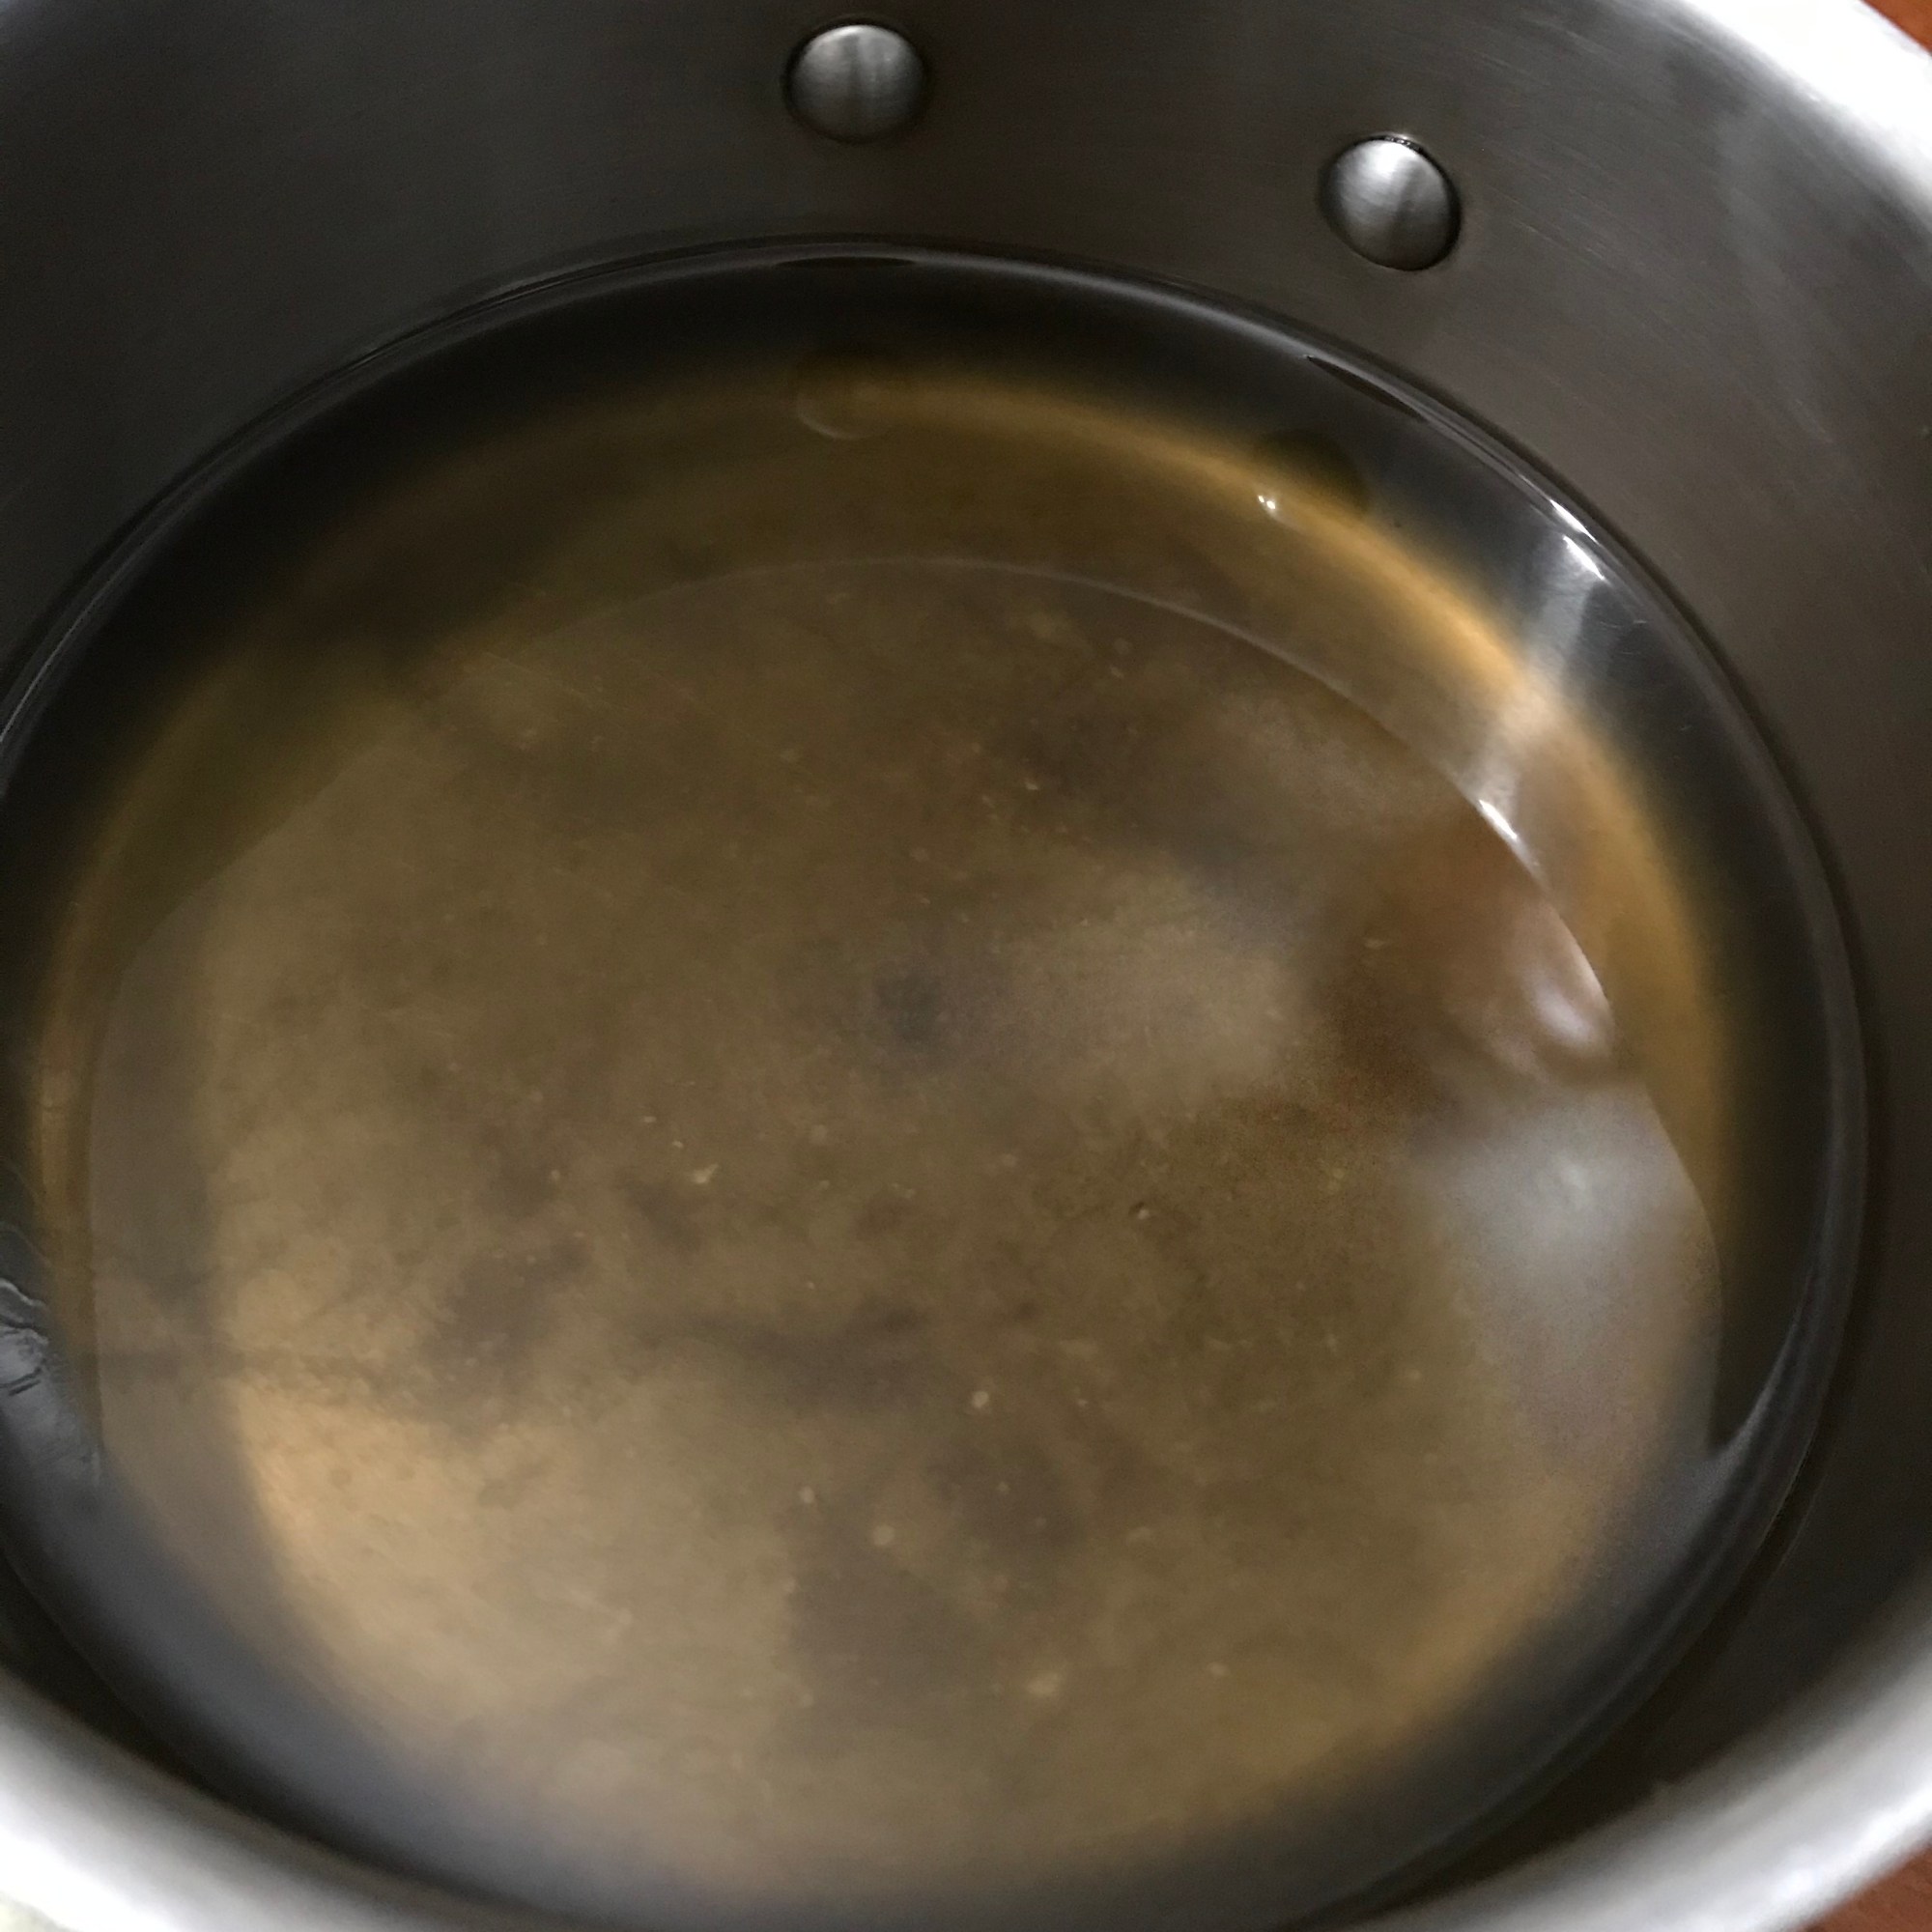
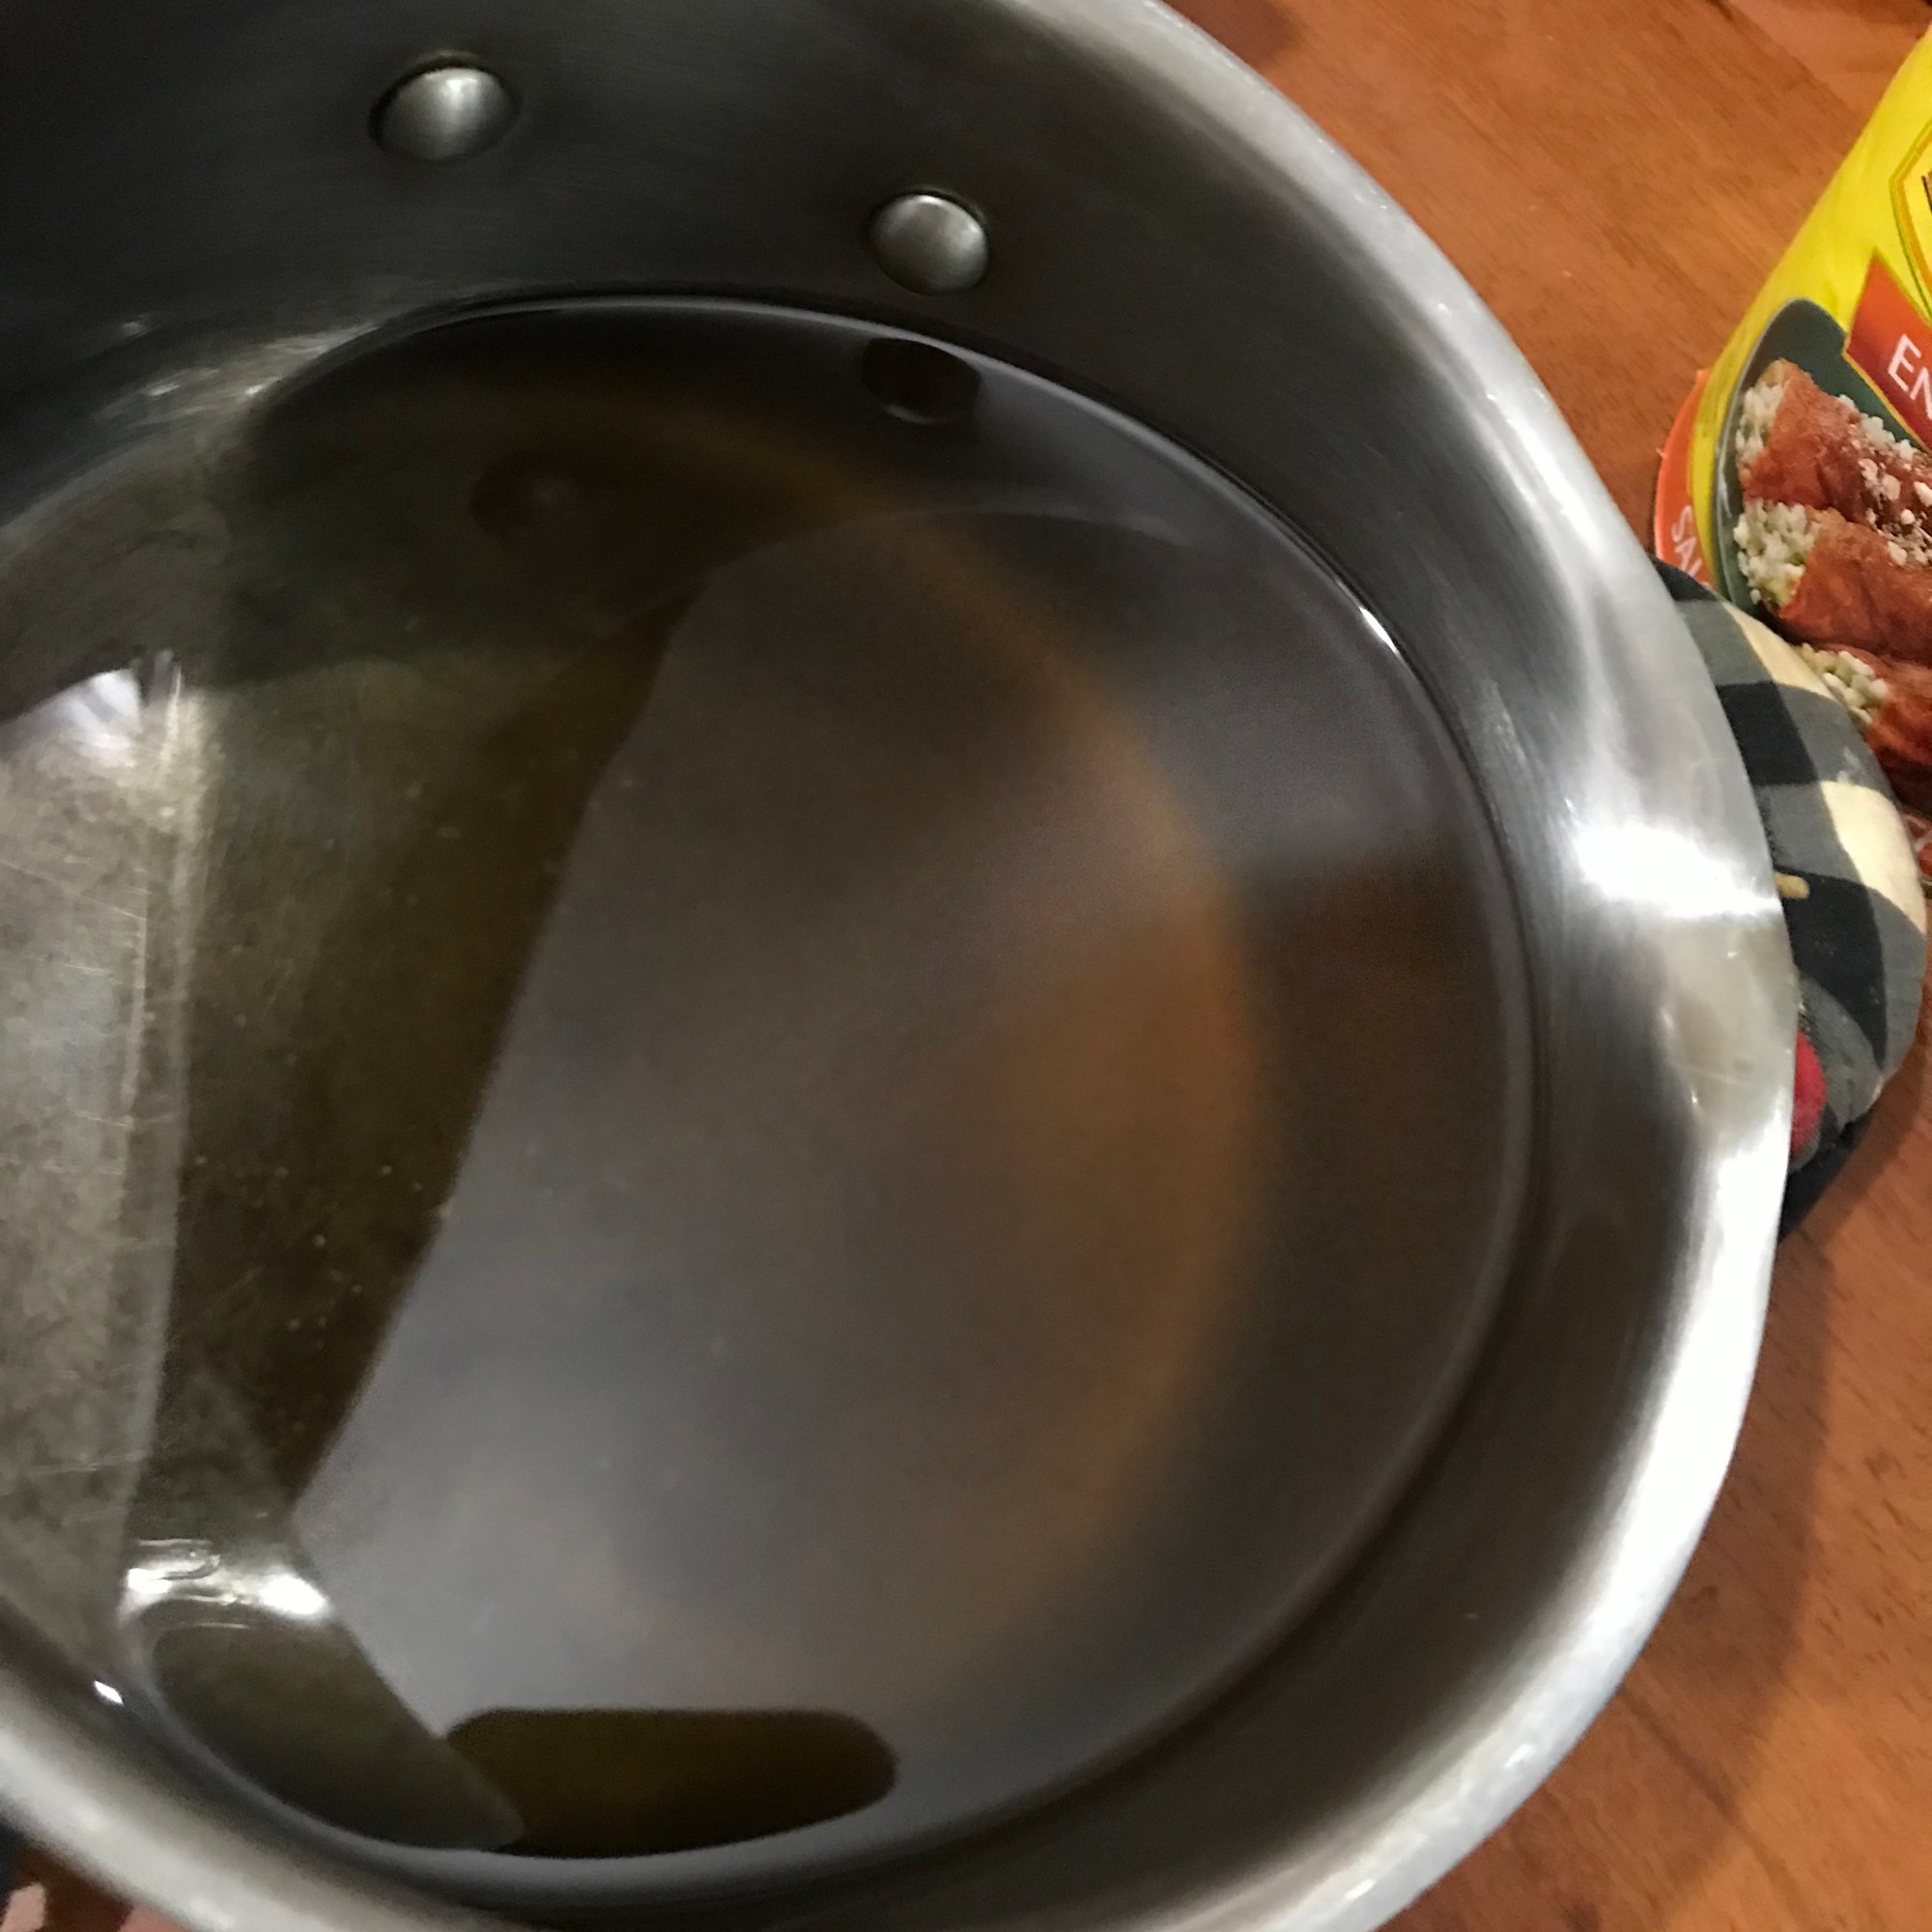
Lard, Manteca or Tallow oil must be tanned to bring out the flavor. By heating the Lard, Manteca or Tallow over medium heat for approximately 15 to 20 minutes. Make sure you watch the lard closely so it does not burn or start on fire. Be very careful handling the hot oil.
As you slowly heat the melted lard up to it will start to turn colors. From a clear liquid to a golden brown. Burn point is 420 degrees so watch it closely. The scent will become more appealing, It will actually smell like a tasty piece of meat. Just remember this aroma is the flavor to your masa. So if the aroma makes your mouth water for a juicy steak, it’s ready. Let it completely cool down to luke warm before using.
Speaking of your liquids. You can use the juices from your boiled meats after removing the fat content, which can be achieved by placing the cooled broth into the refrigerator for a few hours. You can also make your own vegetable or fruit broth to be used for your other tamales.
MASA INGREDEINTS
2 cups Tamal masa mix
2/3 cup Lard, Manteca or Tallow
1 1/3 cup Broth (beef, pork, chicken vegetable) your choice
1 teaspoon baking powder
1 teaspoon salt
DIRECTIONS
Mix your dry ingredients together (maseca flour, salt and banking powder) in a separate bowl and set to the side.
Add your lukewarm Lard, Manteca or Tallow to a separate large bowl for mixing. Slowly add 1/3 of maseca to the warm oil while gently stirring so the oil doesn’t splash. Continue adding 1/3 of the dry mix until it is mixed well and it is fluffy and light in texture. Cover with damp cloth or saran wrap for 15 minutes. It’s always better to use a larger bowl
After 15 to 20 minutes your masa should be fully hydrated and ready to spread on your corn husks that have been soaking for an hour or longer in warm water.
Gather all your ingredients husks, pork, masa and (extra sauce if needed). Make sure to pre-make your ties from smaller husks that wont be used to make the tamales. No waste here.
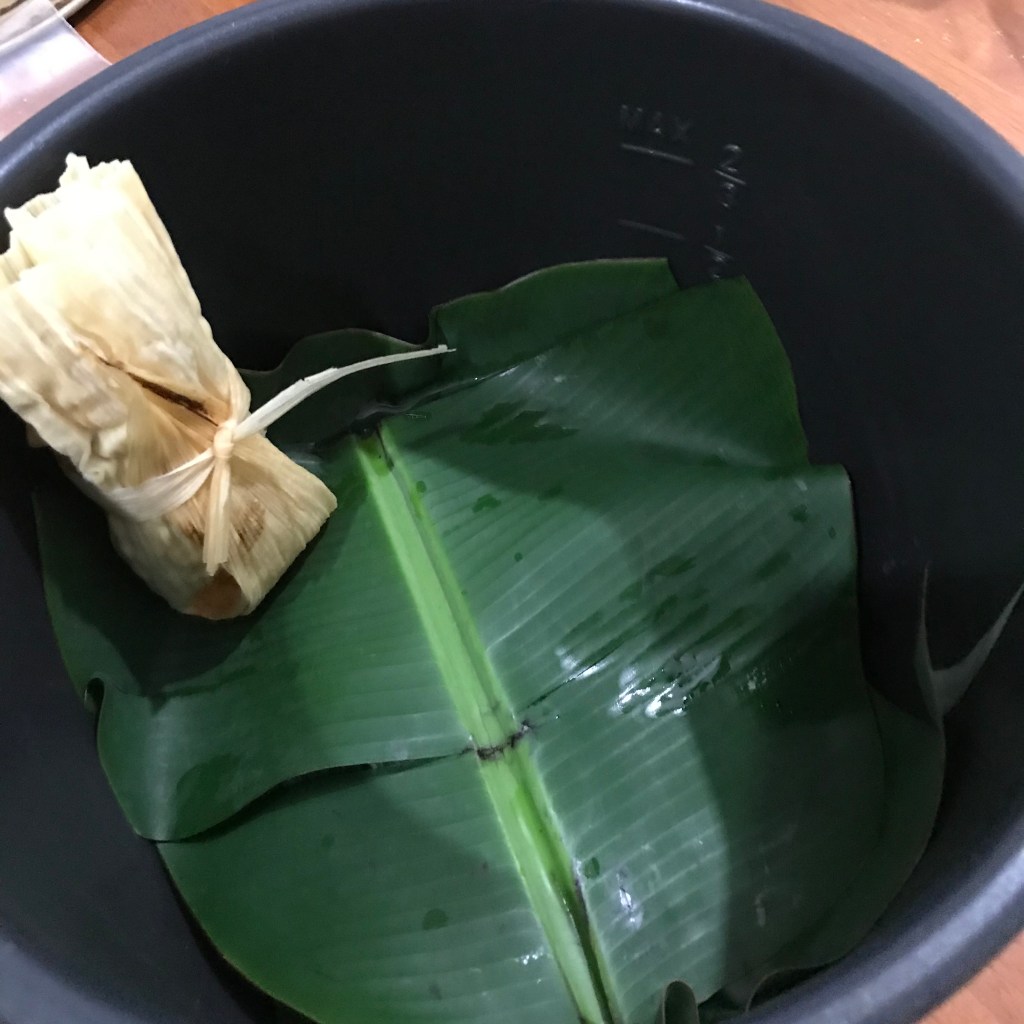
You need to line your pan in this order, #1 water, #2 wire rack and #3 moistened corn husks or banana leaf are last. The water should be right under the rack and not cover the rack or touch the tamales. Less is best and refill when needed. You can put a quarter or spoon in the bottom of the pan so when the water gets low it will sound the alarm so you can add more water. If you need to add water during cooking make sure to pour down the side of the pan so you don’t pour any water on your tamales. Make sure you put the husks or leaf back on top of the tamales. Close the lid and reset your time to finish them.
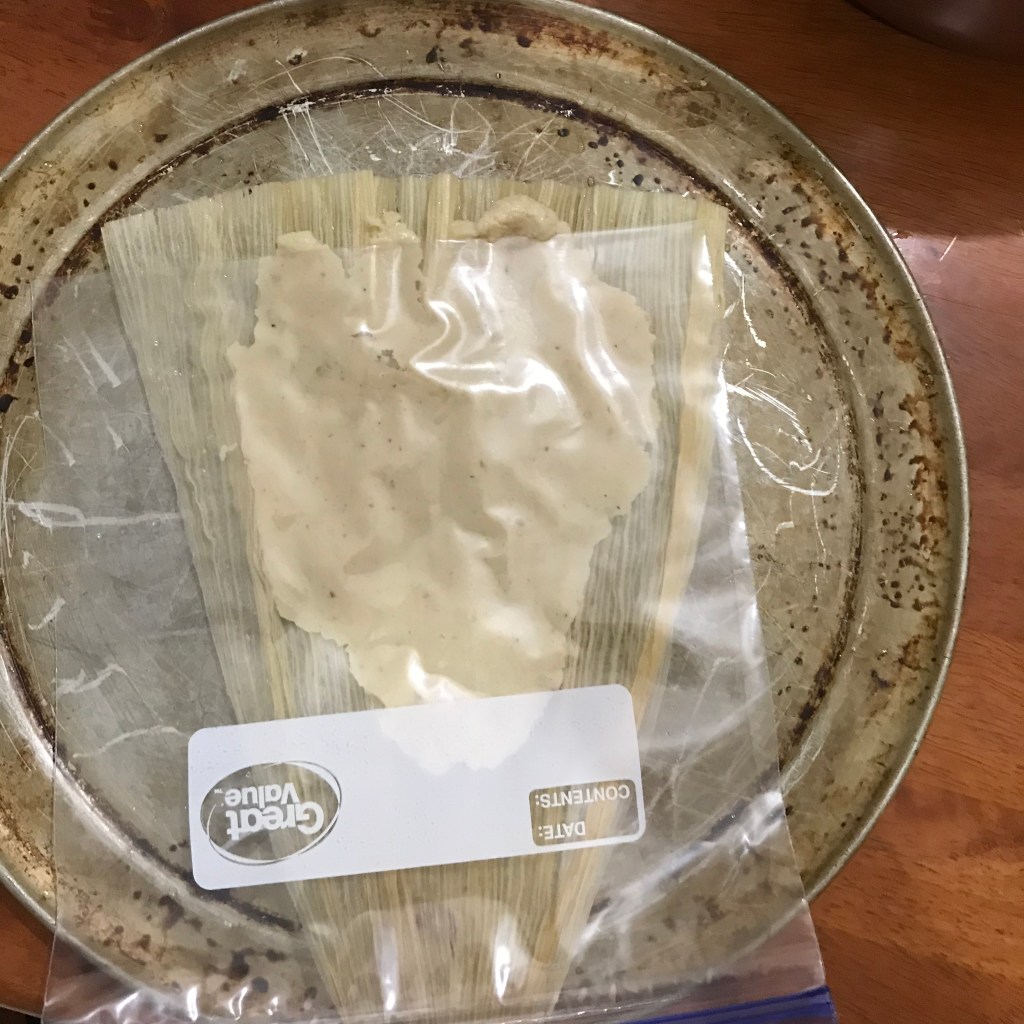
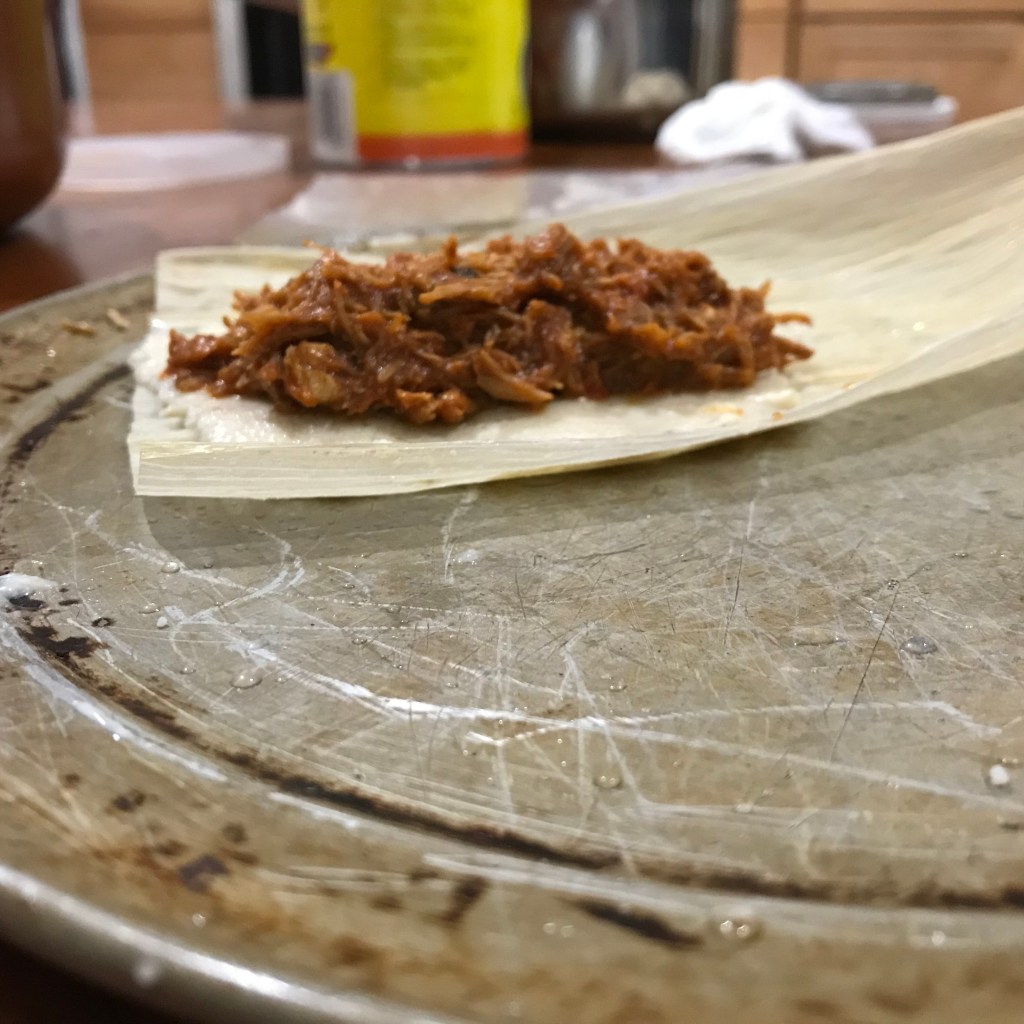
Making the Tamale. Place a corn husk on the plate. Place1 1/2 tablespoon of masa and place baggie or saranwrap over and gently even the dough out. Remove the plastic. Place 1 1/2 tablespoon of meat filling in the center and even it out on the masa. Place one side of the husk over the edge of meat and gently pull the husk away and place the other side of the masa on the edge of other and fold the other husk across and fold the bottom up and tie off. Place it in your pot and your on the way to a delicious meal you have created.
Place the tamales in the pan until full, place moist corn husks or banana leaf over the top. Place in Multi-Cooker or Rice Cooker and set to steam for 45 to 60 minutes or until masa has cooked all the way through. Test by taking one out and see if the masa is firm and easily pulls away from the corn husk. If not put the lid back on and cook for another 15 minutes and check again. Always add only 15 minutes each time you add time. If you are using a pan on the stove you just have to add more water at different intervals and watch it.
Disfruta de tu comida… Man`gia… Enjoy… Bon Appetit
Right on the kitchen counter till they start to hatch….
It usually takes 21 days for a chicken egg to fully incubate. A day is the full 24 hours after you put the egg in the incubator I tend to see external pipping (when the chick starts to break the egg) on day 19, but it can take up to 28 days in some cases.
It’s important to heat up the incubator for 24 hours before you put eggs in to ensure the temperature is correct and stays steady.
Choosing eggs to incubate. Make sure they are fresh and fertile. You have to have a rooster to fertilize the eggs. If you don’t have a rooster you might be able to finds some through your local newspaper or Farm Supply center.
Maintain a temperature between 100°-102° with a still air incubator and 99-99.5 with a forced air incubator. Keep your humidity between 40-50% days 1-18, then increase to 50%-60% on days 18-21. Turn your eggs at least 3 times a day from days 1-18, then don’t turn them at all on days 18-21.
Enjoy and have fun with different projects that enhance your life.
An influenza pandemic is a global outbreak of a new influenza A virus that is very different from current and recently circulating human seasonal influenza A viruses. Influenza A viruses are constantly changing, making it possible on very rare occasions for non-human influenza viruses to change in such a way that they can infect people easily and spread efficiently from person to person.
Pigs experimentally infected with the strain of swine flu that caused the human pandemic of 2009–10 showed clinical signs of flu within four days, and the virus spread to other uninfected pigs housed with the infected ones and then to humans.
When I say ULTIMATE I mean only 3/4 cup Brown Sugar and NO vegetable oil.
This recipe is the best banana nut bread I have tested lately. In the past year I have made 11 banana nut bread recipes.
This recipe is so full of natural flavor without all the sugar. You can taste the hint of cinnamon and vanilla.
There is no Rancid vegetable oil in this recipe either. I am switching out all vegetable oils for animal fat rich butter, lard and what ever else I can try.
This is a very dense, but fluffy quick bread
This slideshow requires JavaScript.
Prep Time: 20 to 30 minutes
Cook Time: 60 to 65 minutes
Total Time: 95 minutes
Yield: 8 servings +
Skill Level: Beginner / Easy
Kitchen Appliance: Food Processor, Mixer or by hand and Oven
Ingredients
2 cups all-purpose flour or what ever flour you want to use
1 teaspoon baking soda
1/4 teaspoon salt
1/2 teaspoon ground cinnamon
1/2 cup (1 stick) unsalted butter, softened to room temperature
3/4 cup packed light or dark brown sugar
2 large eggs, at room temperature
1/3 cup plain sour cream
2 cups mashed bananas (about 4 large ripe bananas)
1 teaspoon pure vanilla extract
optional: 3/4 cup (100g) chopped pecans or walnuts
Instructions
Adjust the oven rack to the lower third position and preheat the oven to 350°F (177°C).
Grease a 9×5-inch loaf pan. Set aside.
Whisk or stir the flour, baking soda, salt, and cinnamon together in a large bowl.
Using a mixer, whisk or a really good spoon, cream the butter and brown sugar together until smooth and creamy, about 4 minutes.
Add the eggs one at a time, stirring well after each addition.
Stir in the yogurt, mashed bananas, and vanilla extract on medium speed until combined.
Slowly mix the wet ingredients into the dry ingredients until no flour pockets remain.
Do not overmix.
Fold in the nuts, if using.
Spoon the batter into the prepared baking pan and bake for 60-65 minutes.
Loosely cover the bread with aluminum foil after 30 minutes to help prevent the top and sides from getting too brown.
A toothpick inserted in the center of the loaf will come out clean when the bread is done.
Remove from the oven and allow the bread to cool completely in the pan set on a wire rack.
Cover and store banana bread at room temperature for 2 days or in the refrigerator for up to 1 week.
Banana bread tastes best on day 2 after the flavors have settled together.
You can finish this recipe off with butter, cream cheese frosting or Ice Cream.
CDC has analyzed national data on use of THC-containing product brands by e-cigarette, or vaping, product use-associated lung injury (EVALI) patients. Overall, 152 different THC-containing product brands were reported by EVALI patients.
Dank Vapes, a class of largely counterfeit THC-containing products of unknown origin, was the most commonly reported product brand used by patients nationwide, although there are regional differences. While Dank Vapes was most commonly reported in the Northeast and South, TKO and Smart Cart brands were more commonly reported by patients in the West and Rove was more common in the Midwest.
The data further support that EVALI is associated with THC-containing products and that it is not likely associated with a single THC-containing product brand.
CDC and FDA recommend that people should not use THC-containing e-cigarette, or vaping, products, particularly from informal sources like friends, family, or in-person or online sellers.
Vitamin E acetate should not be added to e-cigarette, or vaping, products. Additionally, people should not add any other substances not intended by the manufacturer to products, including products purchased through retail establishments.
CDC, FDA, and state health authorities have made progress in identifying substances of concern in EVALI. However, there are many different substances and product sources that remain under investigation, and there may be more than one cause.
The latest national and state data from patient reports and product sample testing suggest THC-containing e-cigarette, or vaping, products, particularly from informal sources like friends, family, or in-person or online dealers, are linked to most of the cases and play a major role in the outbreak.
While it appears that vitamin E acetate is associated with EVALI, there are many different substances and product sources that are being investigated, and there may be more than one cause.
Therefore, the best way for people to ensure that they are not at risk while the investigation continues is to consider refraining from the use of all e-cigarette, or vaping, products.
Stop Vaping Today. You just may save your lungs!!!
During this flu season it might be a good idea to take this great remedy to keep the bug at bay.
Not only will it help you with cold viruses, but it builds your immune system to help fight off what ever comes your way. Provides Minerals and vitamins that our bodies need to fight off the Season colds and flu’s.
Many illnesses and discomforts can be solved with ACV. Constipation, indigestion, bad breath are just a few of the wonderous things Apple Cider Vinegar can do for you.
Delicious, ideal pick-me-up at home, work, sports or gym.
Perfect taken 3 times daily – upon arising, mid-morning and mid-afternoon. But if all you can handle is once a day.. Then take it everyday, once a day.
Bragg Apple Cider Vinegar Cocktail
1 to 2 tsps Bragg Organic Vinegar in 8 oz
Glass Purified Water and (optional) to taste.
1 to 2 tsps YOUR CHOICE OF ONE: Organic Honey, 100% Maple Syrup, Cane Syrup, Blackstrap Molasses or 4 drops herb Stevia.
Or if you don’t want to mix all that up. I just down my 2 teaspoons of Apple Cider Vinegar followed by 12 ounces of water. You can also buy the premixed cocktails at a store near you..
That Old Saying: An Apple A Day, Keeps The Doctor Away…
Micro shards of plastic are being found in the human brain. So this starts a question of how these microplastics are … Continue reading Plastic Brain???→


 Micro shards of plastic are being found in the human … Continue reading Plastic Brain???
 Super fast and easy recipe for this Cheesy Chicken Enchilada … Continue reading Cheesy Chicken Enchilada Pie with fresh red chili and cinnamon sauce.


