You can also make a paste with the raisins and walnuts. It becomes a very smooth buttery experience for the thinner pastry dough.
Dough Ingredients
1 cup Water
3/8 cup Milk (Whole)
3/4 Stick Butter (chopped into tiny pieces and evenly placed in the pan)
1 and 3/4 teaspoon Salt (on the Left side top corner of the pan)
4 cups Flour (in the center place a shallow divot to place yeast ans a little sugar)
2 tablespoons Sugar (on the bottom right corner and a small sprinkle in the divot maybe 1/4 teaspoon)(Real Sugar, No Substitute)( Trust me, it won’t hurt you)
2 and 1/4 teaspoons Active Dry Yeast ( place in pivot on top of sprinkled sugar)(NO QUICK YEAST) Old Fashion kind…
While your bread machine makes the dough get all your other ingredients together.
Soak the cup of raisins in 1/4 cup of warm water for at least 45 minutes. I just let them soak until my dough is ready. Drain and set aside. If you are using the raisin paste its better to make the paste a day ahead. Remove from refrigerator at least 2 hours prior. Must be at room temperature.
Check the website for complete recipe and pictures.
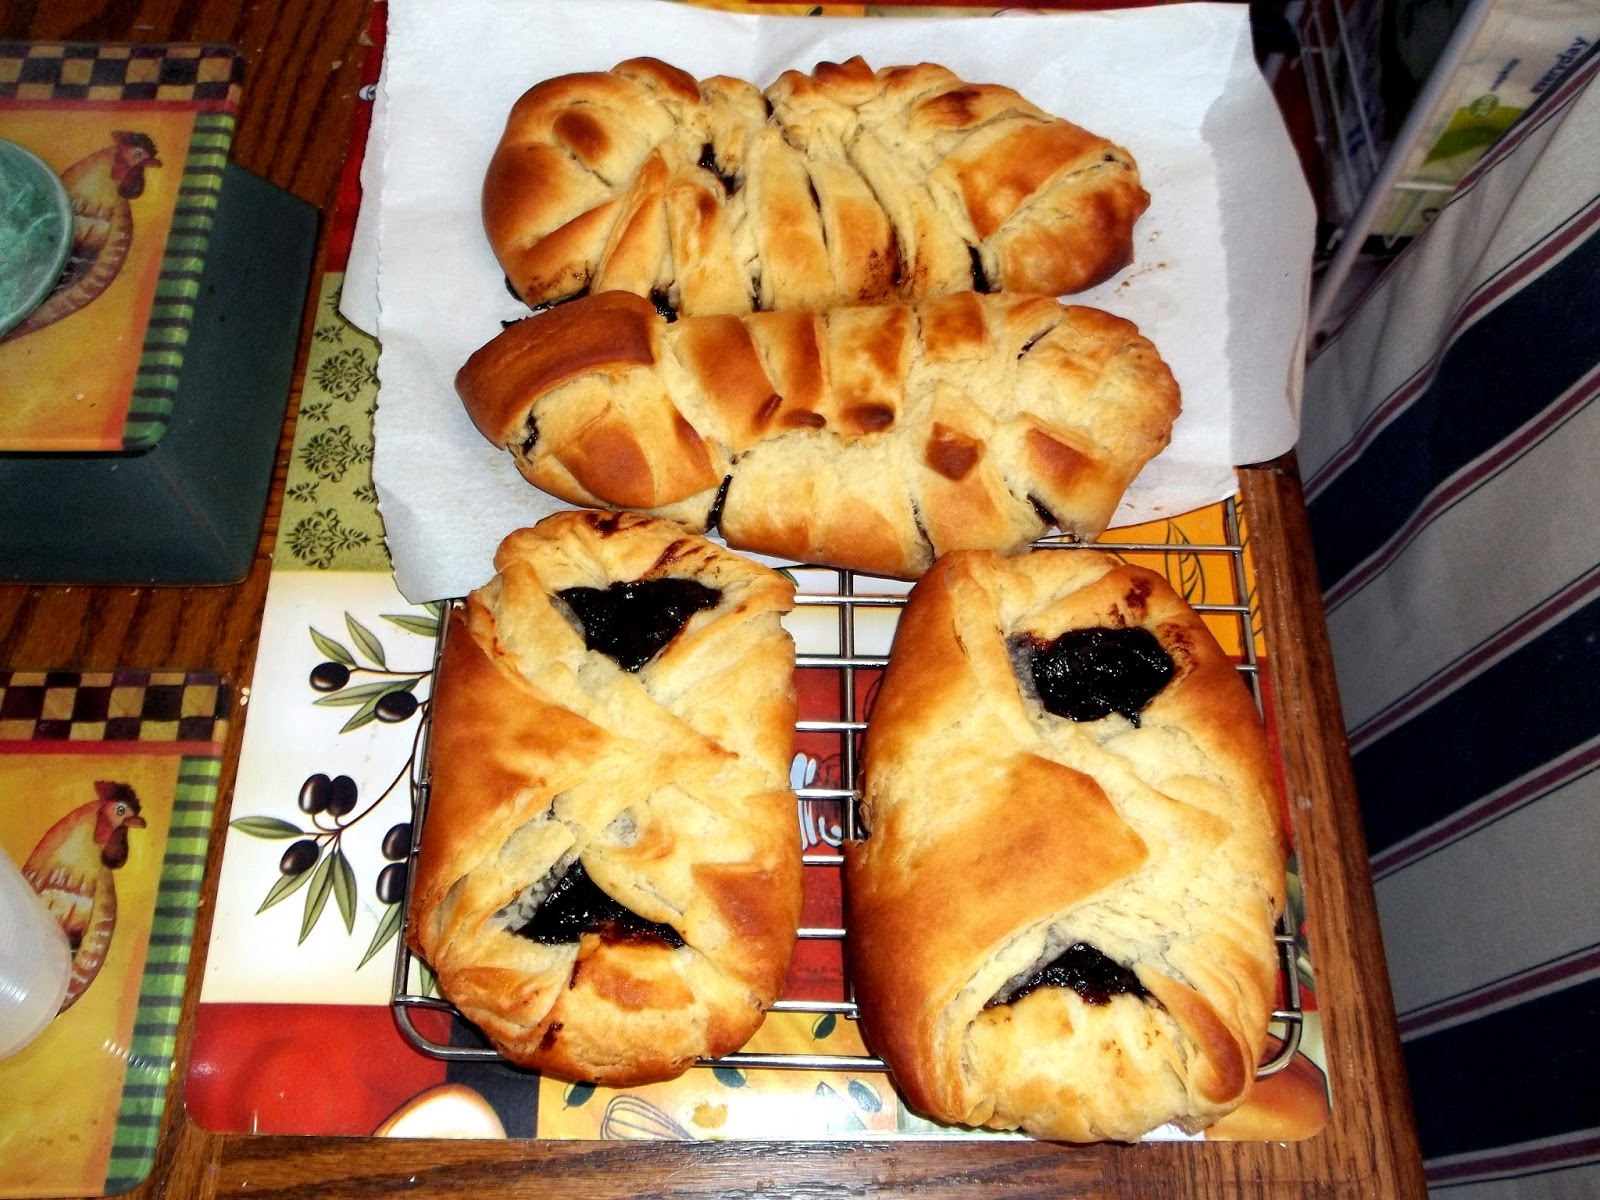
At one time I had the good fortune to live near a remarkable Jewish Bakery. They created the most eye catching flavorful desserts I had ever seen or tasted. When I moved out of the area and realized I no longer had access to some of my favorites; I decided it was time to start creating my own. One of these fabulous treats was Prune Danish. Now many people just are not into prunes always seeing them as simply a source of fiber for regularity. However, their flavor complements the flaky pastry crust that surrounds them. Prunes are NOT just for fiber any more! And so let me entice you to try making what you see above and enjoying the aroma and flavor of your own freshly baked Prune Danish! Below are two versions you may follow. The Puff Pastry and Lekvar Prune Butter are what yielded the photo above. BUT you can also create your own prune filling and use a softer pastry as will be detailed in what follows. Mix, match and try what you will as they will still taste great. Let us begin with the Puff pastry: 2 1/2 sticks cold unsalted butter 1/2 cup cold tap (or bottled) water 1 tsp salt 2 cups all purpose flour 1/2 tsp vanilla 1/8 tsp Cardamom (ground)
Measure the water, add the salt and vanilla, stir to dissolve and set aside. Cut up butter into small size chunks ( I cut 1/2 inch pats then split those into four) Place flour and cardamom into bowl of food processor with METAL blade (not dough blade) Add about 1/2 stick’s worth of the cut up butter and pulse 12 times for one second each Add remaining butter and long pulse twice to incorporate (5 seconds each) Add water and pulse three or four times until dough forms a rough ball. Flour your work surface (I use a large wooden pastry board) and scrape dough out of processor onto the floured surface. Shape dough into a rough rectangle and place between two LARGE sheets of plastic wrap (OR you could use waxed paper). Roll dough into a 12X18 inch rectangle Peel away top plastic then invert dough onto floured work surface Peel away second plastic then fold dough in thirds on the width so as to end up with a 6X18 inch rectangle. Fold one side in then the other overlapping. Roll up dough from a six inch side making sure the end is on the bottom. Press dough into a a square, wrap in plastic and refrigerate one hour.
Pastry number two is a softer one:
1 8oz. brick of cream cheese 3 sticks of butter (salted) 3 cups all purpose flour 1/8 tsp cardamom 1 tsp vanilla
Place 3 cups flour and 1/8 tsp cardamom into food processor with metal blade Cut up butter into smaller chunks (cut 1/2 inch pats then cut each into 4) Cut up Cream cheese into rough chunks as well Add butter to processor and pulse until four and butter combine roughly Add cream cheese and vanilla and pulse until the dough comes together CAREFULLY remove from processor and work with your hands into a ball Place in a bowl and cover with plastic wrap then into the fridge for one hour.
Those are the two dough options. Both taste good.
As to the prune filling – well I really like the Simon Fischer Lekvar Prune Butter in the18oz jar. I have bought it on Amazon. It is Natural and tastes really good. I have even spread it on English muffins for breakfast. They sell the jars as a pack of 6 which is okay as they will last you a while. They also sell 17oz in a pack of 3 but you pay shipping so the six pack is a better value. Try this stuff it is REALLY good. I used to use the Solo Prune Filling in the can until my grocery store stopped carrying it. Now I realize they did me a favor as that one was nowhere near as good as Simon Fischer.
IF you feel REALLY ambitious and would rather make your own prune filling then here goes MY version.
2 cups pitted prunes 1/2 cup dark raisins 1 cup Brandy (or if you do not like using alcohol use boiling water) 3/4 cup mild honey 1/8 tsp salt 1 tsp grated Orange Peel (fresh grated or from the jar) (I use a Microplane to get very fine fresh orange and lemon peels. If you do not have one GET one – they are wonderful.)
Put prunes and raisins into a container or bowl and pour on brandy (or boiling water). Stir well and cover with container lid or plastic wrap. (Brandy gives a great flavor and the alcohol will cook out anyway). Allow fruit to soak overnight Place softened fruit into food processor with metal blade Add peel and salt and pulse three or four times Add honey and run processor until well mixed and smooth Do not worry if mixture seems thin as you are going to refrigerate this overnight and it will firm up at that time.
Notice I do NOT cook the prunes as do many recipes. I do not like the taste or texture. The alcohol in the Brandy really plumps and tenderizes the fruit. Boiling water will do okay but not as good as Brandy!
NOW whichever dough you have made you will cut into four equal parts. That is if you like your Danish LARGE with lots of filling – as I DO! If you want smaller ones then by all means divide further. The techniques are the same regardless so YOU decide.
For the Puff Pastry roll each part of dough on Floured surface until you have a 6″X6″ square. (That is for the four LARGE size as shown above) For the soft pastry instead of flour you will coat your work surface with a mixture of 1 cup confectioners sugar and 1 cu granulated sugar. Mix them up together and use like flour on work surface to roll out dough.
Puff Pastry:
For the two front danish in the photo which are the standard looking type, look at the 6X6 square from one point so you see what is like a diamond shape. I use a Tablespoon and a teaspoon to load the filling down the center of the diamond leaving an inch at either “tip”. I use quite a bit of prune in each because I like it that way and the bakery I once frequented did the same. NOW you will fold the two SIDE tips inwards so they overlap over the prune filling (just like you see in the photo above.) Also curl up the other two end points making a sort of ridge which will help keep any filling from running out. This is for the standard look. Use a large flat spatula to lift the danish from the work surface on to your baking sheet. I use a standard cookie sheet which is lined with a Silpat. You can buy Silpat (or silicone) liners on Amazon OR when they have them Costco sells a set for a LOT cheaper. I always have TWO silpat lined cookie sheets for when I make cookies.
The other fancier danish starts out the same with the square but now you look at it AS a square and load the filling down the center leaving an inch at either end. Next you will use a sharp knife to slice the dough into strips coming no closer to the filling than a half inch. Like a lattice you will fold first one “flap” then its opposing over the filling so they overlap. Just look at the picture above and you can see what I am trying to describe. I like the look of these for some reason.
Use the “square/diamond” instructions above only coat your surface with the mix of confectioners and granulated sugars. I would NOT try the overlapping strips with this softer dough. You might end up with a mess. In both cases place cookie sheet with pastries into the fridge while the oven preheats to 350. Before placing in oven either spray top surface of pastries LIGHTLY with PAM (and please use the original as it has the best taste) OR separate out an egg white and whip it up with a whisk until it is more liquid. Brush this on the tops of the pastries if you wish. I prefer the PAM as I do not like the added egg taste. Start out setting your timer at fifteen minutes and then check every five minutes after that until pastry is golden brown as above. DO NOT leave and do NOT forget to check. Every oven is different and there is no way to be exact with timing. Just go by smell and sight to judge when these are done.
Remove from oven leave ten minutes then transfer to cooling racks. Enjoy!
So there it is, another great recipe for the use of healthy prunes.
Learn about the health benefits of prunes, especially women. It’s to your advantage.
How can you just have 2… Irresistible and Good For You.
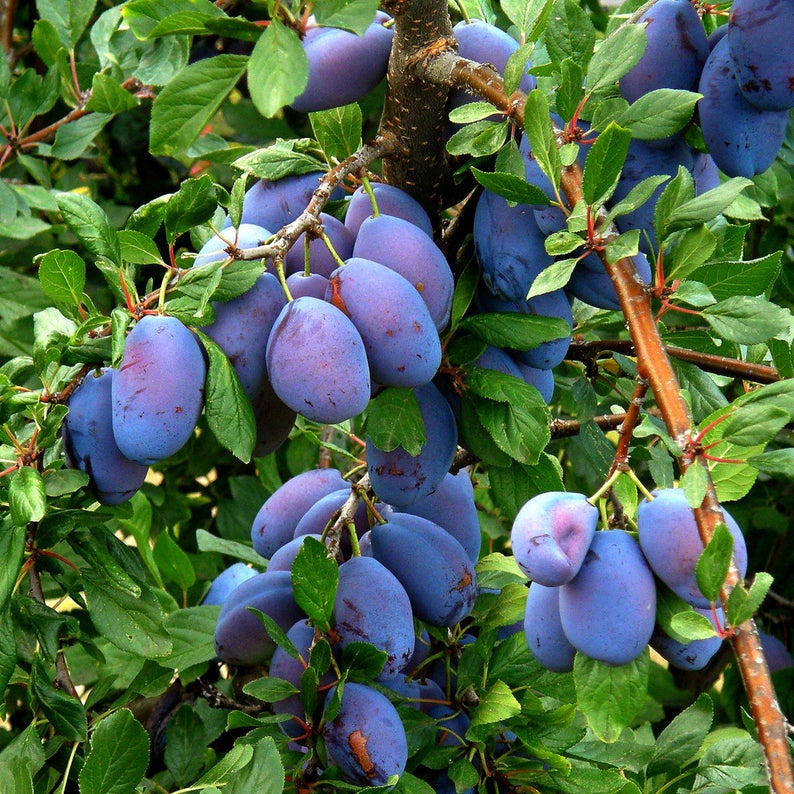
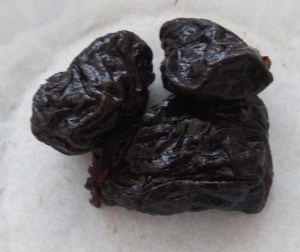
Forget the stigma about prunes. They are Yummy Plump dried plums to snack on or to make jams and syrups. We know how to use prunes in recipes! So, we’ve added a couple of our most frequently used recipes.
Nature’s sweet nutritional goodness. Prunes offer fiber, with only 100 calories per serving. On a diet? Prunes help to keep your tummy feeling full for longer.
Prunes can contribute to good health in so many ways! In fact, adding a serving (1/4 cup or 40 grams) of prunes is a healthy part of a balanced daily diet.
Prunes and Plums may have a fantastic way of protecting the heart. They have been studied for the potential to reduce blood pressure and cholesterol levels. Which as you know are major risk factors for heart disease.
Prunes are low on the glycemic index at just 291 which means they raise the glucose (sugar) levels in your blood slowly, to help avoid spikes in your blood sugar levels and keep your appetite at bay.
Prunes contain the mineral boron, which can aid in bone health and help with osteoporosis 2.
Prunes contain potassium, an important mineral that ensures proper functioning of the heart and nerve responses throughout the body.
Prunes contain vitamin A, which is essential for healthy vision.
Prunes contain manganese, iron, and plant phenolics, which may help protect the cell membranes from free radical damage.
Prunes are a good source of both soluble and insoluble fiber. Plus, they are a trusted way to support the digestive tract.
Numerous studies show that prunes support bone health in postmenopausal women. Prunes contain micronutrients including potassium – a mineral associated with a decreased risk of bone loss and osteoporosis. Prunes also contain magnesium, which is important for bone structure, and vitamin K, which plays an important role in bone mineralization. Additionally, prunes are filled with plant-based compounds called polyphenols, which promote bone health by reducing bone mineral loss.
GLUTEN FREE
NO ADDED SUGAR
Great Snack for Dieters and Diabetics
There are several brands to choose from….. Sun Maid, SUNSWEET, Mariani and most store brands are very good also.
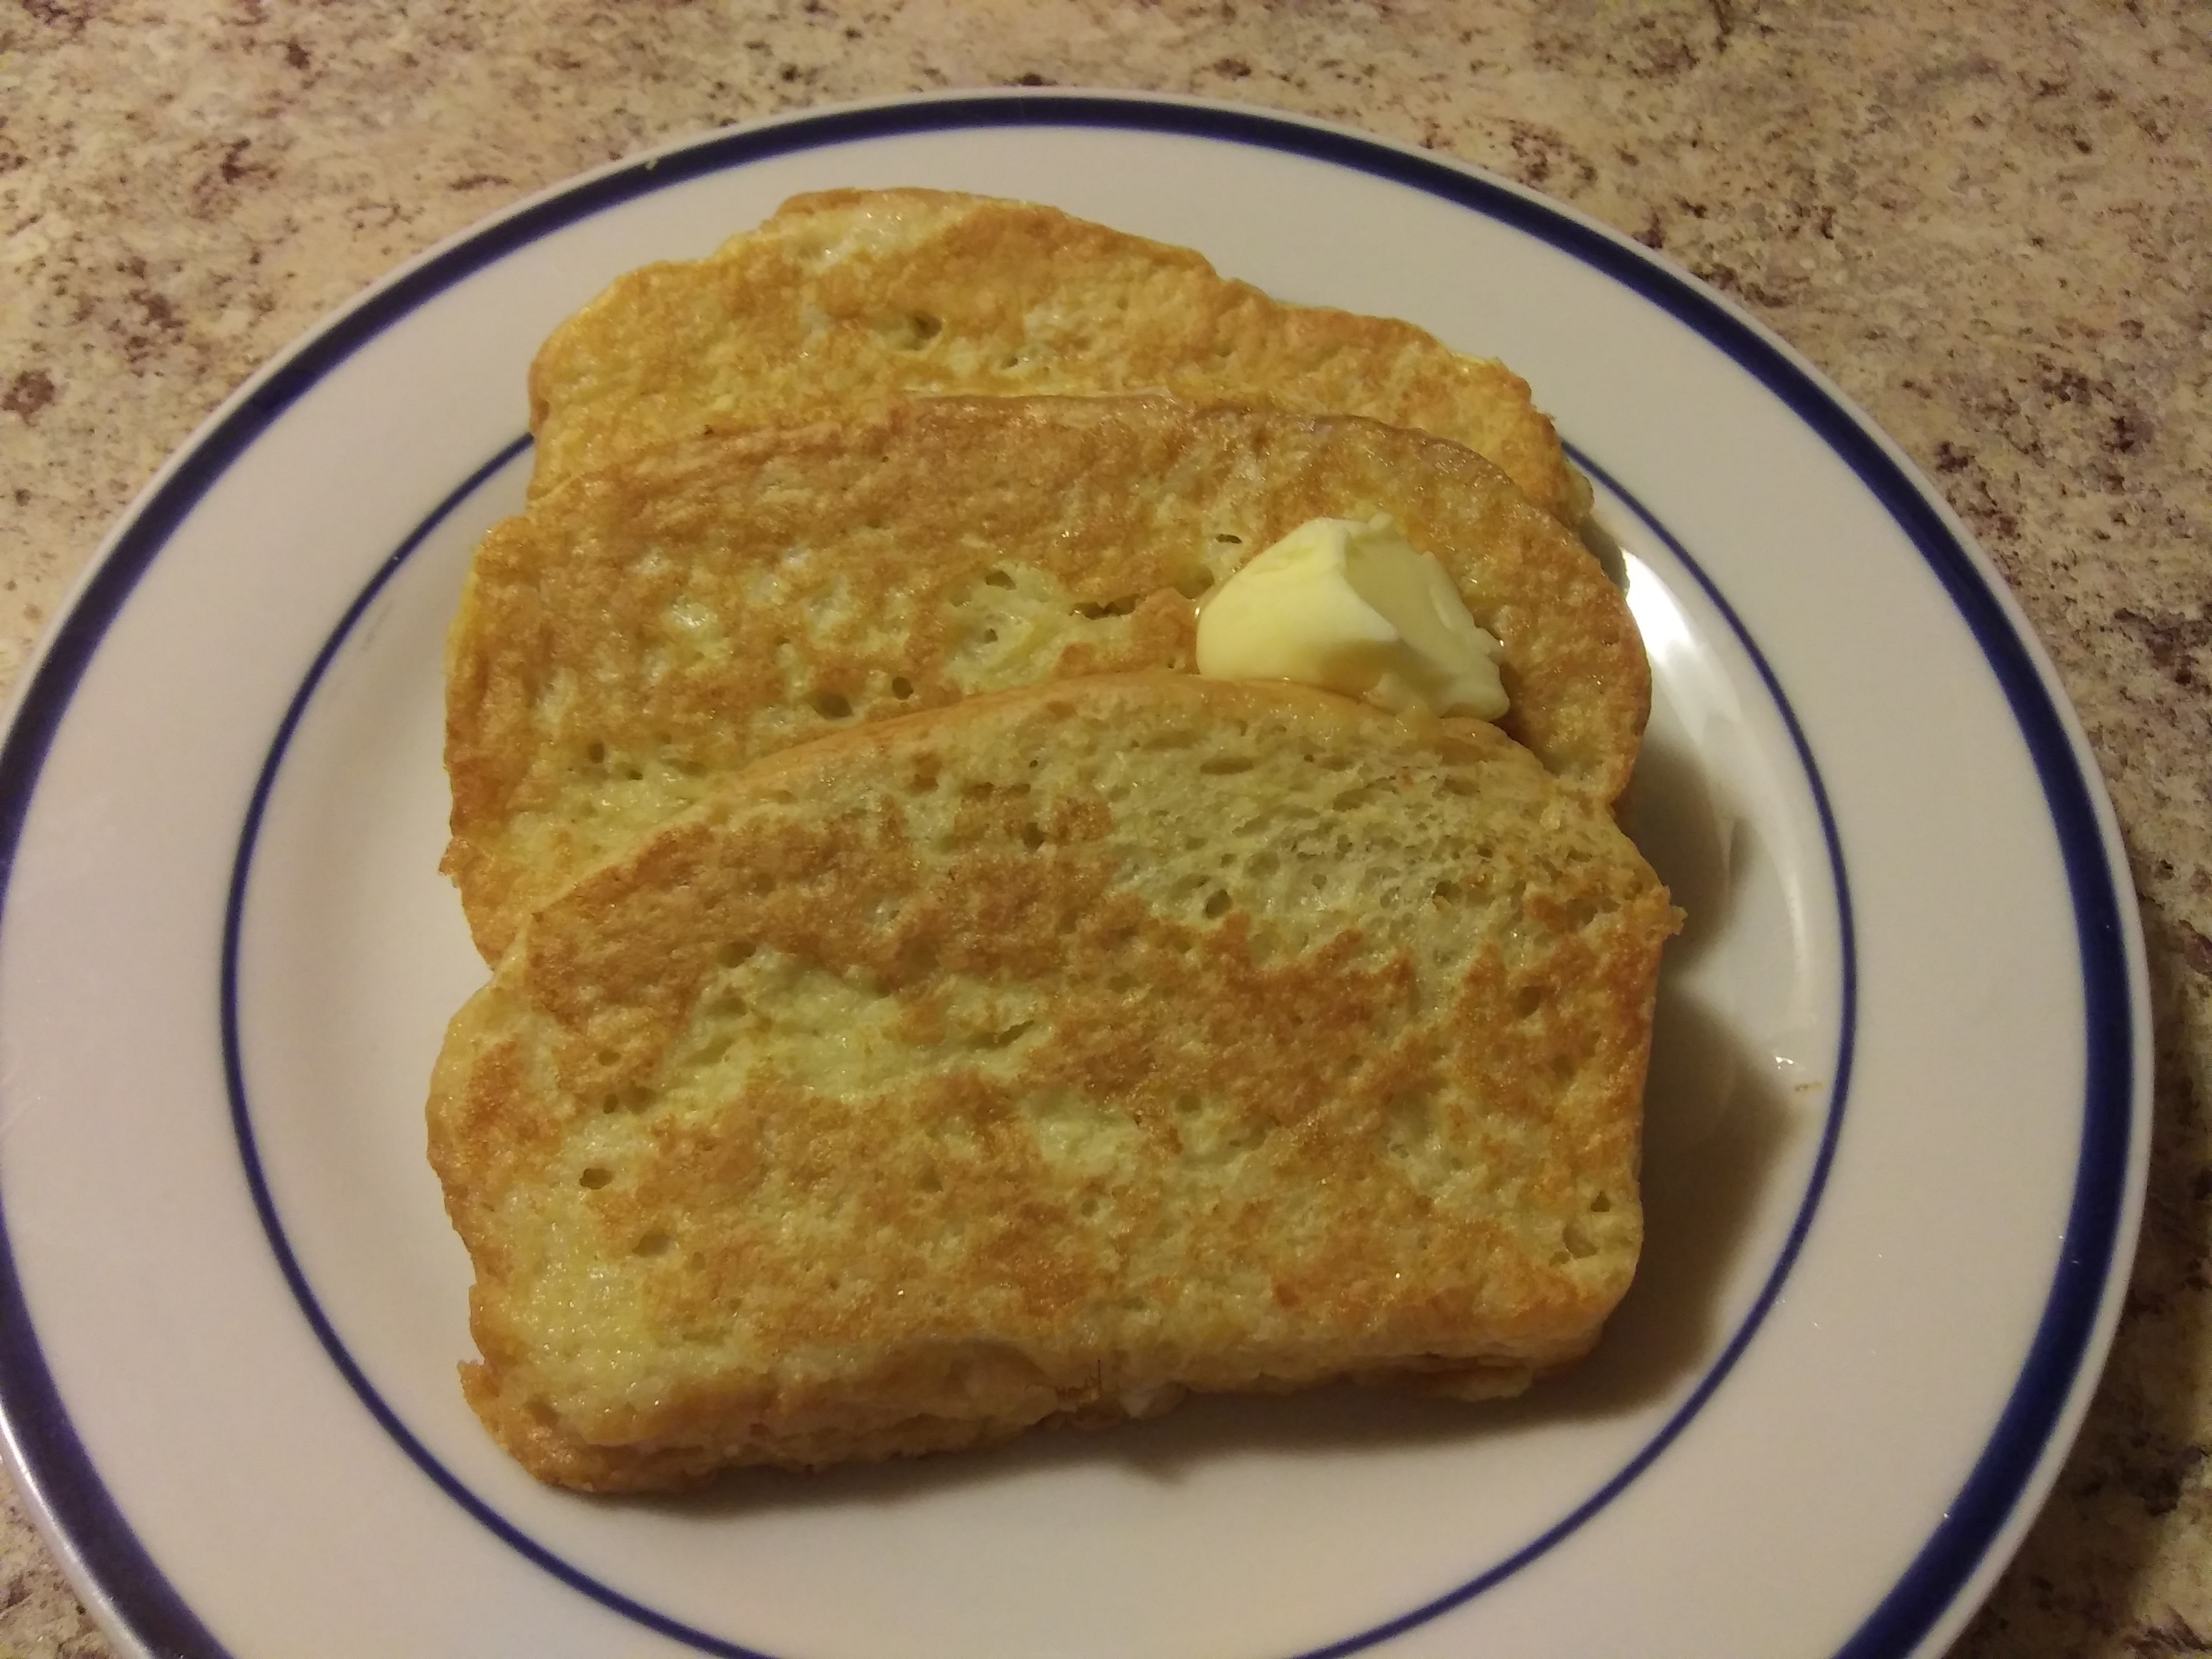
1 egg per 3 slices of bread (Day old bread is great to use, make sure nice healthy slice.)
3 tablespoons of water
Vegetable oil
Griddle or Skillet
Heat your Griddle or Skillet to a medium heat.
Beat the eggs and water until combined.
Place each slice of bread gently into the egg bath making sure both sides are coated well.
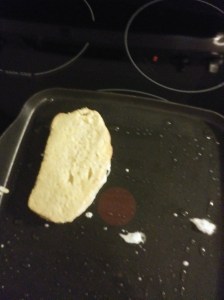
Place on to hot greased griddle or pan and repeat.
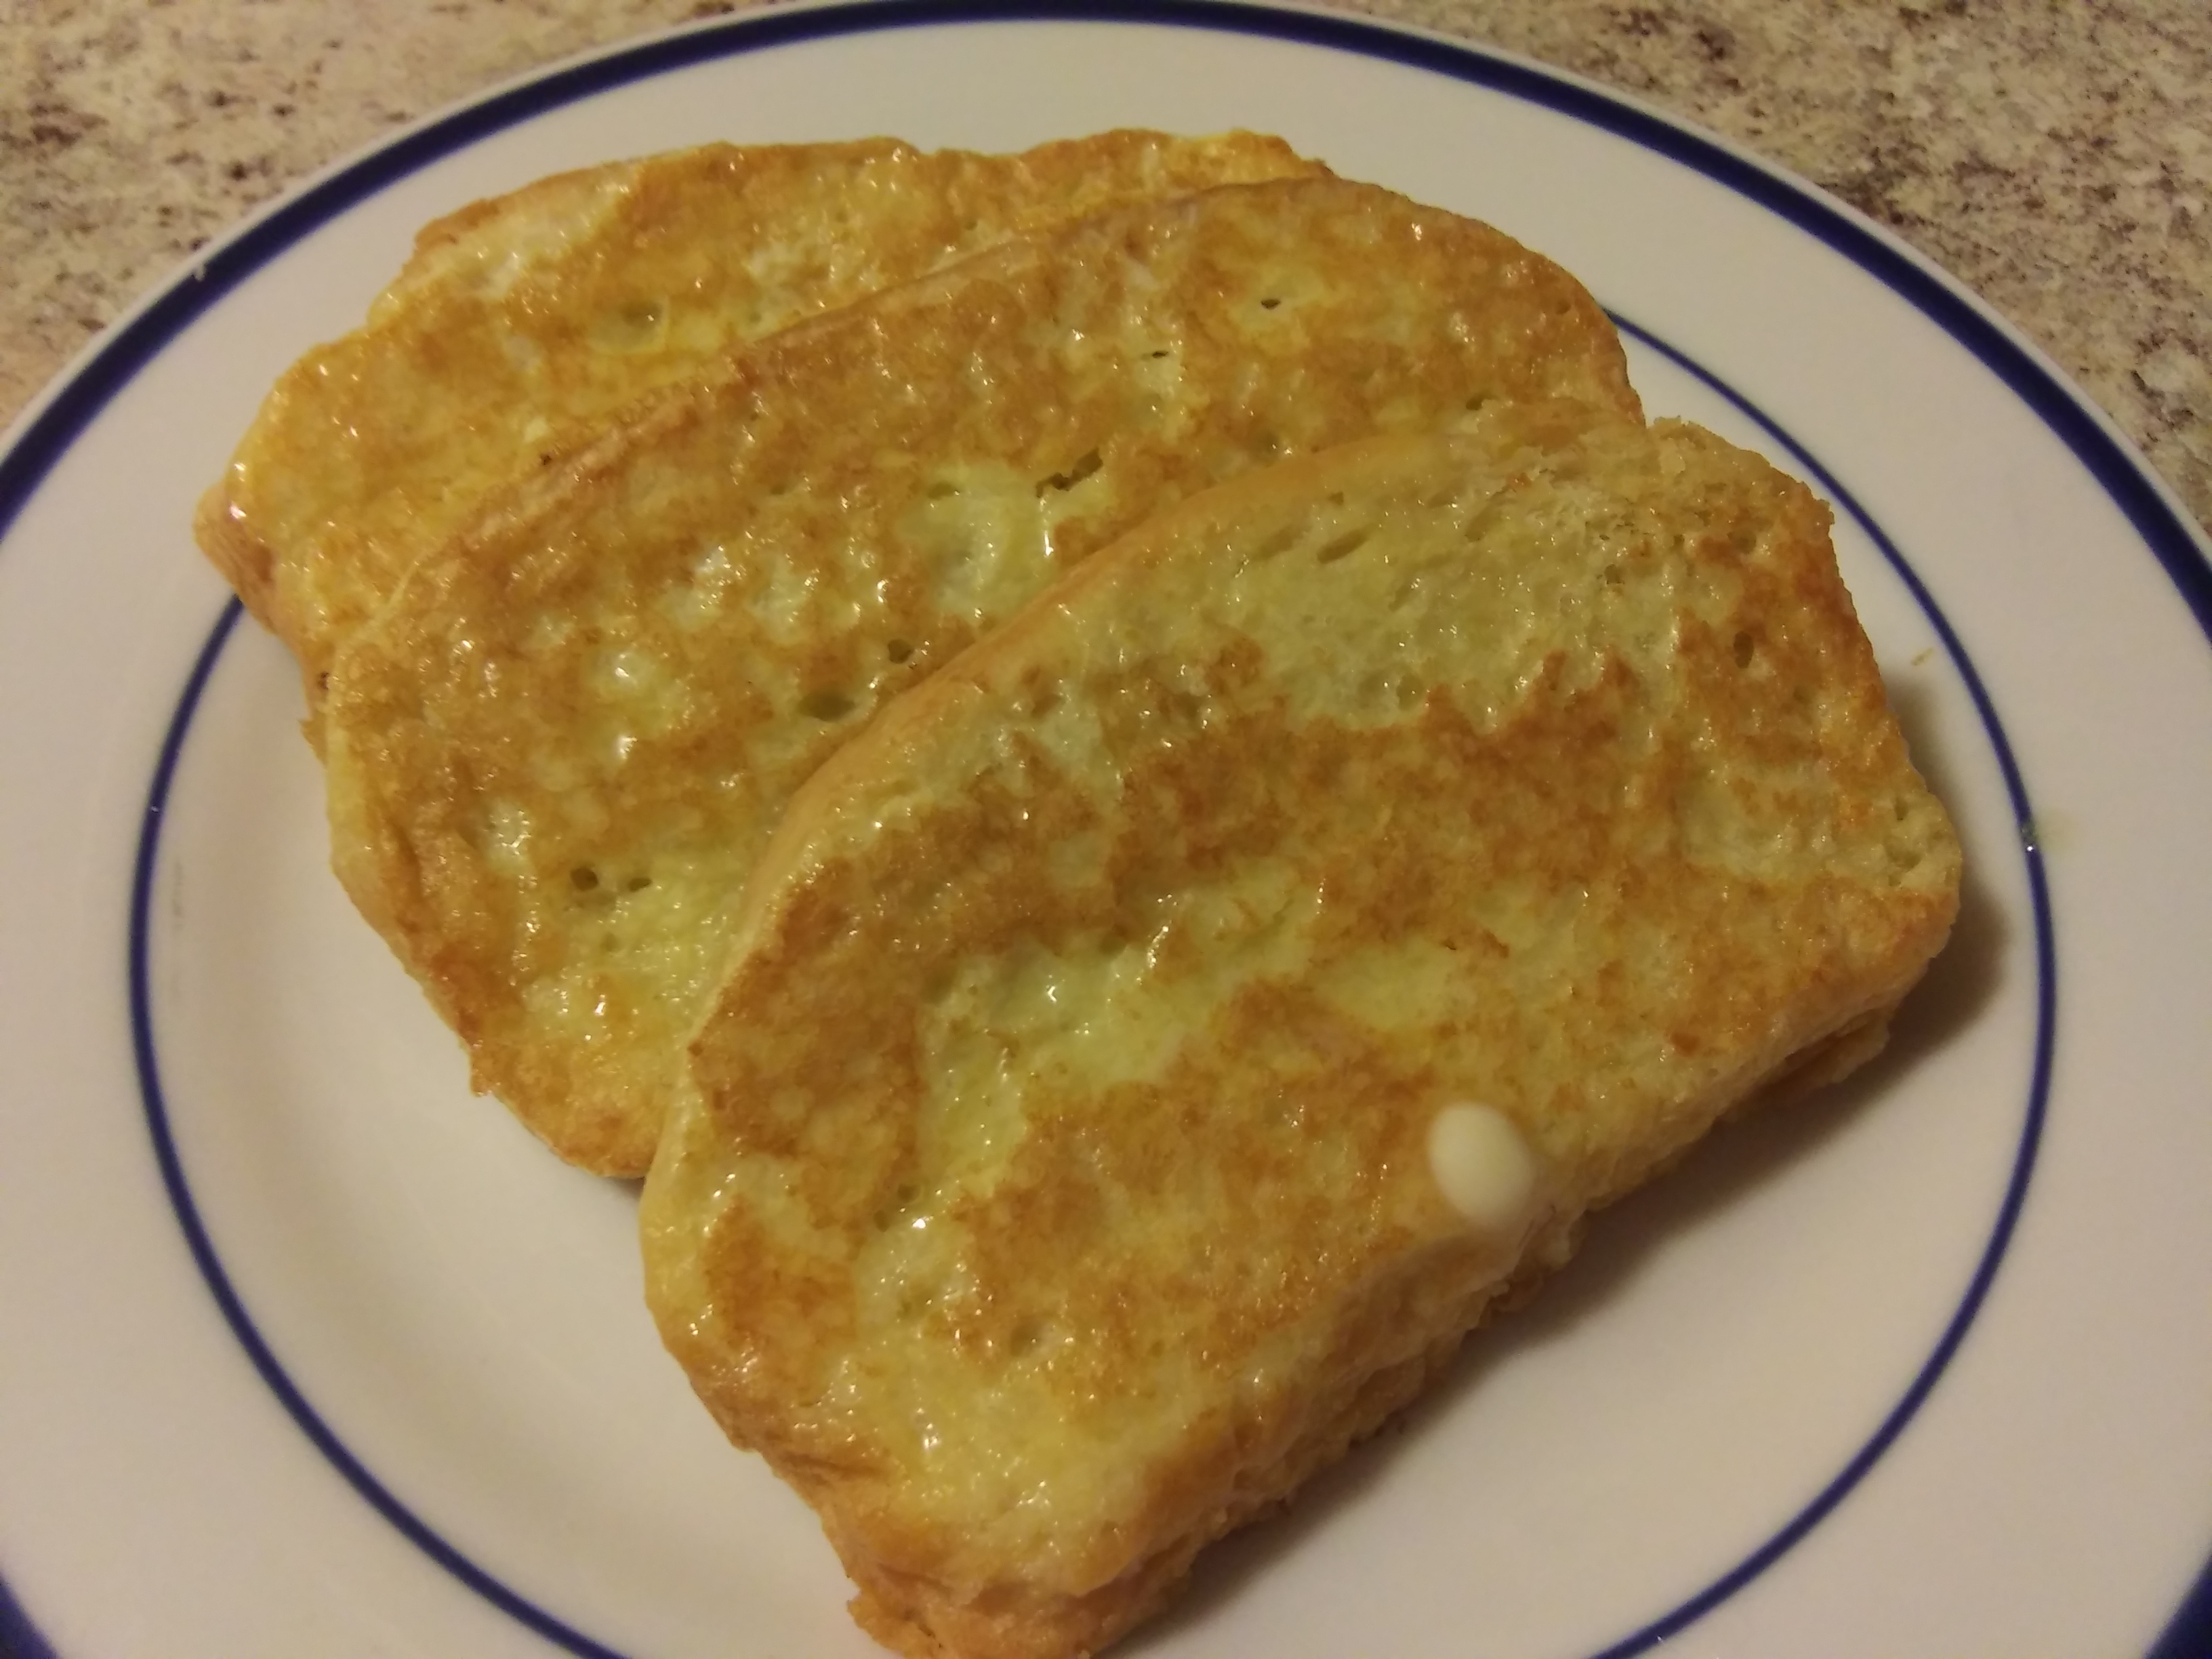
Cook for 2 minutes and flip. Total time is about 4 minutes. Slowly cook until lightly brown on both sides. Don’t rush or you will have mushy French Toast and that’s gross.
Lightly butter each slice and serve with warm syrup or fruit.
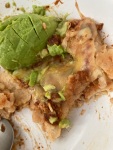
Use you imagination for the toppings. You can also make Savory and Zesty French Toast for lunch or dinner.
I don’t put sugar or cinnmon in my egg mix. There is enough in the syrup. I’d rather add some cinnamon to the syrup and slightly warm it and serve on the side. This way you are not serving a plate of sugar. Make it so diabetics can enjoy. Make it fun and add some choices of fruit, whip cream or what ever. Simple and less sugar.
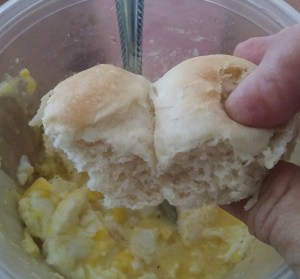
I made a loaf of bread wth the buttery dinner roll left over dough a few weeks before. I took the loaf from the freezer… This was a wise move to use this bread. This recipe just melts in your mouth.
This summer brought a bumper crop of tomatoes. With all the sunshine the vegatable garden had a big burst with the long summer days.
6 large Tomato
1 bunch Cilantro
1 bunch Green Onion
1 medium Sweet Onion
8 sections Garlic
Salt To Taste
1/4 cup Lime Juice (Fresh is best)
1 Serrano pepper ( for spicy leave the seeds in and just thinly slice the pepper. Take the seeds out and put just a few in for a nice medium to cool temperature of spicy.)
This recipe makes light and airy buttery dinner rolls easily and quick. Place your ingredients into the bread machine and go do something else while the machine processes the dough to a beautiful smooth texture. This recipe will make enough dough to make 48 regular rolls or 24 small size sandwhich rolls (not pictured). Or like I always do is make a pan of 18 rolls, 1 LB loaf and 6 sandwhich rolls from 2 LB’s of dough. Add all the ingreidients to pan as follows. Remember Liquid always goes first when using a bread machine. Always put your ingredients in their perspective places in the pan and you will always have perfect dough.
Ingredients
3/8 cup Water
1 cup Milk (Whole) room temperature
3/4 Stick Butter (chopped into tiny pieces and evenly placed in the pan)
1 and 3/4 teaspoon Salt (on the Left side top corner of the pan)
4 cups Flour (in the center place a shallow divot to place yeast and a little sugar)
2 tablespoons Sugar (on the bottom right corner and a small sprinkle in the divot maybe 1/4 teaspoon)(Real Sugar, No Substitute)( Trust me, it won’t hurt you)
3 Tablespoons Powdered Milk
2 and 1/4 teaspoons Active Dry Yeast ( place in pivot on top of sprinkled sugar)(NO QUICK YEAST) Old Fashion kind…
Once your timer goes off on your bread machine to signal your “DOUGH” is finished, remove pan of dough from machine and place it at work station.
Set your machine on “DOUGH” and go do something else.
On your work surface place your pans that you will use to cook your rolls.
Grease your pans lightly and your hands completely. I just use vegetable oil.
Remove a 1″ ball of dough for regular rolls or 2 1/2″ inches for larger rolls.
Place your rolls 1\4″ apart in pan. Set in warm area to rise for 25 to 45 minutes. Check after 25 minutes. Best if at least twice to 3 times original size or more.
at 25 minutes preheat your oven on 350 degrees
Place your pan in the oven on the center rack
Cook for 20 minutes or until lightly brown tops
Do Not Over Cook… Check through glass door of oven after 15 minutes. DO NOT OPEN OVEN DOOR at 15 minutes unless tops are brown then remove them. If not, check at 20 minutes. Remove and let cool at least 10 minutes.
As you gain more confidence at baking bread you will be able to lightly knock on the rolls and know they are done… Cooking is amazing once you get going. So every time you bake bread and the timer goes off knock lightly with your finger tip of nail on top of rolls “FLICK” it in the center. They will be crispy on the crust. You will hear a clear tone when they are done. Keep baking, you will see…
You can also freeze any extra dough. Just make the size of dough lay them on a cookie sheet and freeze and remove place in a baggie and take them out of freezer as you want. Easy simple.
Other tasty treats you may want to try with this dough are:
Bearclaws (Almond paste with a lite glaze)
Fried Apple fritters (Apples and Cinnamon wrapped up and sprinkled with glaze)
Peaches n Cream (Fried Bread with Peach compote with a dab of Vanilla Ice Cream)
Smokeless tobacco is associated with many health problems.
Using smokeless tobacco:
Can lead to nicotine addiction
Causes cancer of the mouth, esophagus (the passage that connects the throat to the stomach), and pancreas (a gland that helps with digestion and maintaining proper blood sugar levels)
Is associated with diseases of the mouth
Can increase risks for early delivery and stillbirth when used during pregnancy
Can cause nicotine poisoning in children
May increase the risk for death from heart disease and stroke
Using smokeless products can cause serious health problems.
Protect your health; don’t start. If you do use them, quit.
Addiction to Smokeless Tobacco
Smokeless tobacco contains nicotine, which is highly addictive.
Because young people who use smokeless tobacco can become addicted to nicotine, they may be more likely to also become cigarette smokers.
Smokeless Tobacco and Cancer
Many smokeless tobacco products contain cancer-causing chemicals.
The most harmful chemicals are tobacco-specific nitrosamines, which form during the growing, curing, fermenting, and aging of tobacco. The amount of these chemicals varies by product.
The higher the levels of these chemicals, the greater the risk for cancer.
Other chemicals found in tobacco can also cause cancer. These include:
A radioactive element (polonium-210) found in tobacco fertilizer
Chemicals formed when tobacco is cured with heat (polynuclear aromatic hydrocarbons—also known as polycyclic aromatic hydrocarbons)