Each year, one woman dies every 12 hours from pregnancy related causes, and 1 in 10 babies is born preterm.
Healthy Moms, Strong Babies
When you make a contribution, you’re supporting parents throughout their pregnancies and helping to end preventable maternal health risks and death, end preterm birth and close the health equity gap for every family.
Take your leftover strawberry compote and turn it into something new.
Homemade Fresh Strawberry Shortcake Compote
You’ll find just how easy it is to make your own strawberry jam without all the extra sugar and junk your body does not need.
Yes trust me when I say less sugar and no preservatives does a body good.
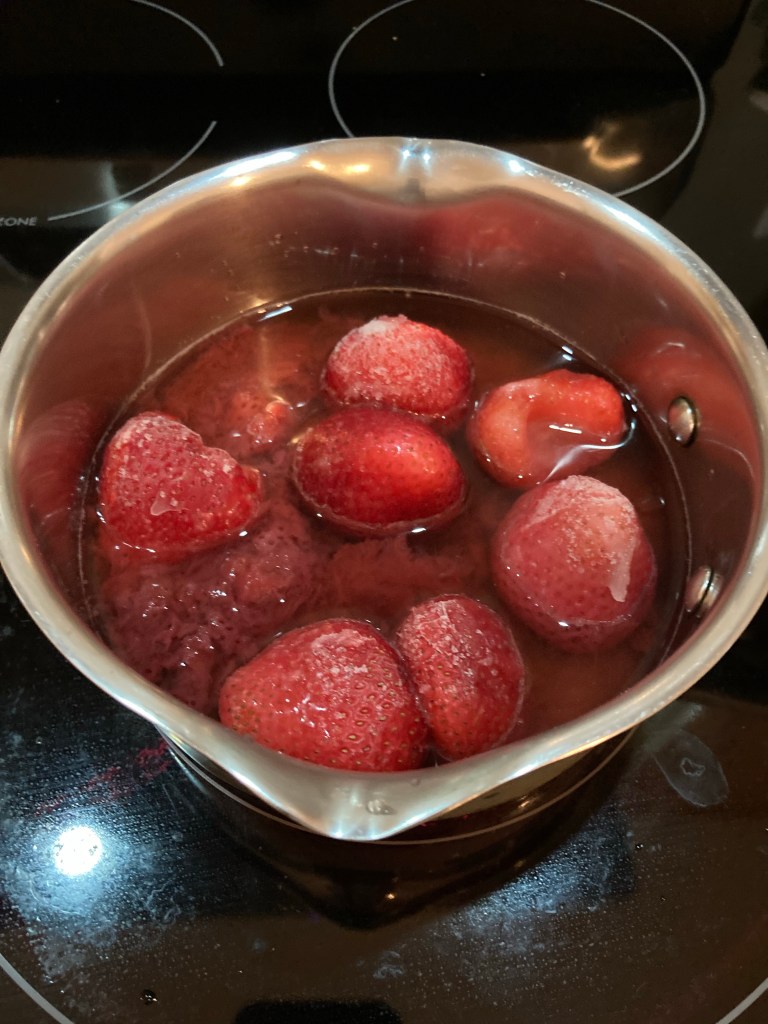
I had some leftover frozen strawberries from this past season. So I added the frozen strawberries to my compote and 1” inch of water above the strawberries and turn on the heat under my pan to high.
Bring to a full boil and reduce the heat to a slow simmer. It’s more about the flavors you are bringing out with the slower simmer.
At this point the house is smelling like a strawberry field at picking time. The sweet undeniable smells of hot summer days come rushing through my senses. I just want to throw open the windows and let the world have a whiff.
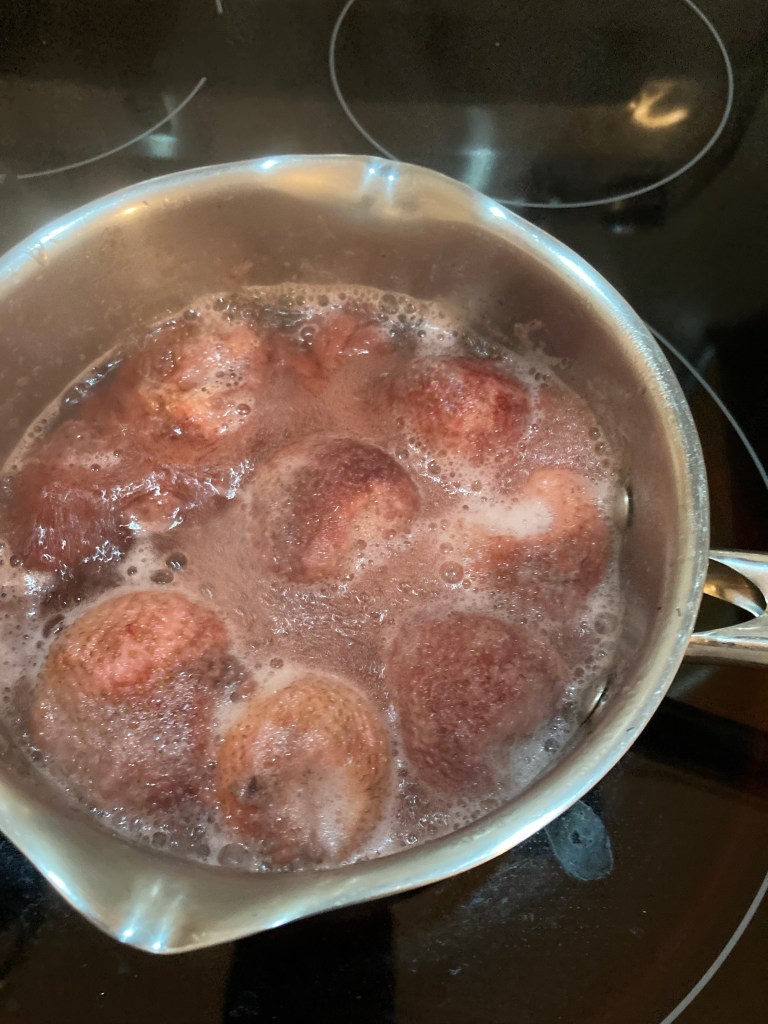
Once your strawberries puff up (15 to 20 minutes) you can remove the lid and smash the strawberries with a fork or potato masher. Depending on how chunky you want your jam.
Make sure you continuously stir and watch the pot as they say. Jams are hard to clean up. Plus at this point you shouldn’t be using any heat that is going to make a boil. Simmer is tiny bubbles. Just like you see in champagne.
Tiny bubbles like champagne
Continue cooking without the lid on low heat to reduce the fluid. This might take up to an hour.
Still to much fluid. Keep reducing
During this time you need to taste it for sweetness. You can add sugar or vanilla at this time if needed. Depending on how sweet your strawberry short cake compote was.
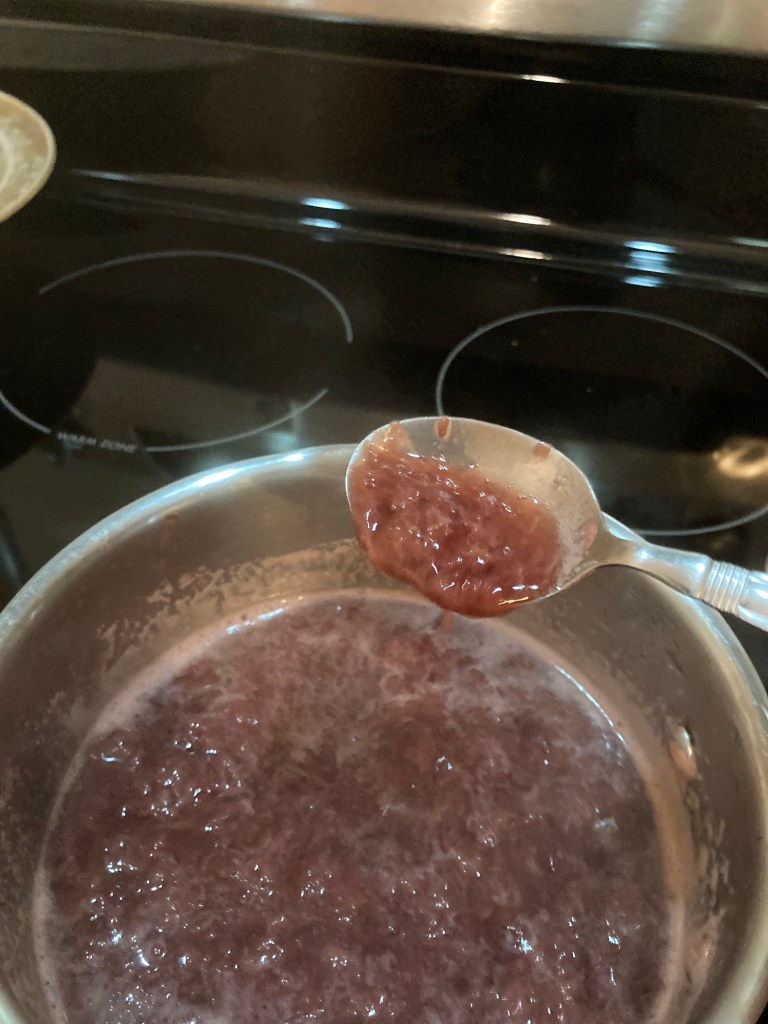
Once it is semi thick and sticks to your spoon with just a little bit of slide to it. It’s ready, you can turn the heat off and let it rest. It will continue to thicken on its own.
Strawberry jam is sticking to the spoon. Remove from heat.
Believe it or not strawberries have a natural pectin. So it will thicken all by its self.
Strawberry Jam is cooling down
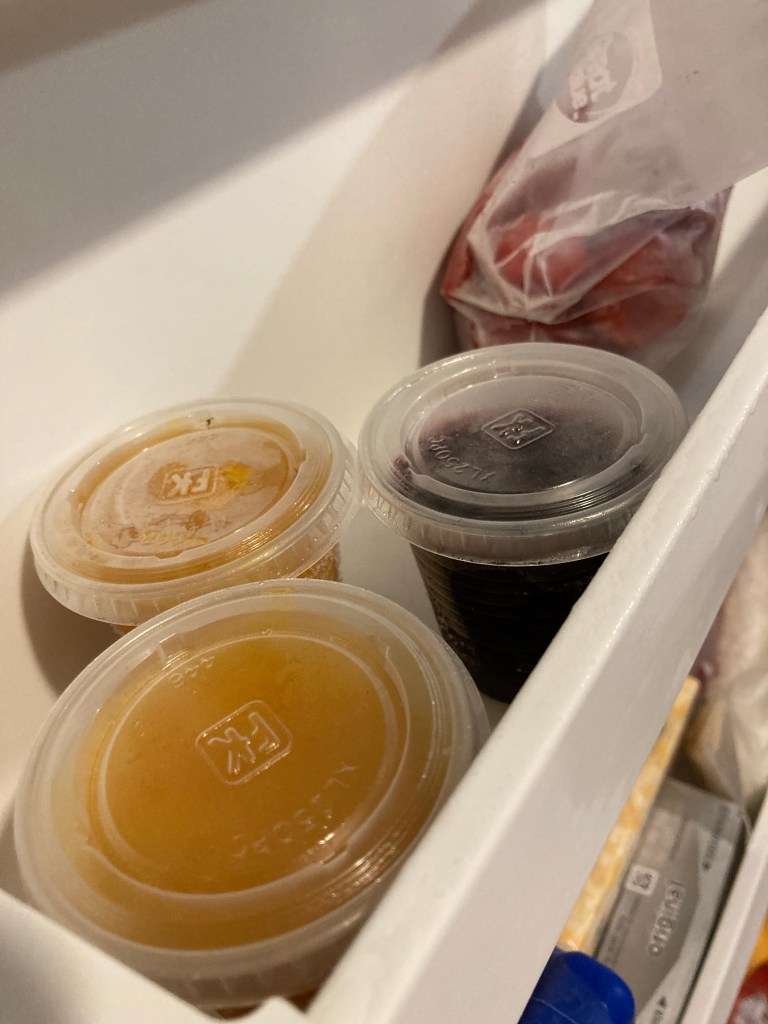
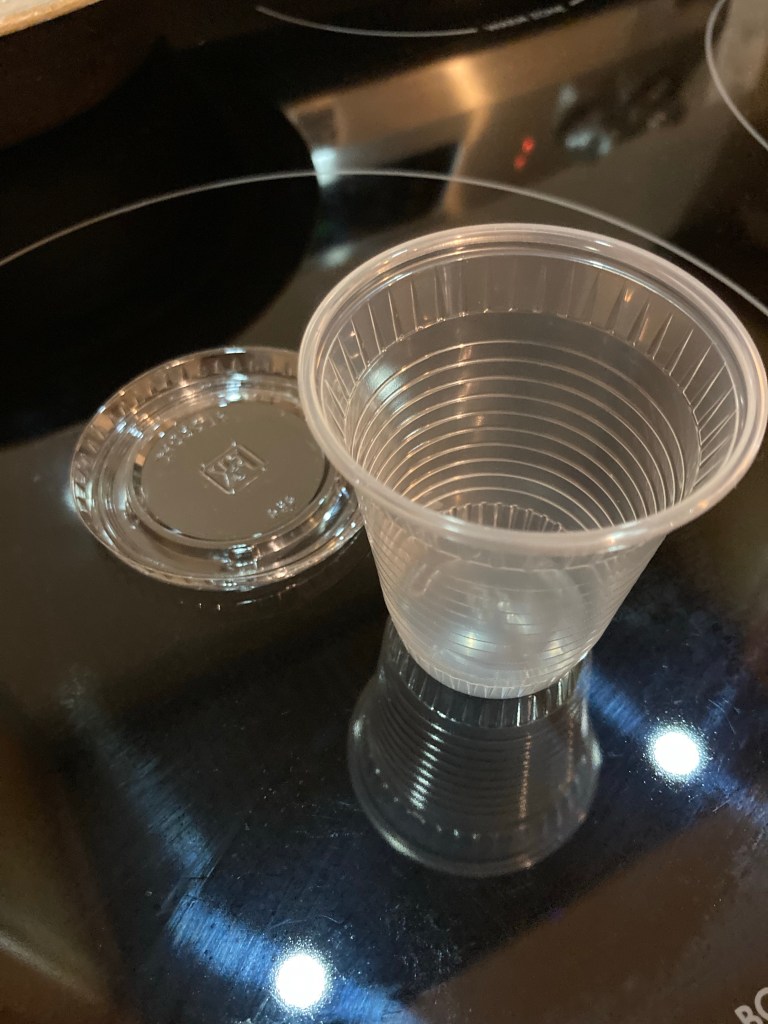
Add the cooled jam to your containers.
I put all my jams in 3 ounce containers with lids and I freeze them. That way I can have fresh strawberry jam or any other flavor anytime I want.
Shred tuna fine, add egg and mix well. Add tuna water and mix well. Add cornmeal and mix till. If balls are not forming, add a small amount of water to get the balls to stick together if not sticking.
Spoon out ½ Teaspoon roll into a ball, Place pieces on greased baking sheet smash with fork to 1/4-inch thick
Bake at 350’F oven for 15-20 minutes or until light brown
Cool to room temperature, place in an air-tight container, and store in the refrigerator or the freezer. They will keep well in the fridge for up to 1 week and in the freezer for up to 3 months. Serve at room temperature.
When was the last time you took a long look into that mirror? When was the last time you have done the “Me Check”? And if you did, did you ask yourself what have I been thinking???? Mental Check Up is worth a million my friend… If You assume you are “Un-Breakable”, your not. We sometimes forget that we are all humans.
Stop consuming your life and live it
Stop feeling sorry for yourself and start living
Stop Playing the victim and start living
We all need to keep up with these small things that could change our life rapidly into the dark side . Don’t keep that door closed on the “I can’t” corner. Open up and let it go so you can dump off the excess.
Don’t you wonder why we all think that we can not do something. That small hesitation, that we all have right before we are about to board a “Risk”. Our fears take over, even when we know we can.
Don’t be fooled it happens to everyone. You just need the correct tools to combat the negative fields that seem to pile up at times..
Listen to a great inspirational speech by Matthew McConaughey
We all have that moment when we can change it to reflect the positive. Just remember we can all find ourselves on the positive side when we let go of the excess. You might ask what is excess. That you must ask yourself. What makes you crazy, your fears, the negative influences. You’ll find it when you start to look for it. Then You Can Open That Door and Throw It Away.
Need help for domestic violence? Call toll-free: 1-800-799-7233 (SAFE).
If you’re suicidal, we recommend contacting the National Suicide Prevention Lifeline
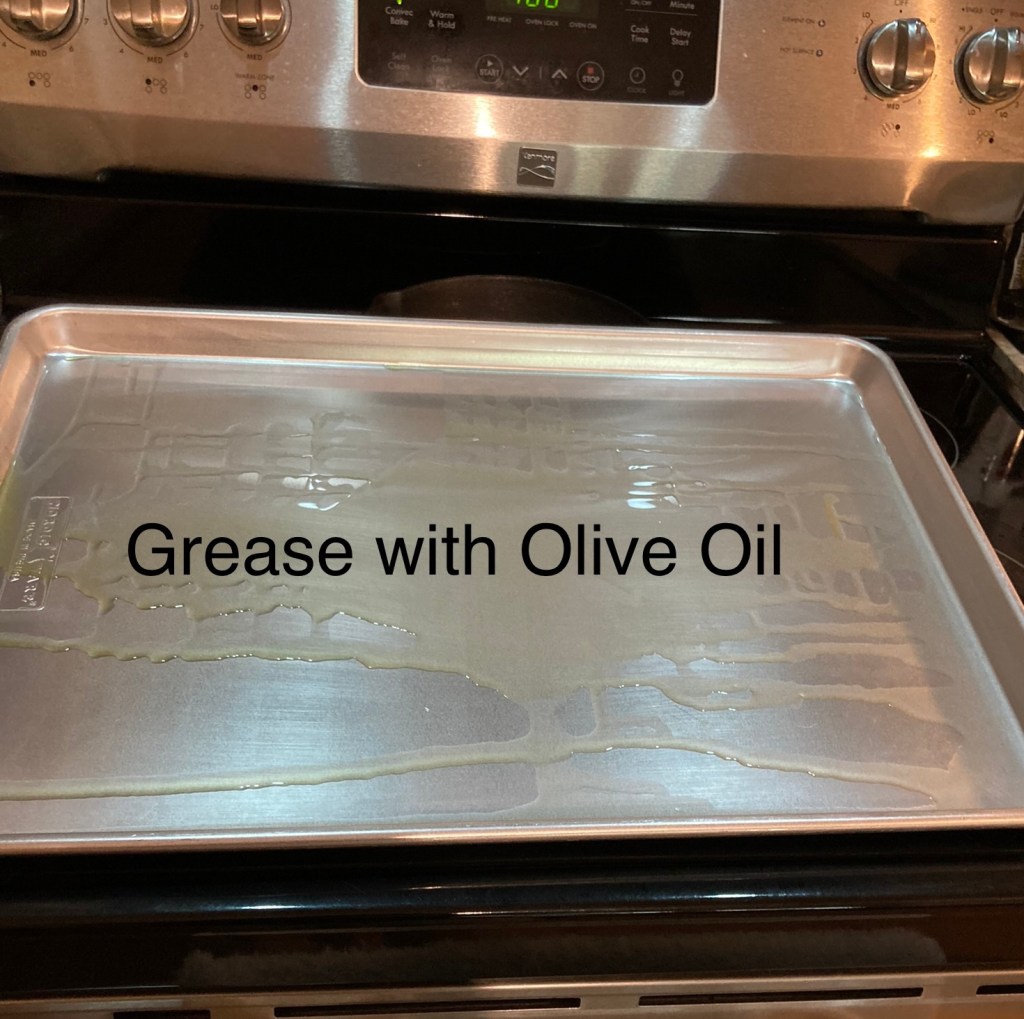
Great beginner level and a healthy option to fried foods. This recipe uses 1 tablespoon of healthy olive oil.
1 tablespoon Olive Oil coat entire pan. This pan is extra large cookie sheet type.
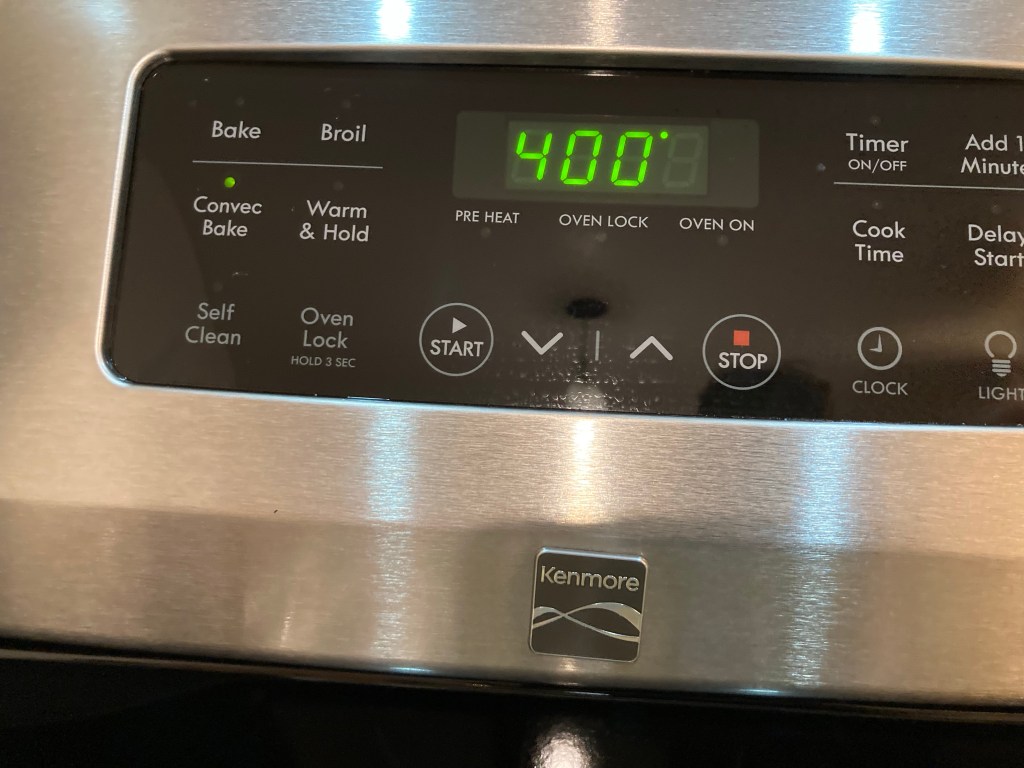
Turn on oven to 400’ degrees Fahrenheit. If you have a confection oven use that setting.
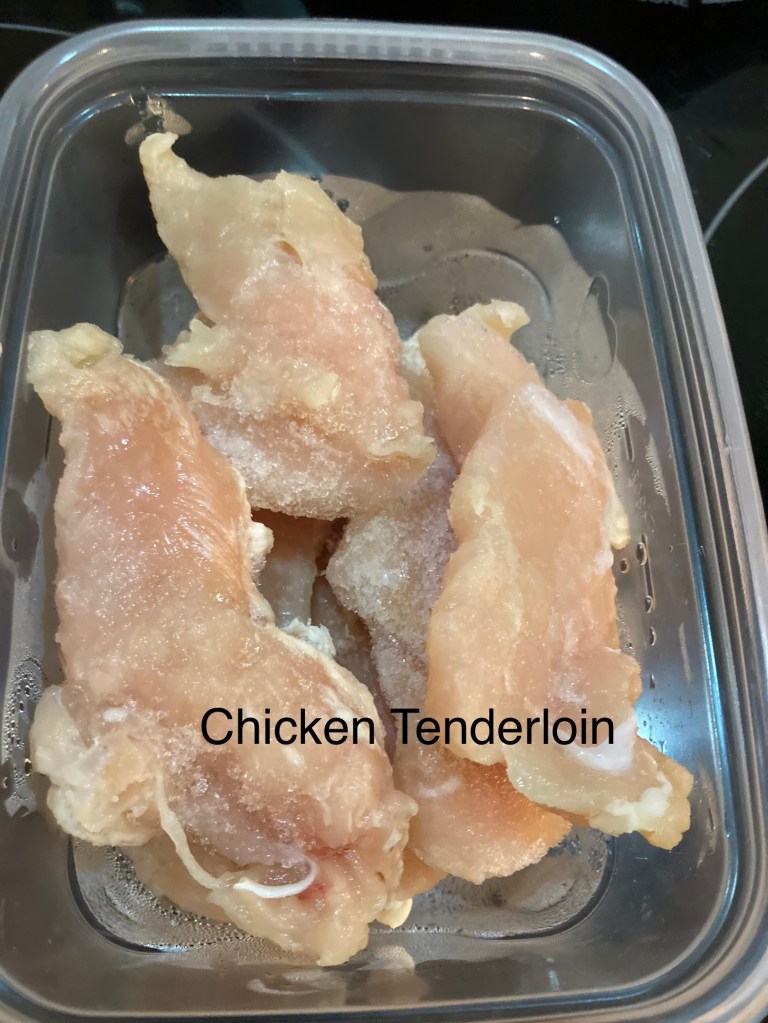
Defrost your chicken tenders
Cut your potatoes up and place in a bowl. Drizzle 1 teaspoon olive oil, 1 teaspoon garlic, 1/8 teaspoon salt and mix well. Place on your greased pan. I use the frozen Garlic cubes.
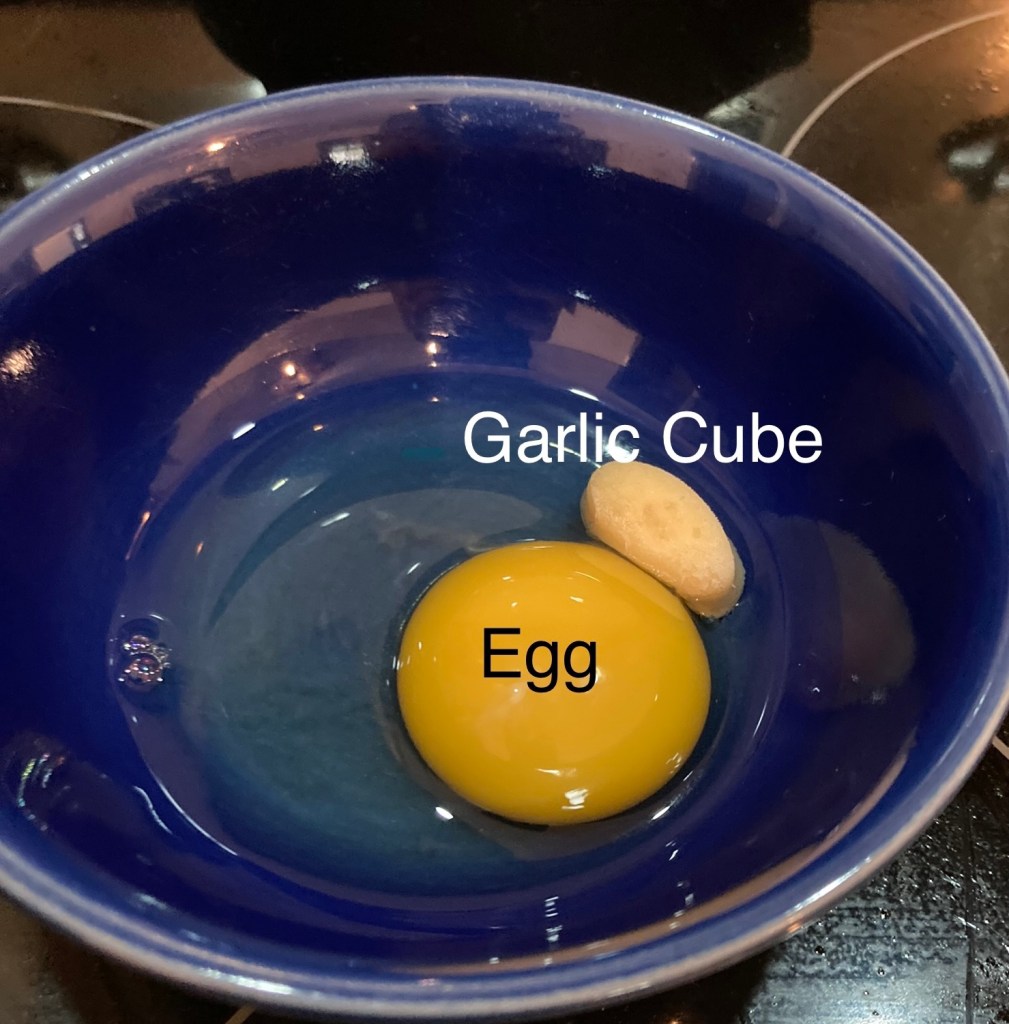
1 egg, 1 teaspoon garlic and scramble.
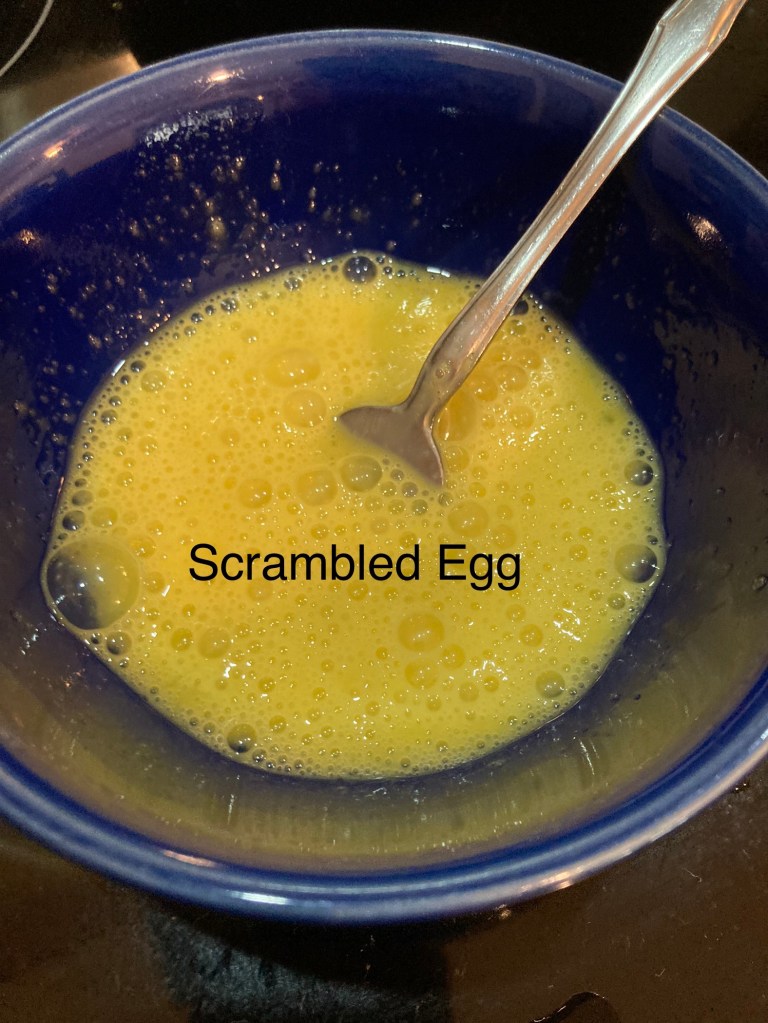
Scramble and scramble with fork.
Add 1/4 of Heavy Cream and mix well.
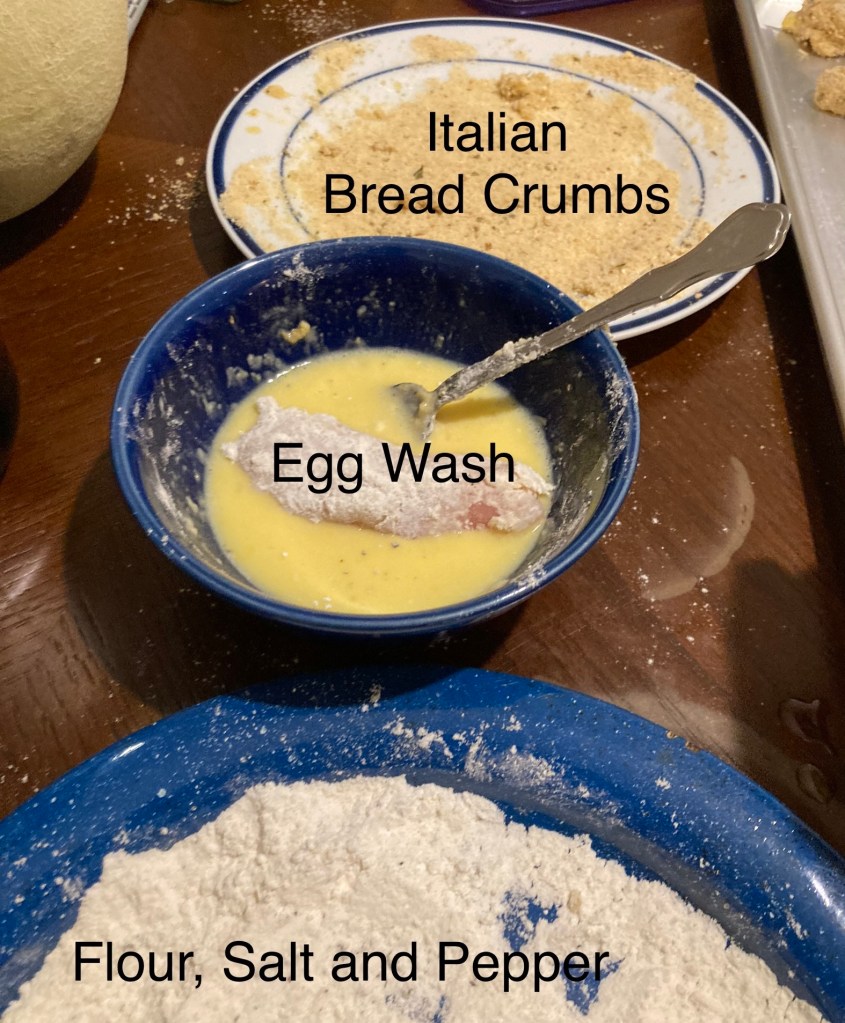
Roll your chicken in the flour, place in the egg wash and place in bread crumbs. Place on greased pan. Your fingers will get messy. You can use chop sticks or two forks and keep your hands clean.
Place the chicken tenderloins in the flour
Place the chicken tenderloins in the egg wash and coat the chicken really good with the egg wash. Place the chicken in the bread crumbs and place on the pan.
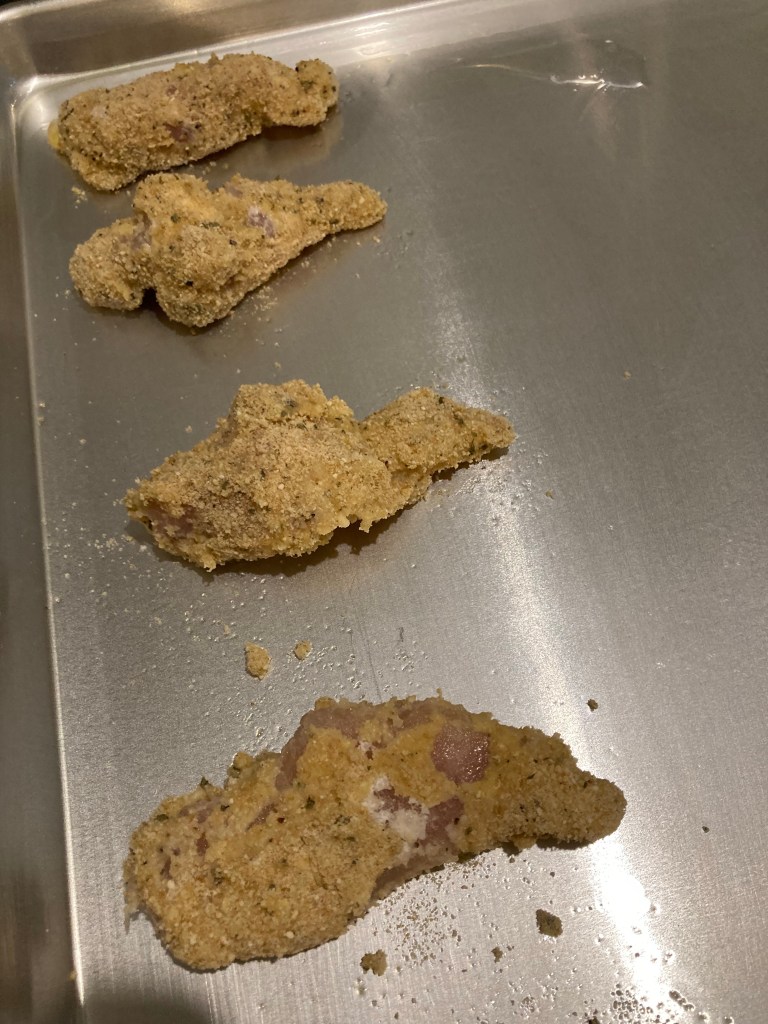
Place chicken on pan
Place the pan on the middle rack for 20 minutes or until crispy brown. Remove from the oven.
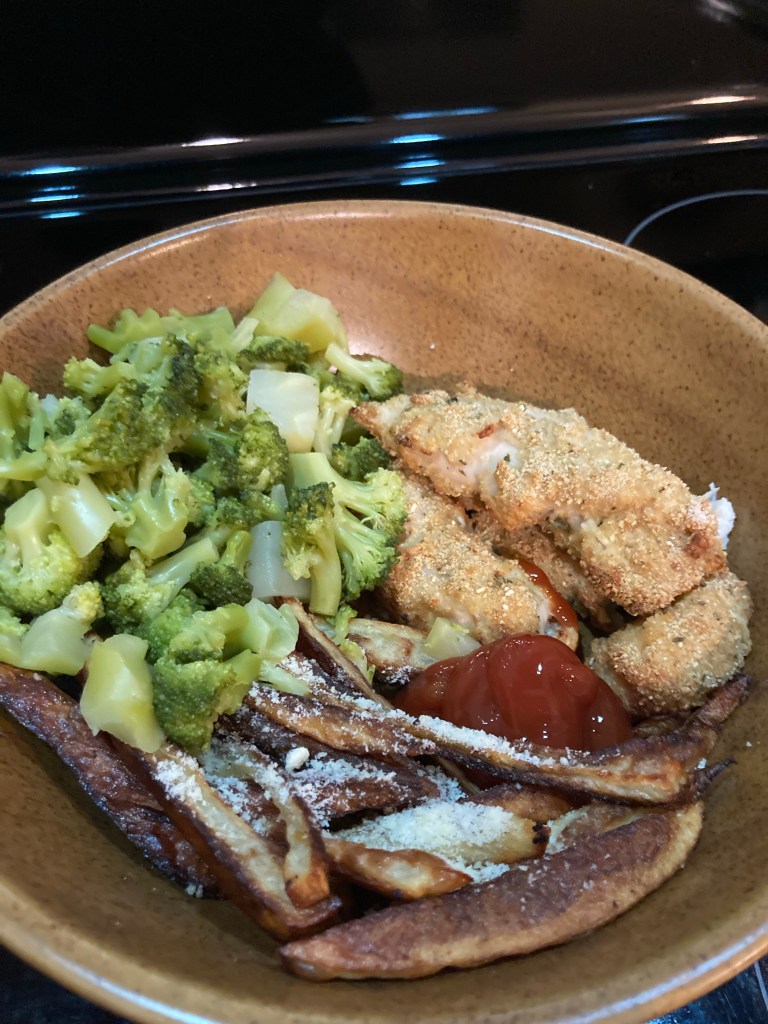
Dish it up and add powered Parmesan cheese and salt to the fries.
Enjoy your easy oven fried chicken tenderloins and fries.
Staying home for New Years Eve. Are you wanting to try some tasty seafood to celebrate the new year.
Lobster tails are a great way to start the evening off. Easy to cook and fast. Serve it with a veggie, bread, baked potatoes and salad. All can be made ahead of time.
I boiled these and the cooking time was 4 minutes. Depending on the size time is 2 to 4 minutes. You can cook them frozen, but it is recommended to thaw. These lobsters pictured are the size of a soda can. I cooked them semi frozen for 4 minutes and they were perfectly cooked. Make sure to salt your water.
A little something about Karen Shaw Becker . She is the most followed veterinarian in the world, and for good reason. Dr Becker believes in a deliberate, common sense approach to creating and maintaining vibrant health for companion animals and an unconventional, integrative approach to addressing disease and re-establishing wellbeing in ill pets. This refreshing, proactive approach that intentionally focuses on creating or restoring wellbeing has been embraced by millions of pet lovers around the world.
This is an Eruption update for Tuesday, November 29th at 10 in the morning.
USGS – Hawaiian Volcano Observatory reports the leading edge of the lava flow on Mauna Loa’s northeast flank remains at a high elevation of over 9,000 feet and more than 5 miles from Saddle Road.
As stated, the northeast flank of Mauna Loa is not populated and lava continues to not pose a threat to any communities or infrastructure, at this time.
Due to no threat to communities at this time, shelters that were opened yesterday at Old Kona Airport in Kailua-Kona and Ka`u Gymnasium in Pahala as a precaution, will be closed at noon today.
For those traveling Saddle Road /Daniel K. Inouye Highway, parking along the highway is unsafe and prohibited. Hawaii Police Department report that vehicles that park along Saddle Road /Daniel K. Inouye Highway between the 16 and 31 Mile Markers will be subject to citation and will be towed.
You will be informed of any changes that affect your safety.
Measure you doorways and windows that you want to leave open to get fresh air.
Go to your hardware store and pick up HVAC Filters. They have various sizes. I used 20 x 25 on the doors and 16x 20 for the windows. You need 2 pieces of wood 1“x 2” x 8 feet per door. Windows I just used the duct tape
Doorway: Cut your wood to the correct size. Lay the wood down and stick the filters in between the 2 pieces of wood. Measure both sides so it is even or your pañal will be crooked. Tape each side length wise first and flip it over and tape. Then tape each individual panel and go around the wood.
You won’t need wood for the windows. Just tape the panels together after measuring.
We are excited to introduce Dr. Becker’s Forever Dog Bites. This unique one-of-a-kind treat was crafted by years of research that can be found in the newly released book, “The Forever Dog.”
This is an Eruption message for Monday, November 28th at 12:30 AM.
USGS – Hawaiian Volcano Observatory reports an eruption at the summit of Mauna Loa is occurring.
USGS – Hawaiian Volcano Observatory and Civil Defense are activated and monitoring the situation.
The eruption is confined to the summit of Mauna Loa and there are no lava flow threats to communities and there is no evacuation requested at this time.
You will be informed of any changes that affect your safety.
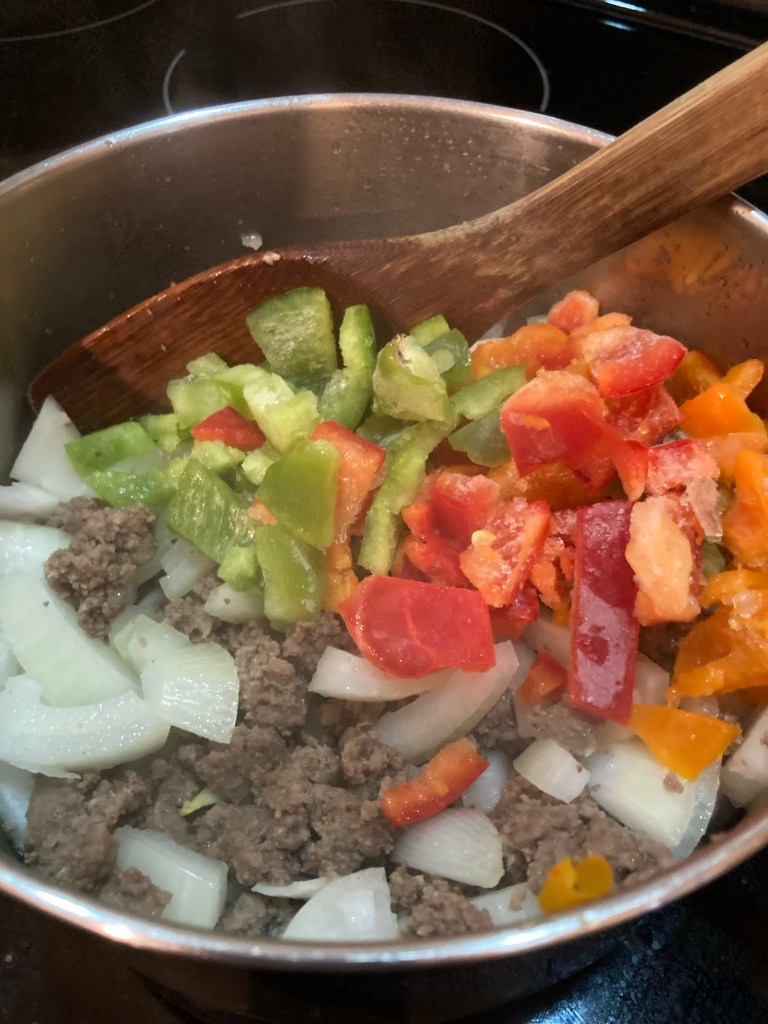
We are using spices and veggies instead of ketchup to flavor our yummy kid friendly and adult pleasing yummy homemade sloppy joes. No preservatives.
Add 1/4 of each green, red and yellow peppers 🫑 cut up into your choice of size and 1 onion. If your making this for kid’s you may want to dice the peppers and onion’s into very small pieces. I like 1” inch piece’s for adults. You can also purée in the blender for a smoother texture.
While the meat 🥩 is cooking cut up your veggies 🥗 and onions 🧅 .. Cook your meat 🥩 down and drain the grease.
Add your onion 🧅 and 🫑 peppers. Add 1 teaspoon salt.
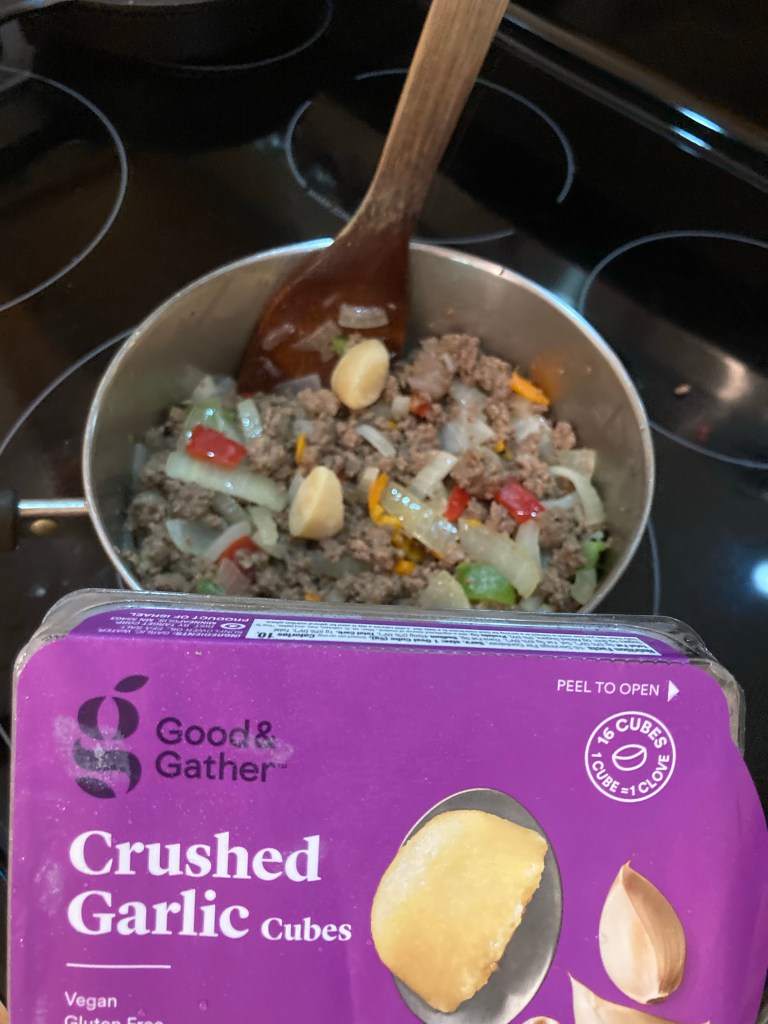
Add 2 Teaspoons of garlic. I use 2 of the frozen 5 gram cubes. ( 1 Teaspoon each cube ). Continue cooking
Cook down until soft and onion’s are translucent.
1 pound Hamburger
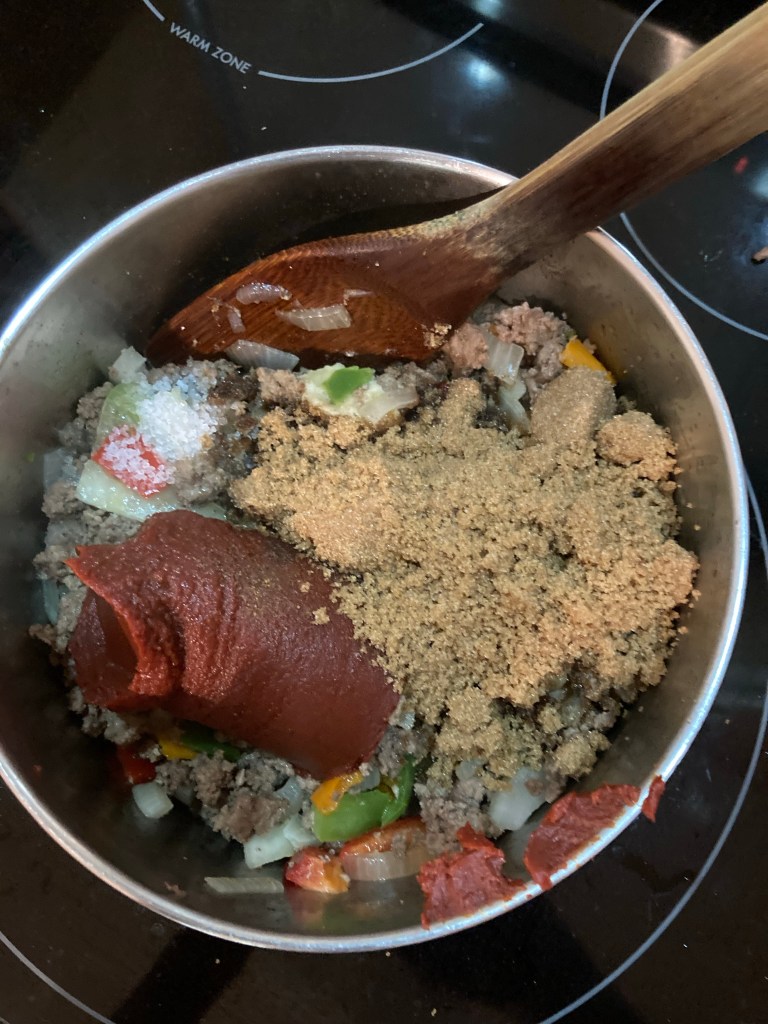
1 teaspoon Salt
1 tablespoon White Sugar
1 teaspoon Celery Salt
1/2 cup Brown Sugar
1 tablepoon All Spice
1 can Tomato Paste 6 oz
1 1/2 cups Water
Adding water 1/2 cup at a time. Mix it up until all the water is gone.
Simmer for 45 minutes
You can adjust the serving size by increasing all the ingredients. This makes approximately 6 to 8 sandwiches.
Yummy ready to go
I toasted some fresh baked garlic pepper Jack cheese bread. It paired wonderfully. So buns for the kids and add cheese or a different bread for the adults.
Your thinking about growing your own? Prescription in a natural plant.
Flowered Bud
Here are a few steps you can take to get started.
#1 You’ll need seeds
Before you start let’s get everything you’ll need to set up for success.
Seeds (There are several to choose from)
Containers ( seedlings can be planted in sprouting cubes or directly into big pots 5 gallon size).
Soil ( should be light fluffy non fertilized).
Lights ( depending on how many plants, lighting can be as simple as a regular light bulb for the seedlings to Full Spectrum lighting for growth of vegetation and flowering)
pH Tester ( very important pH balance of the water should be between: First weeks: 5.8 – 5.9. Pre-bloom: 6.0 – 6.2. Real bloom: 6.0 – 6.3
Water ( test your water. You can use bottled spring water with no additives.)
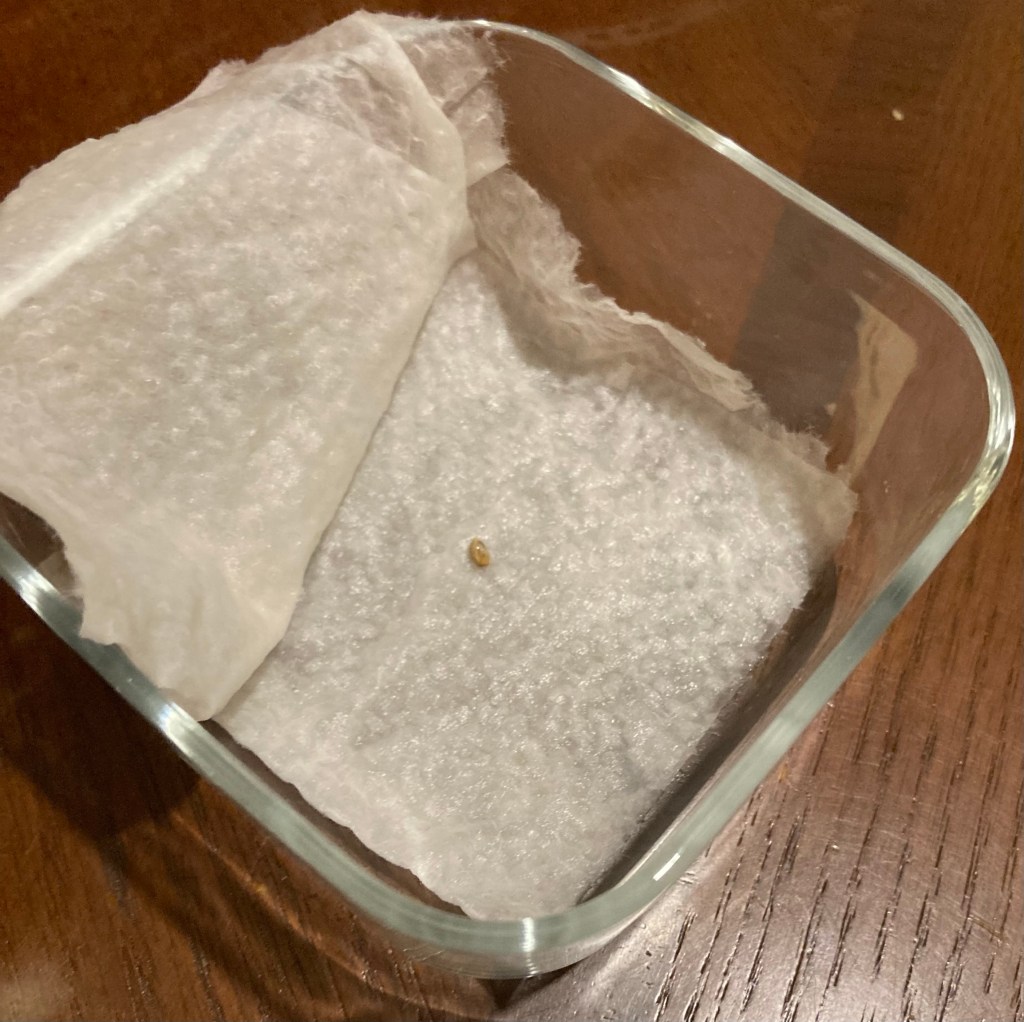
Starting your seeds. You’ll need 1 paper towel and a plastic bag or a plate. Good water is necessary for a healthy start.
Place the paper towel in the bowl, plate or plastic bag. Place your seed or seeds in the center. If more than one seed make sure to give plenty of space between the seeds. Gently pour the water over the paper towel and place in a dark place. Check every day. Should only take a couple of days till a little white root appears. Wait until it’s about 1/2 inch long.
Cover it up and water
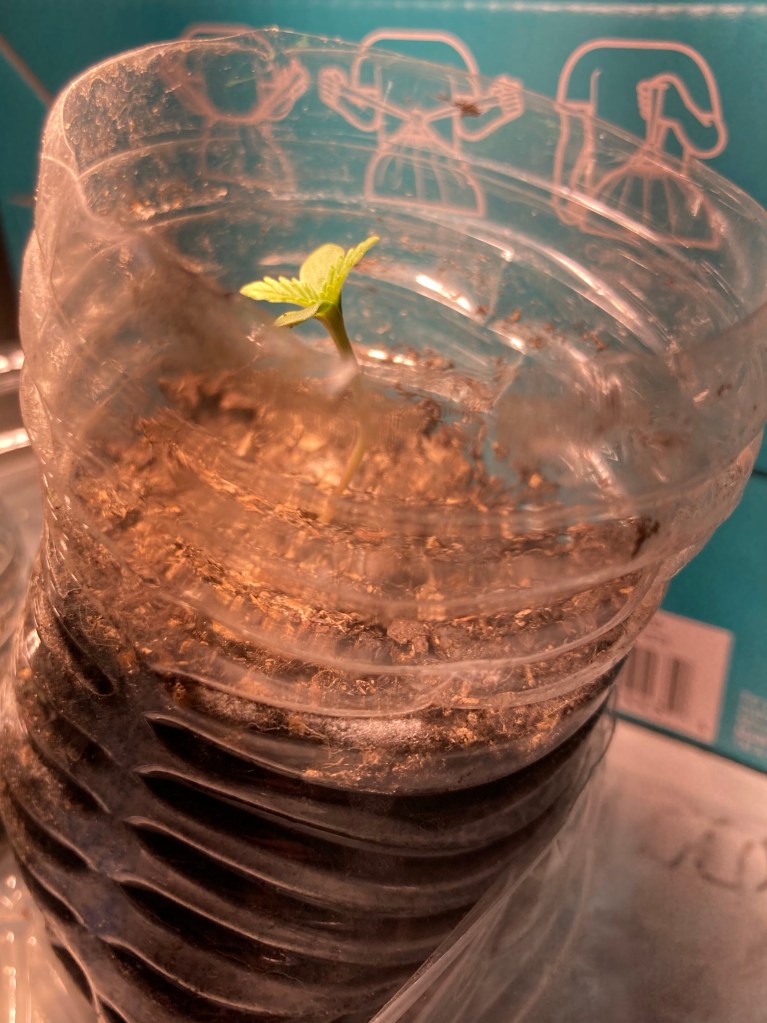
After the seed germinates wait until it is 1/2” long. Make a hole about 1 inch deep. A pencil eraser is a measuring tool. Place the root down and the seed cap. Lightly place some fluffy dirt on top and water. Set under the lights about 1” inch above seedling. Don’t turn on the lights until the 2 green leaves appear. Then 18 to 20 hours of light per day.
SPAM® Figgy Pudding brings a blend of warm spices and seasonal ingredients that will be the star in many wintertime recipe favorites. With notes of cinnamon and nutmeg combined with fig and orange flavors, you’ll taste true holiday comfort that will have you caroling all season long.
Dark chocolate has an extra layer of goodness. You ask what could be good about chocolate candy, besides that it’s yummy. I’m about to tell you all about the great powers of chocolate.
Feeling a little sluggish? Try having 25g of dark chocolate 72%. Dark chocolate contains just enough caffeine for a little afternoon burst of energy.
Caffeine is a compound naturally found in commonly consumed items such as coffee, tea, and chocolate. An average cup of coffee (8 fl oz) contains about 95 mg and the same amount of tea contains about 26 mg. Compared to these two sources chocolate has very little caffeine. The caffeine content of chocolate is dependent on the amount of cacao in the product. Dark chocolate contains about 20 mg of caffeine per ounce, milk chocolate contains about 6 mg per ounce, and white chocolate contains no caffeine. However, caffeine content will vary and can be dependent on the cocoa bean type and origin.
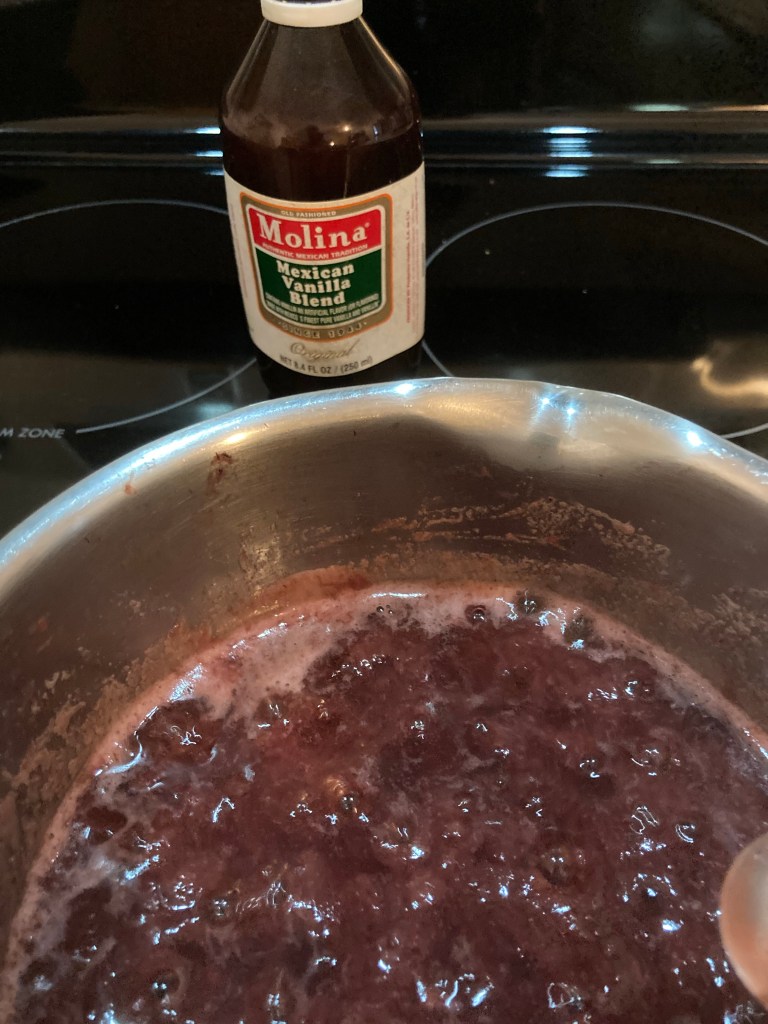
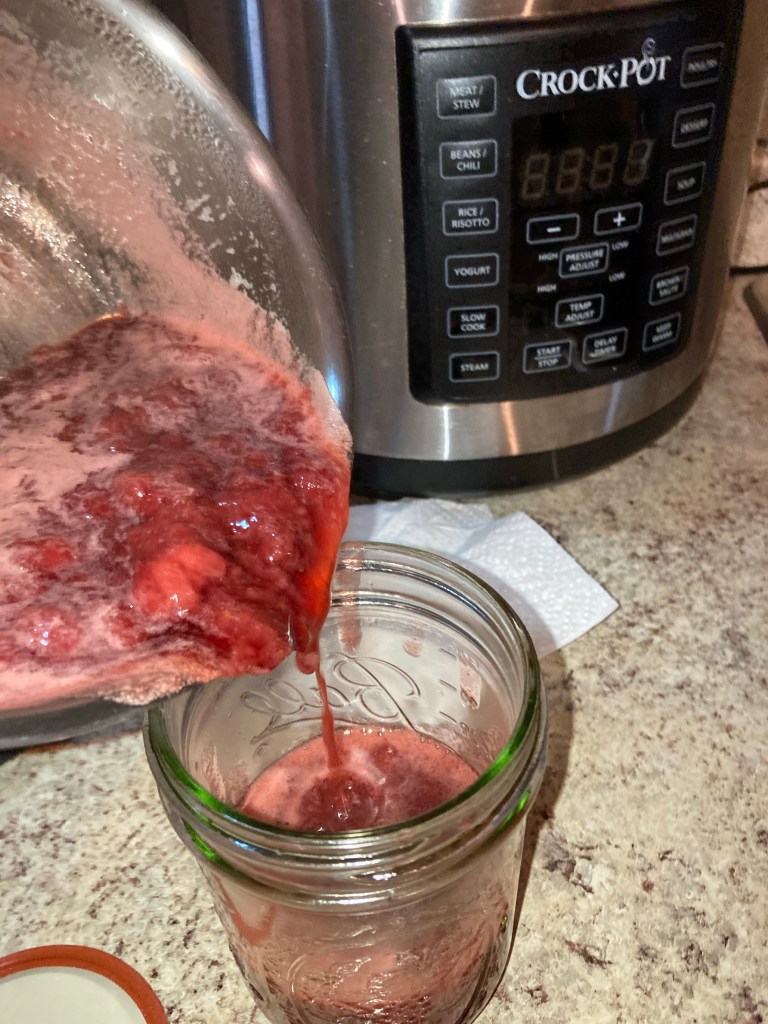
Now here’s a recipe with multiple uses. This can be used for jam on your toast, ice cream and cake poté filling.
I only make small batches. One pound of strawberries and half the sugar of other recipe’s. Big chunks of strawberries simmered to perfection. Low in sugar. No pectin.
Strawberry Shortcake
INGREDIENTS
1 pound Strawberry
1/2 cup Sugar
1/2 Teaspoon Vanilla
2 Tablespoon Lemon Juice
Water to cover berries by 1”inch
DIRECTIONS
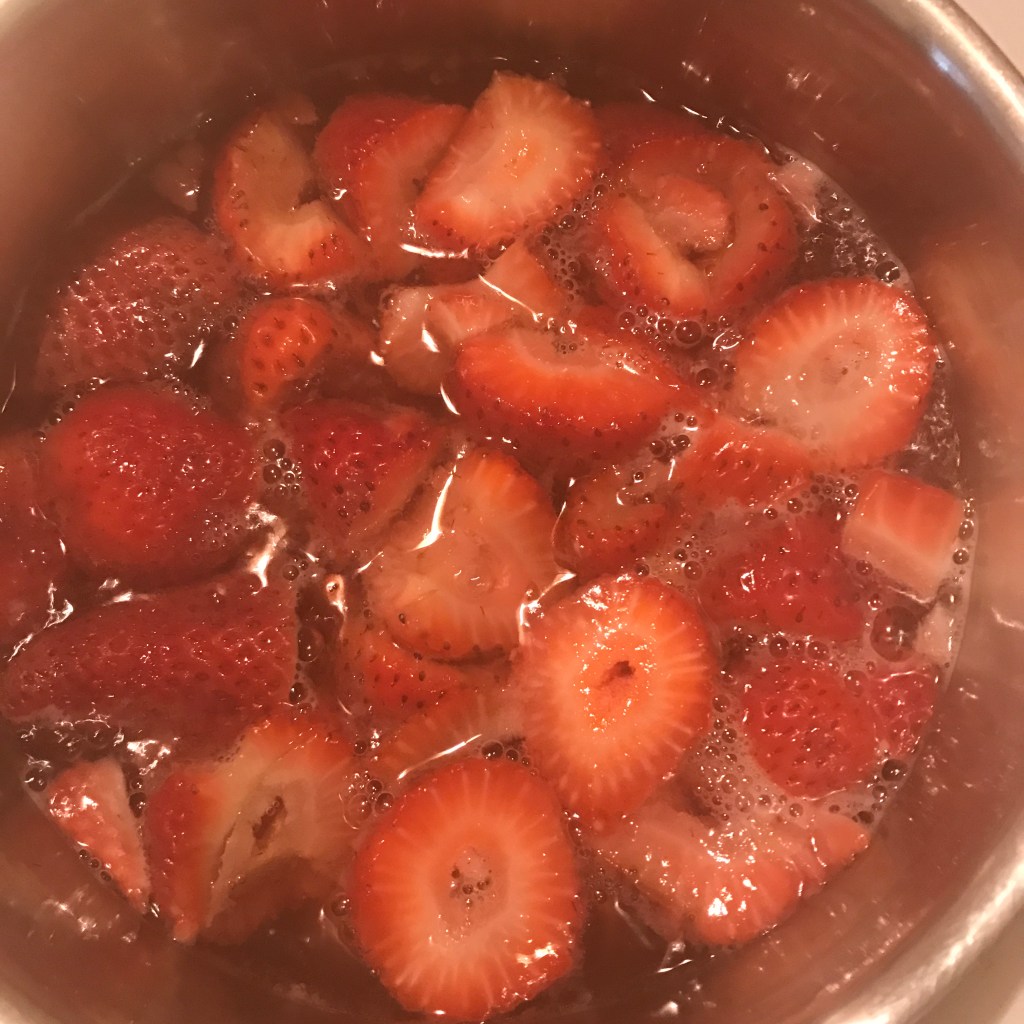
Take the tops off the strawberries and clean under water.
Cut strawberries up into chunks.
Place the strawberries in a medium sauce pan with the water.
Add sugar and lemon juice
Turn the fire on to medium and bring to a full boil. Turn the heat down so it simmers.
Continue to stir as it thickens.
When the jam is thick enough that it sticks to the spoon when turned on side. Remove from fire.
Add vanilla and stir really well.
Add to mason jar and completely cool. Put it in refrigerator.
2 Red Chilies soaked in 1/2 cup water over night (wear gloves when you handle the chilies) remove seeds and dice chilies thinly. Add the 1/2 cup of the chilie water to the pan.
1 Onion Large diced
2 Tablespoon Garlic minced
1 cup Dark Brown Sugar
1/4 cup White Sugar
3 tablespoons Vinegar
2 (6 ounce cans) Tomate Paste
1 Tablespoon Worshire Sauce
1 Tablespoon All Spice
1 Teaspoon Salt
1/4 cup Honey
DIRECTIONS
Wash and cut up your vegetables into small pieces
In a Large Pot 1 tablespoon Olive Oil bring to medium heat
Place the vegetables and sautee on medium heat until vegetables are wilted and soft. Add the garlic for the last 5 minutes. Stir frequently and dont burn them. Approxamently 20 minutes
Add the chicken broth bring to a boil reduce heat to simmer
Add tomatae paste and stir until dissolved
Add vinegar, brown sugar, white sugar, worshire, all spice, salt and honey
Stir until all is mixed together
Cover pan with lid slightly crocked to let steam out.
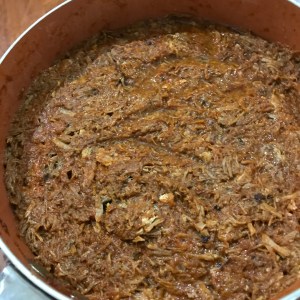
Cook down until very thick
2- 16 ounce wide mouth mason jars. Fill each one and leave at least 2″ from the top. Put the lid and seal on quickly so it will seal down good.
Let the BBQ sauce cool completely.
Put one in the freezer and the other you can refrigerate for up to 3 weeks.
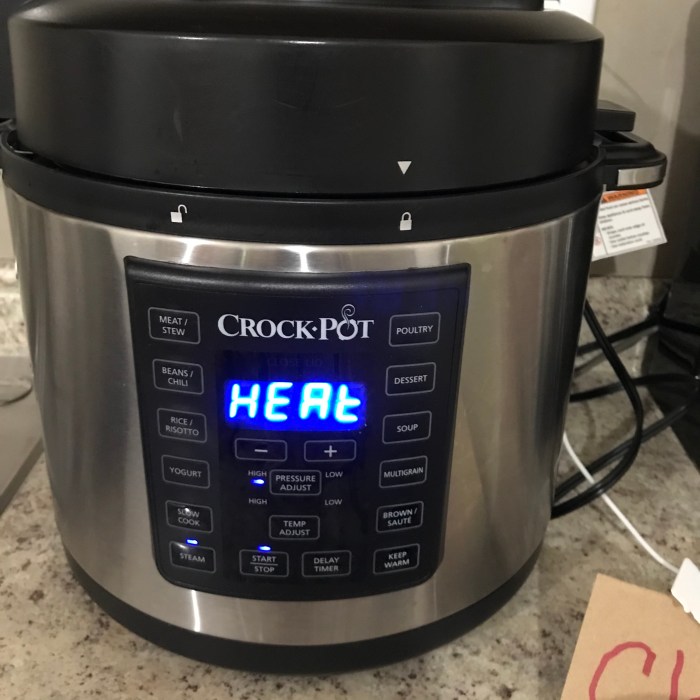
*You can use a Slow Cooker or Multicooker with the Jam setting if you have. It’s easier and you dont have to worry bout burning it. You just use the brown/sautee setting for cooking vegatables and bring to boil.
Another mouth watering recipe for your Latin Food file.
My recipe is a combination of of 5 different meat filling recipes. I made them until I found one that I really liked. Now I have my wonderful creation. The masa recipe is off the back of the Tamal Mesca bag. Simple easy. The only difference is I tan and use my Lard, Manteca or Tallow warm to enhance the flavor of the masa. Instructions down below.
A tamale is a traditional Mesoamerican dish, made of masa or dough, which is steamed in a corn husk or banana leaf. The wrapping can either be discarded prior to eating or used as a plate. Tamales can be filled with meats, cheeses, fruits, vegetables, chilies, chocolate or any thing your heart desires, and both the filling and the cooking liquid may be seasoned with what ever your main ingredient is in your tamale..
If you are trying to decide what to make for a special occasion, holiday or Christmas we think you might enjoy a little spice and sweetness instead.
The secret to a good tamale is moisture. Lard and broth are key ingredients to achieve a smooth creamy flavorful masa.
There are several variations of the tamale. From breakfast, lunch, dinner or dessert. The tamale base masa is like a white bread recipe that you make your own by adding your favorite ingredients. Use your imagination and be creative.
Today we will be making:
Red Chili Pork Tamales
There are a few ways to Cook the Tamales. You can use a Pot with a wire rack to hold tamales out of water, Multi Cooker or Rice Cooker with a wire rack (45 min to 60 min) or a Crock Pot/ Slow Cooker function with wire rack (takes about 2 hours +or-). I use the “Steam” function on my Multi-Cooker by Crock-Pot for no less then 45 minutes to 80 minutes.
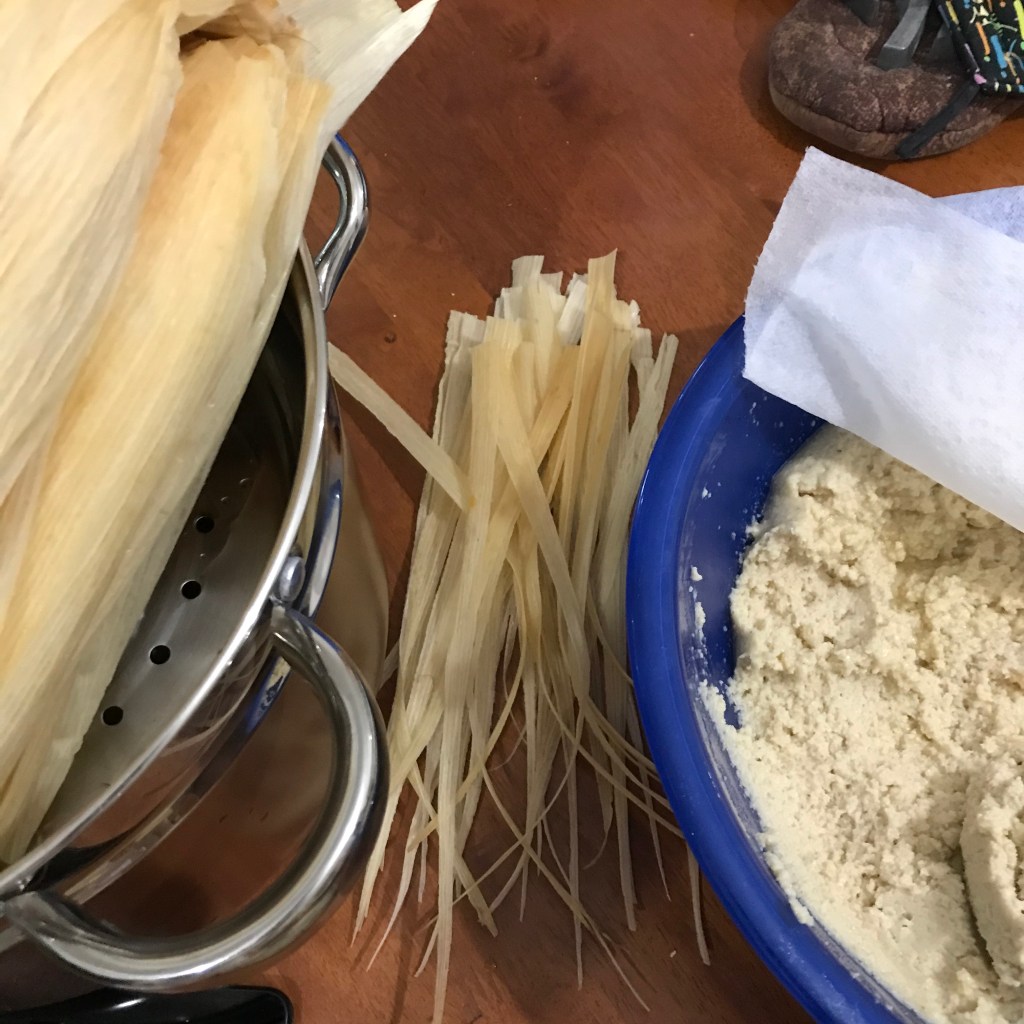
Prepare the Corn Husks by soaking them in a large pot with warm water. Make sure to separate each husk and clean thoroughly before you place them in the pot of warm water.
Preparing your filling is just as important as the masa. You need to pre cook your ingredients. Make sure you add enough moisture to your red chili sauce. This can be made ahead of time. I have made it when I had leftover pork and I just freeze it until I have time to make tamales.
RED CHILI PORK INGREDIENTS
Pork better if mixed parts like the butt, chops or loin ( fat and lean meats mixed)
1/2 cup water
1 can 10 oz. Enchilada sauce
10 dried red chili’s chopped in blender
1 Teaspoon cumin
1 Tablespoon salt
1 whole clove of garlic
1 onion
1 small bunch fresh cilantro (leaves only)
Rub pork with cumin and salt. Place all the ingredients in the multi cooker and stir. Select meat on the pressure cooker function. Cook until the pork is tender, approximately 90 minutes. Using slow cooker or pot on the stove method to cook your meat, at least 2- 3 hours until tender.
Open the multi cooker or pot and mix all ingredients together, break the meat down. Pork is broken down and shredded.
Place lid back on and slow cook for 2 hours.
After 1 hour check to make sure you have plenty of moisture if not add another cup of water and mix together.
Preparing Your Masa Its important to remember your liquid to dry ingredient ratio. It will be better if the masa is a little moist than dry.
VIDEO BELOW
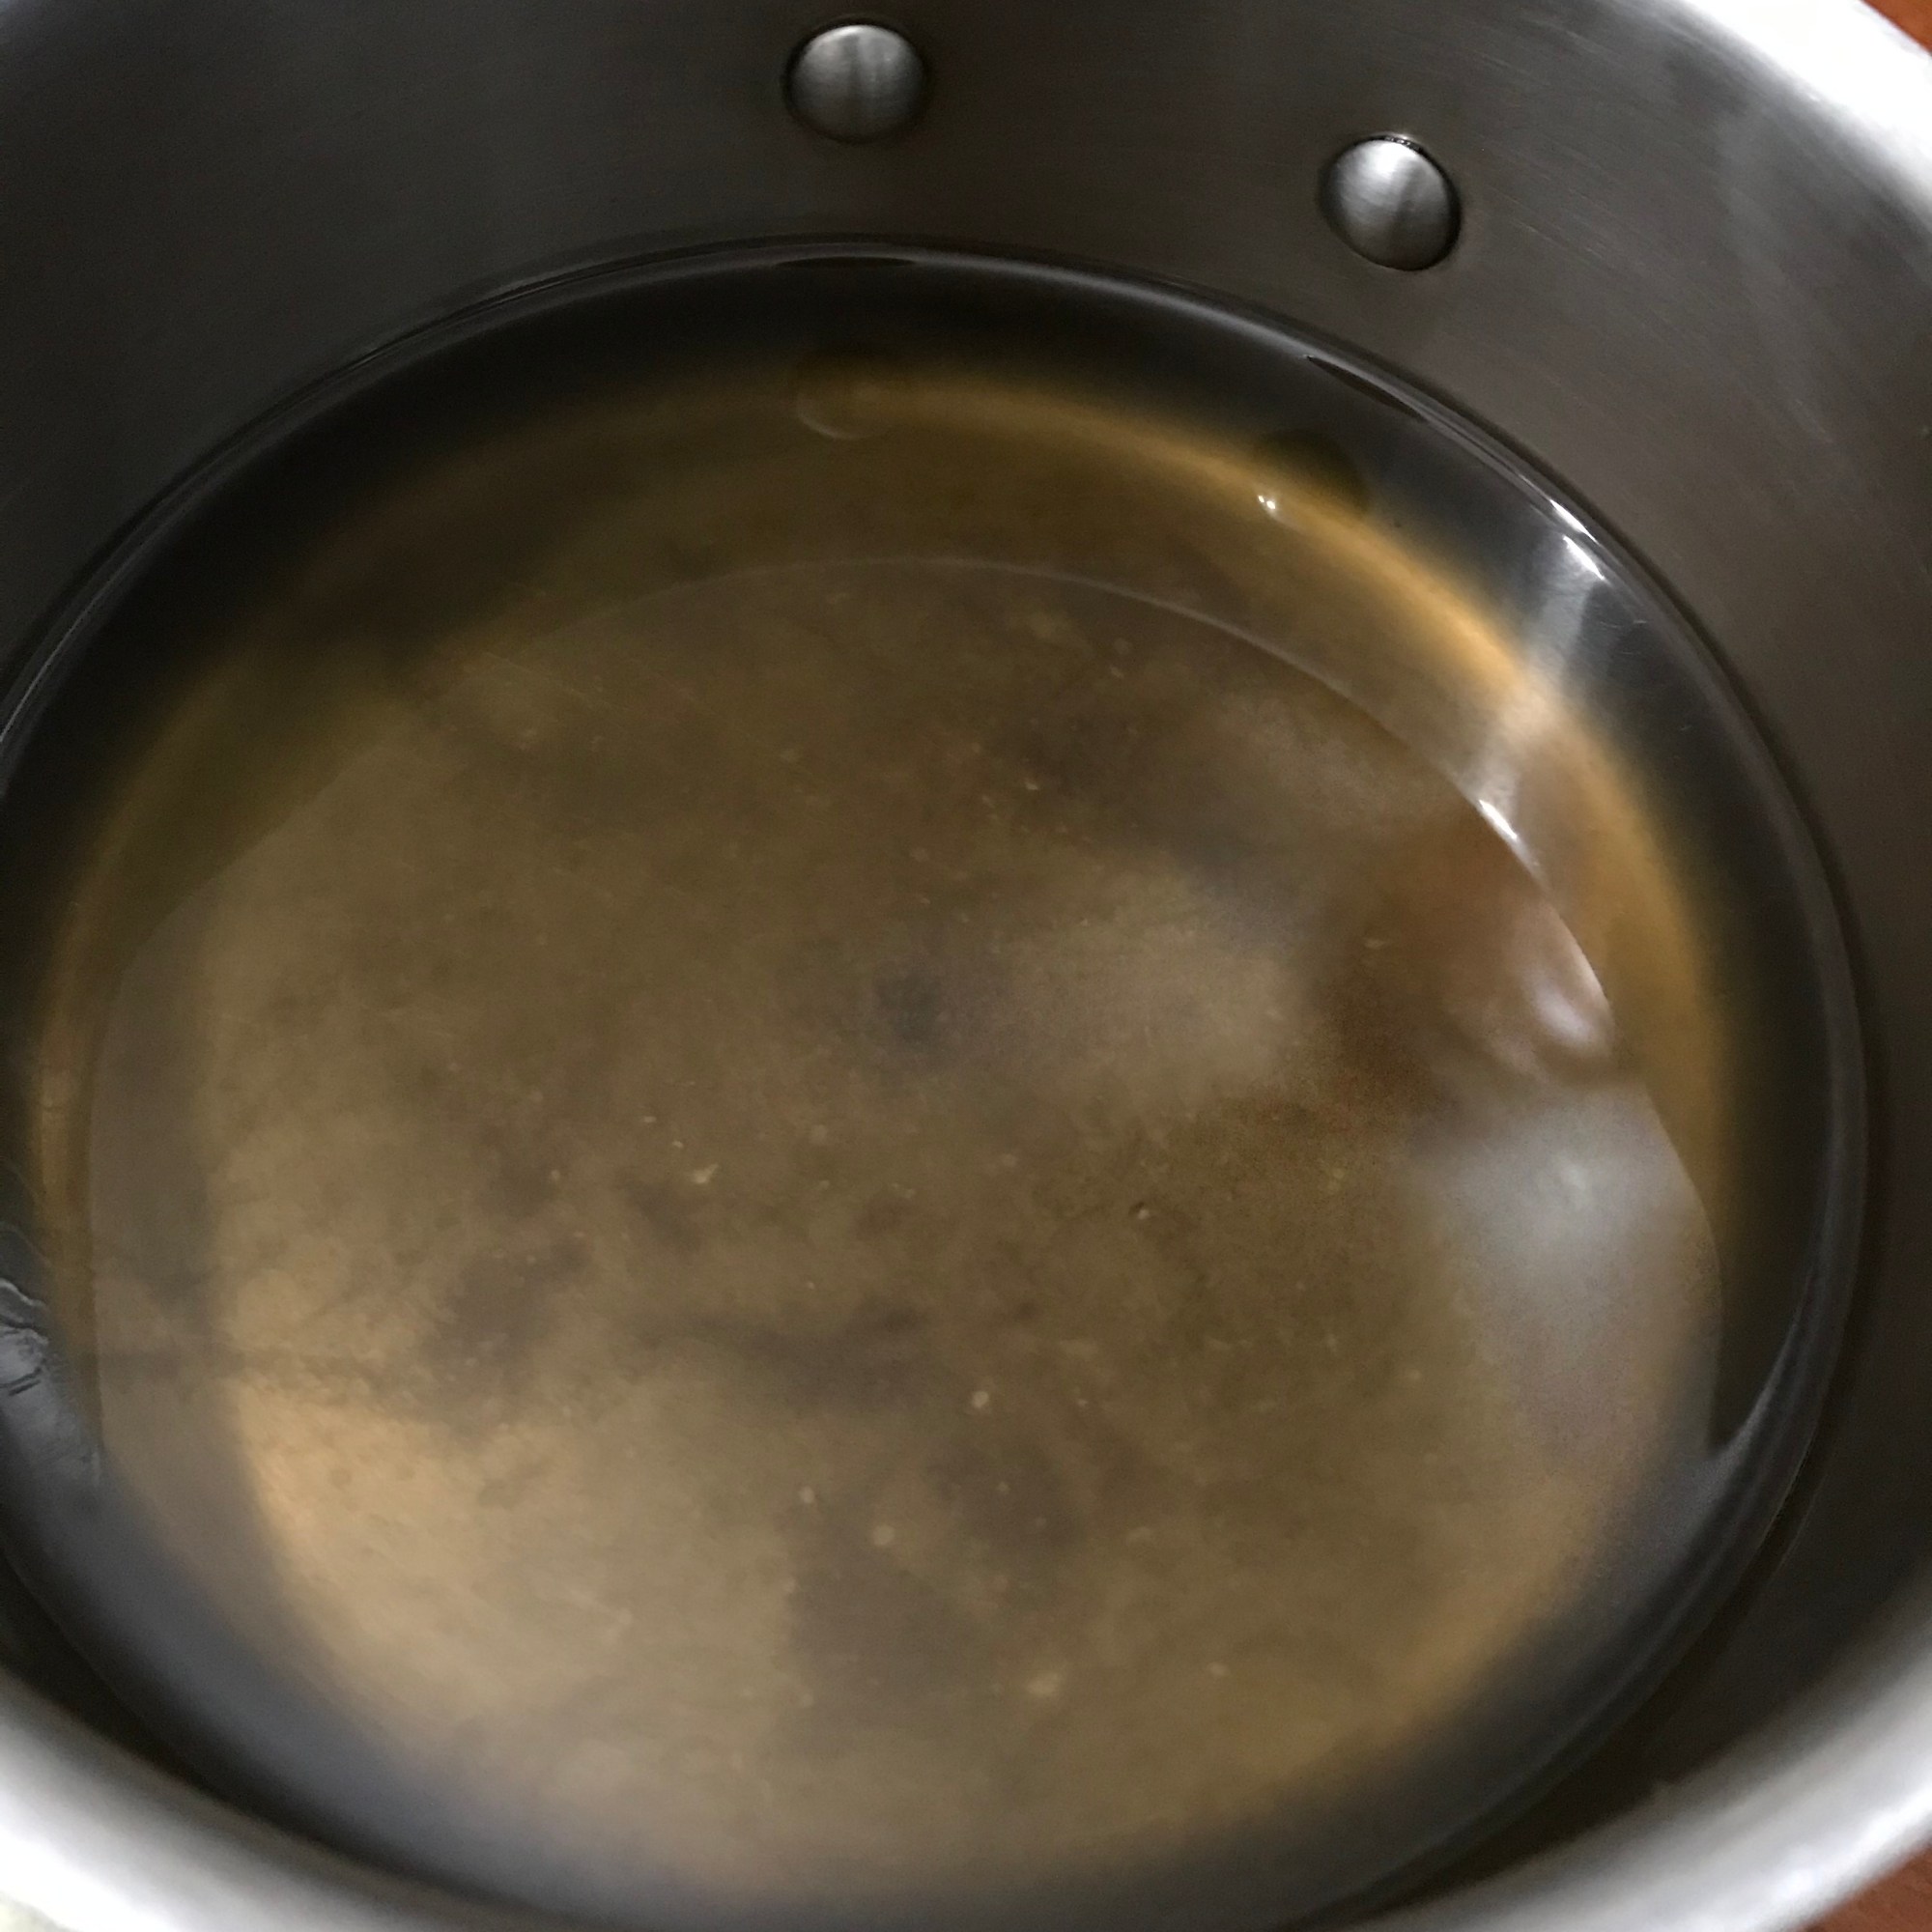
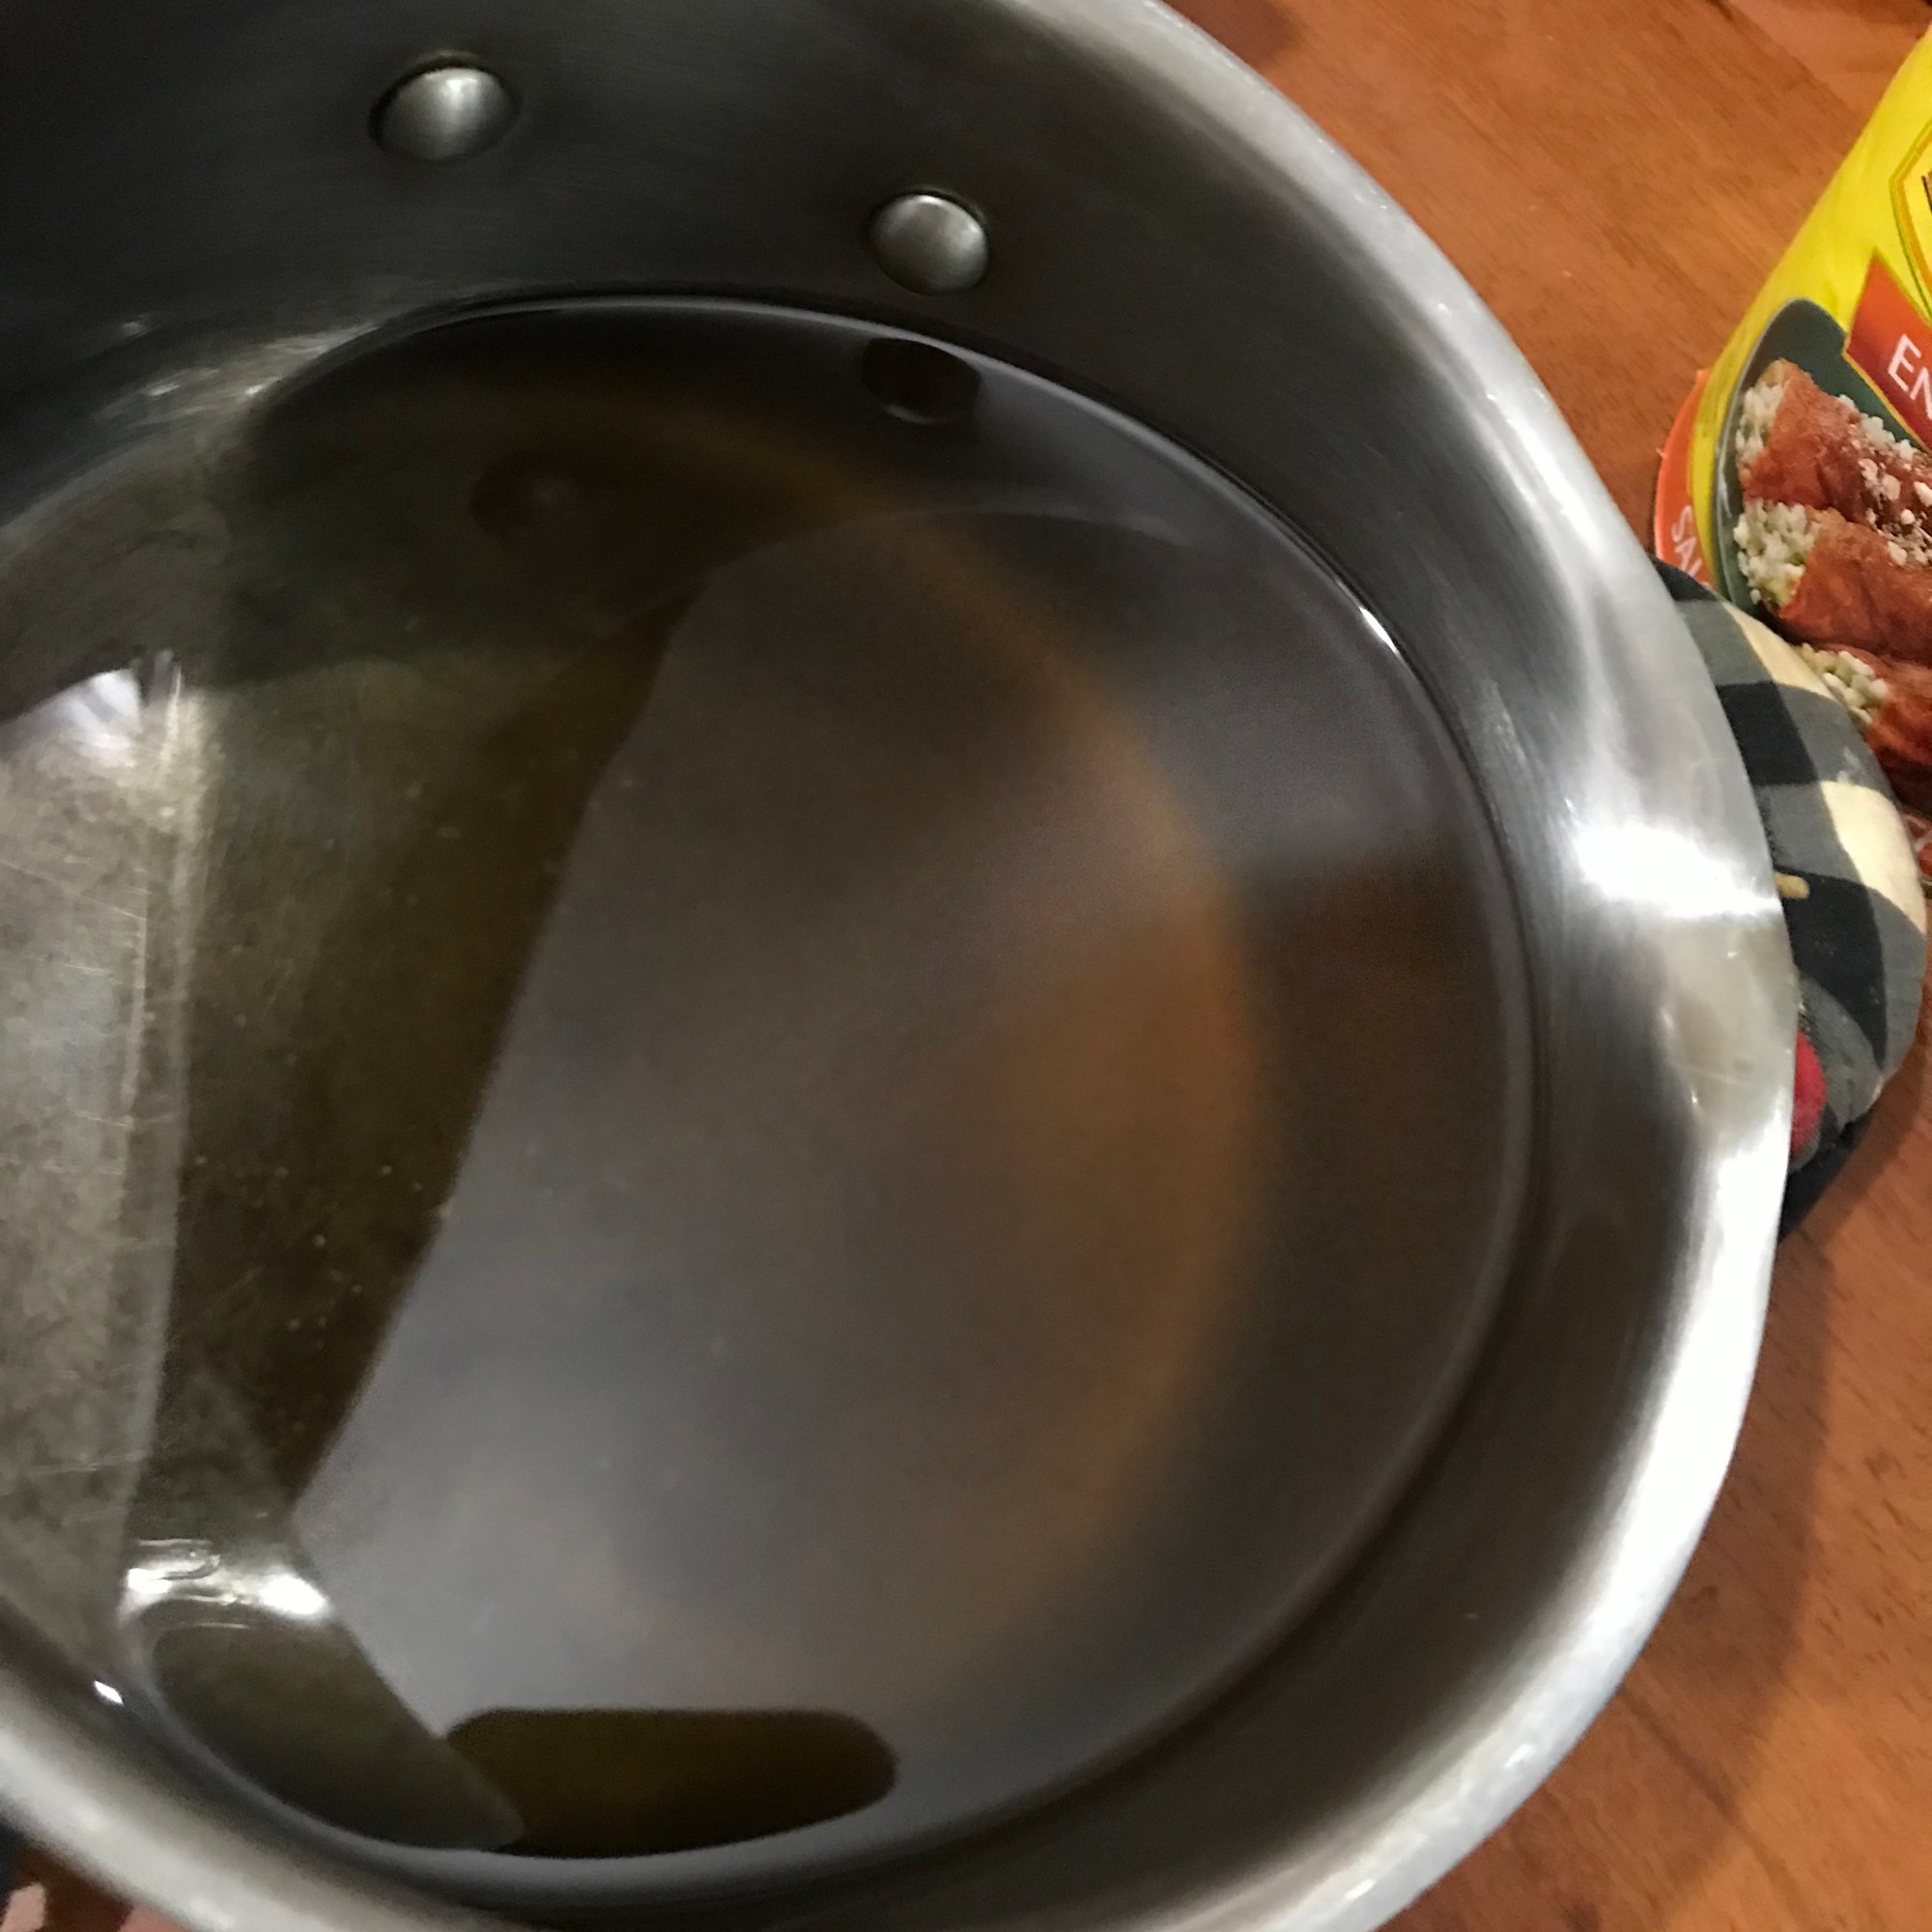
Lard, Manteca or Tallow oil must be tanned to bring out the flavor. By heating the Lard, Manteca or Tallow over medium heat for approximately 15 to 20 minutes. Make sure you watch the lard closely so it does not burn or start on fire. Be very careful handling the hot oil.
As you slowly heat the melted lard up to it will start to turn colors. From a clear liquid to a golden brown. Burn point is 420 degrees so watch it closely. The scent will become more appealing, It will actually smell like a tasty piece of meat. Just remember this aroma is the flavor to your masa. So if the aroma makes your mouth water for a juicy steak, it’s ready. Let it completely cool down to luke warm before using.
Speaking of your liquids. You can use the juices from your boiled meats after removing the fat content, which can be achieved by placing the cooled broth into the refrigerator for a few hours. You can also make your own vegetable or fruit broth to be used for your other tamales.
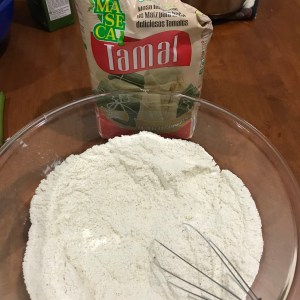
MASA INGREDEINTS
2 cups Tamal masa mix
2/3 cup Lard, Manteca or Tallow
1 1/3 cup Broth (beef, pork, chicken vegetable) your choice
1 teaspoon baking powder
1 teaspoon salt
DIRECTIONS
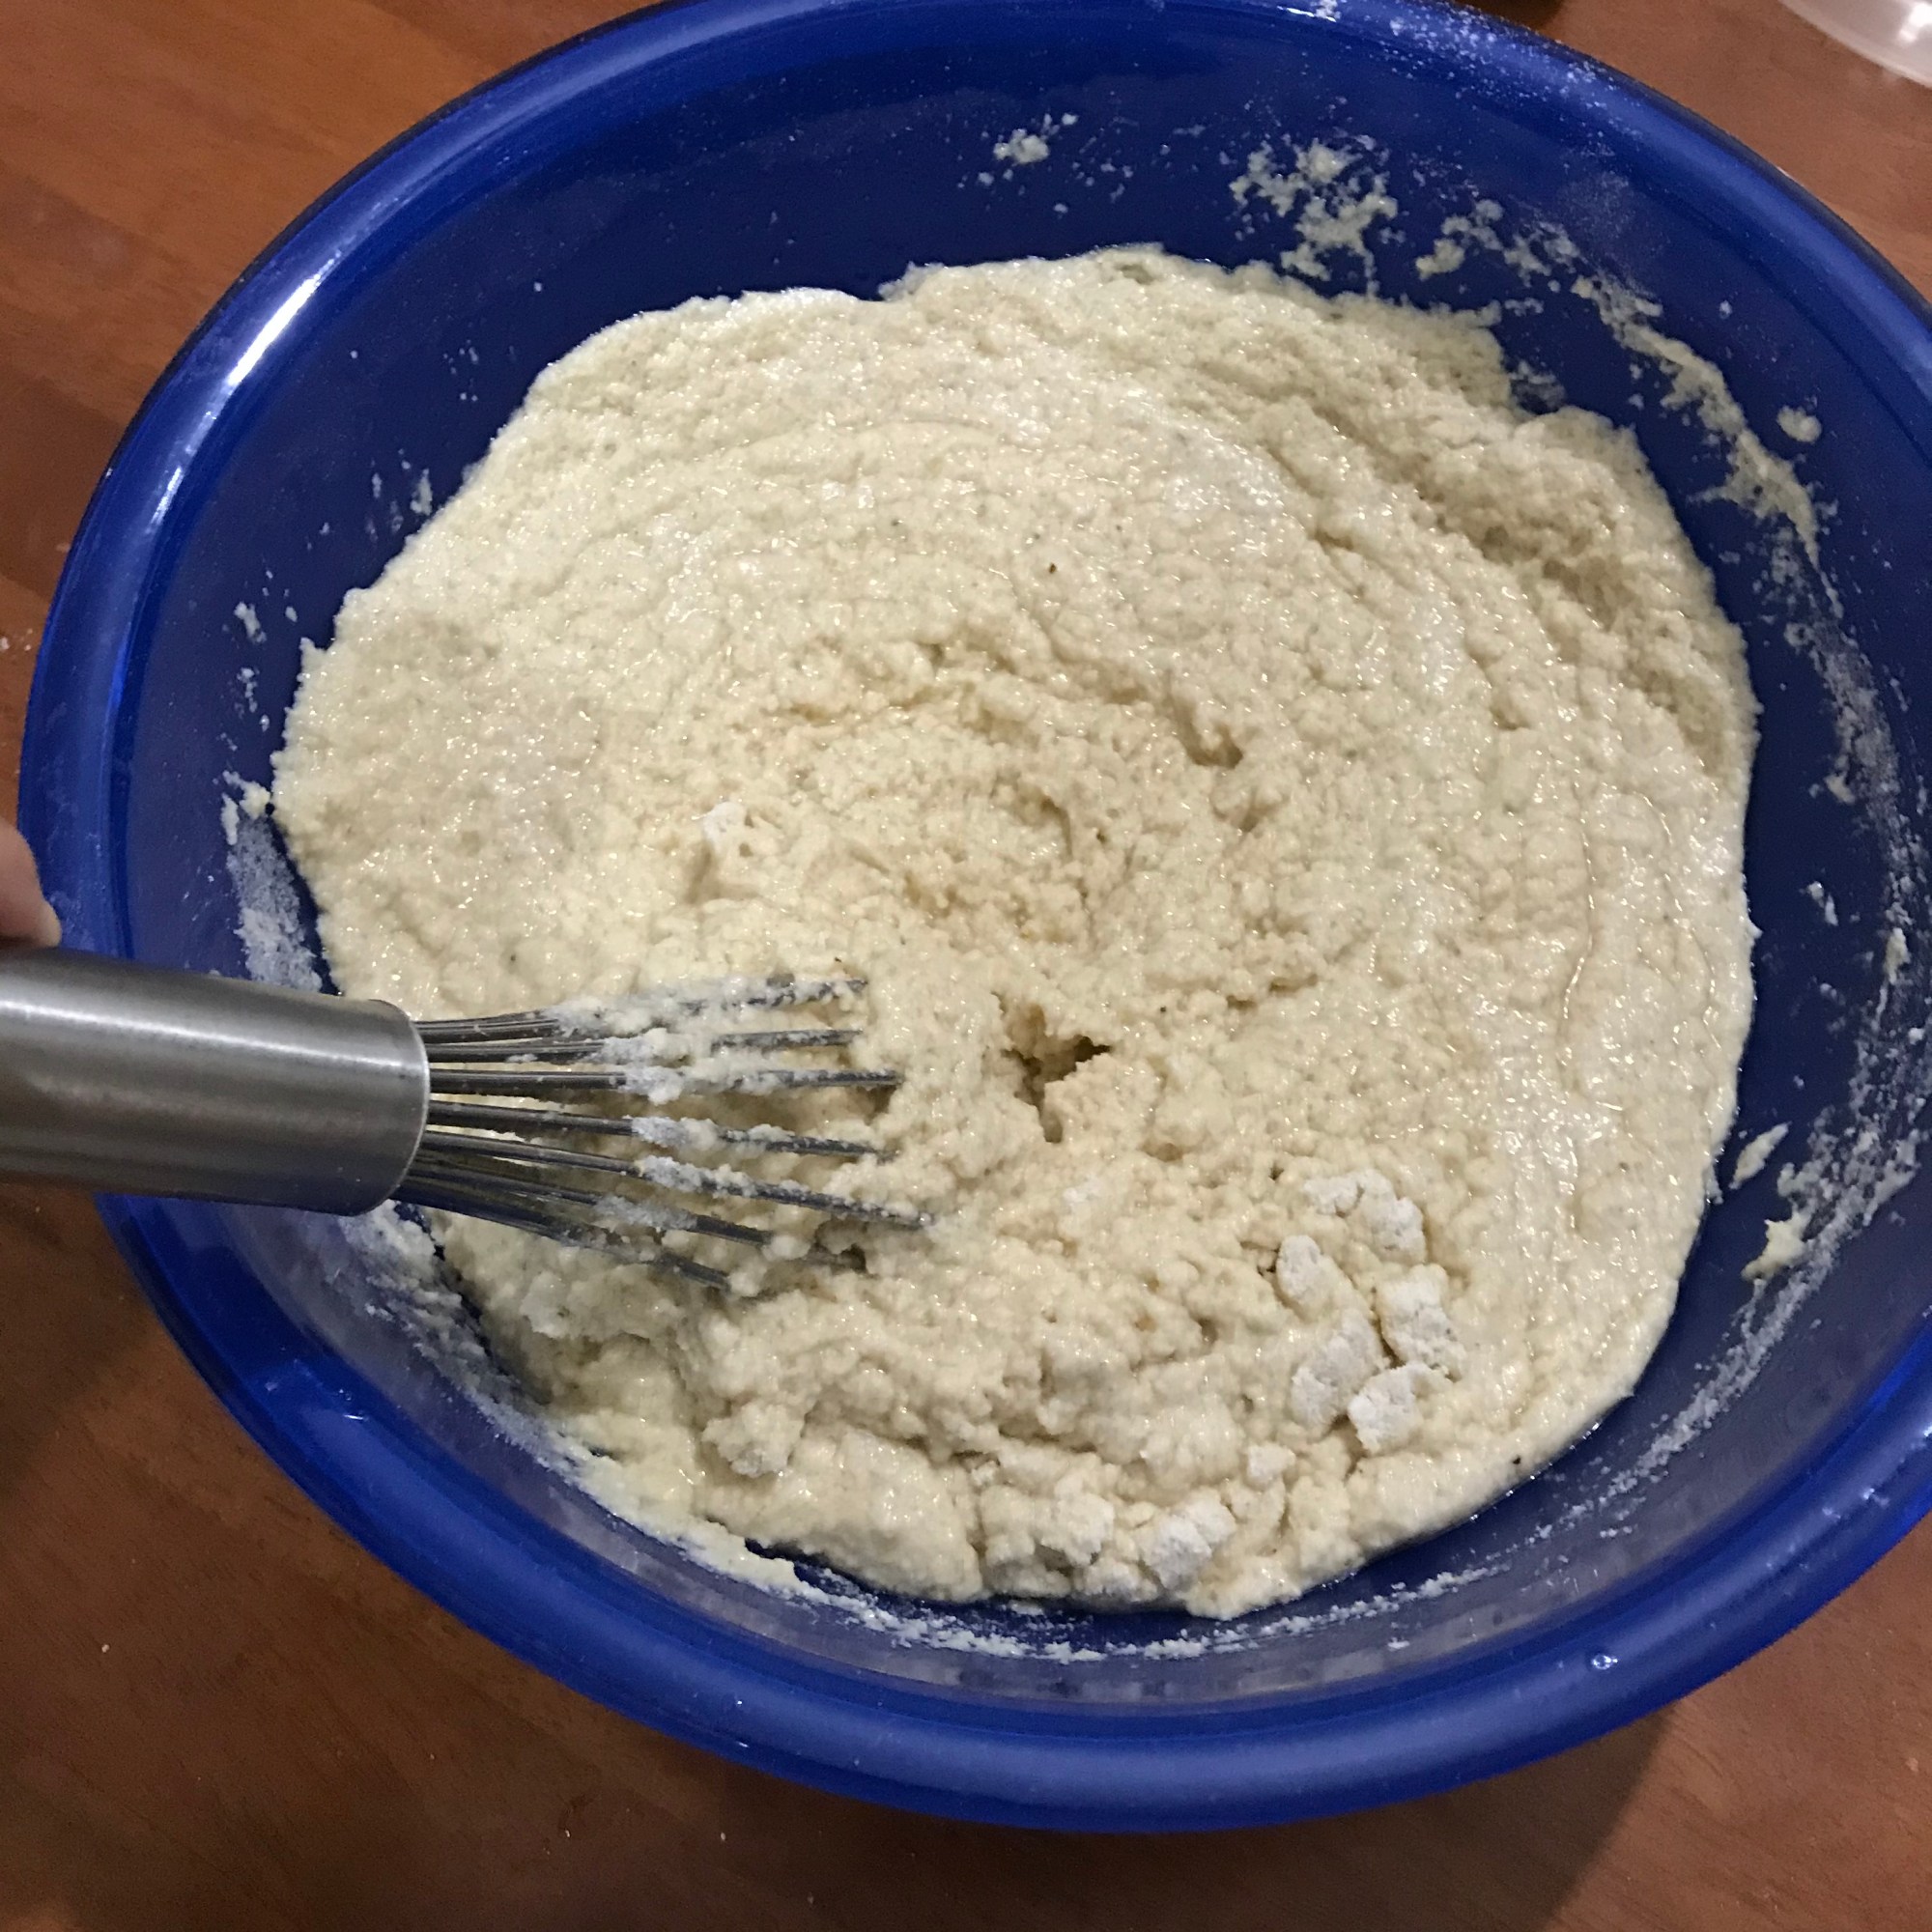
Mix your dry ingredients together (maseca flour, salt and banking powder) in a separate bowl and set to the side.
Add your lukewarm Lard, Manteca or Tallow to a separate large bowl for mixing. Slowly add 1/3 of maseca to the warm oil while gently stirring so the oil doesn’t splash. Continue adding 1/3 of the dry mix until it is mixed well and it is fluffy and light in texture. Cover with damp cloth or saran wrap for 15 minutes. It’s always better to use a larger bowl
After 15 to 20 minutes your masa should be fully hydrated and ready to spread on your corn husks that have been soaking for an hour or longer in warm water.
Gather all your ingredients husks, pork, masa and (extra sauce if needed). Make sure to pre-make your ties from smaller husks that wont be used to make the tamales. No waste here.
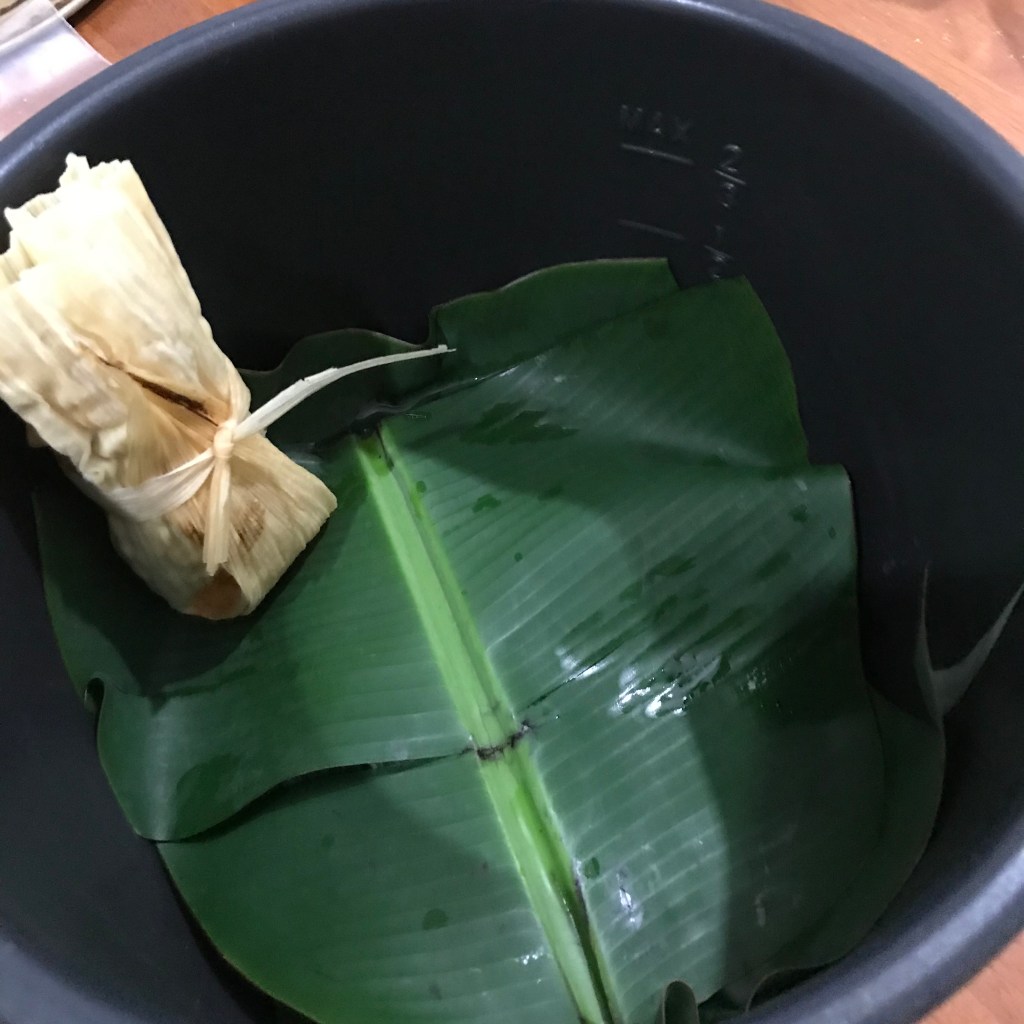
You need to line your pan in this order, #1 water, #2 wire rack and #3 moistened corn husks or banana leaf are last. The water should be right under the rack and not cover the rack or touch the tamales. Less is best and refill when needed. You can put a quarter or spoon in the bottom of the pan so when the water gets low it will sound the alarm so you can add more water. If you need to add water during cooking make sure to pour down the side of the pan so you don’t pour any water on your tamales. Make sure you put the husks or leaf back on top of the tamales. Close the lid and reset your time to finish them.
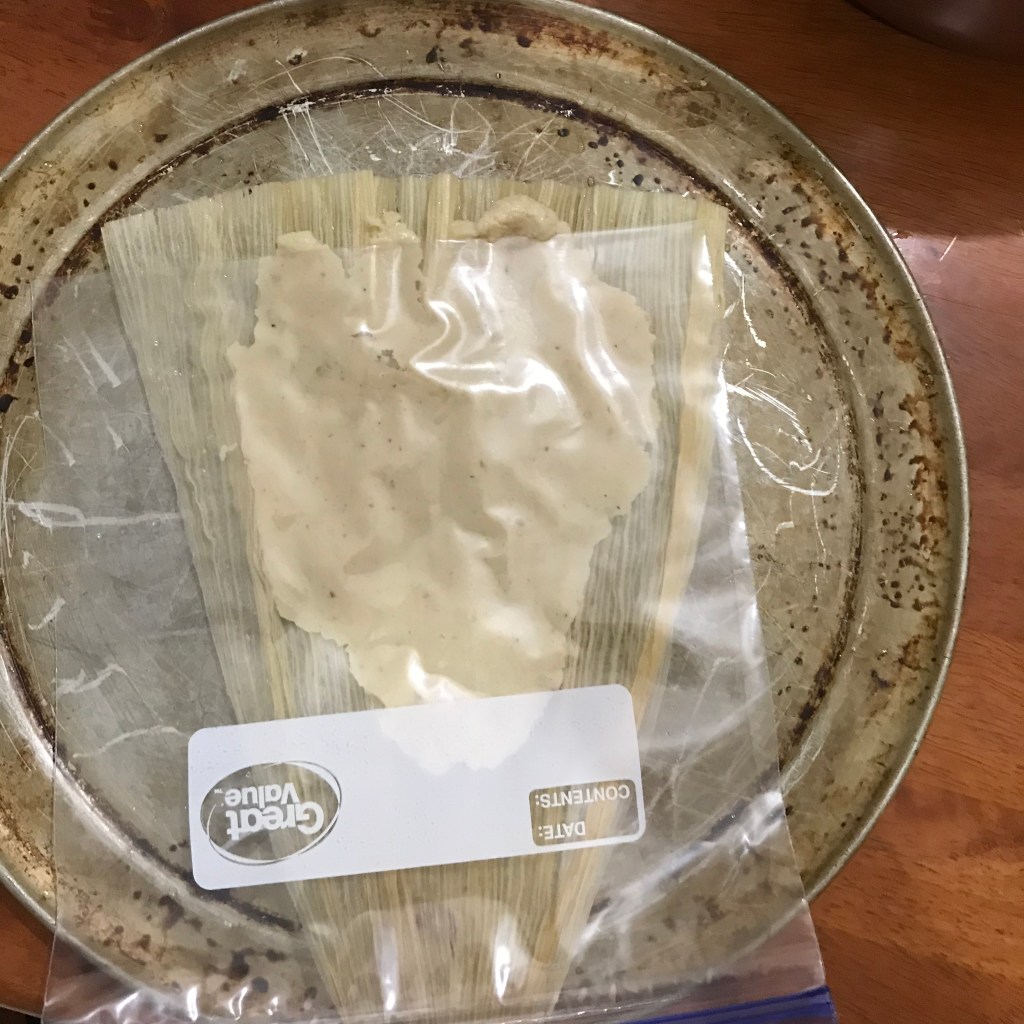
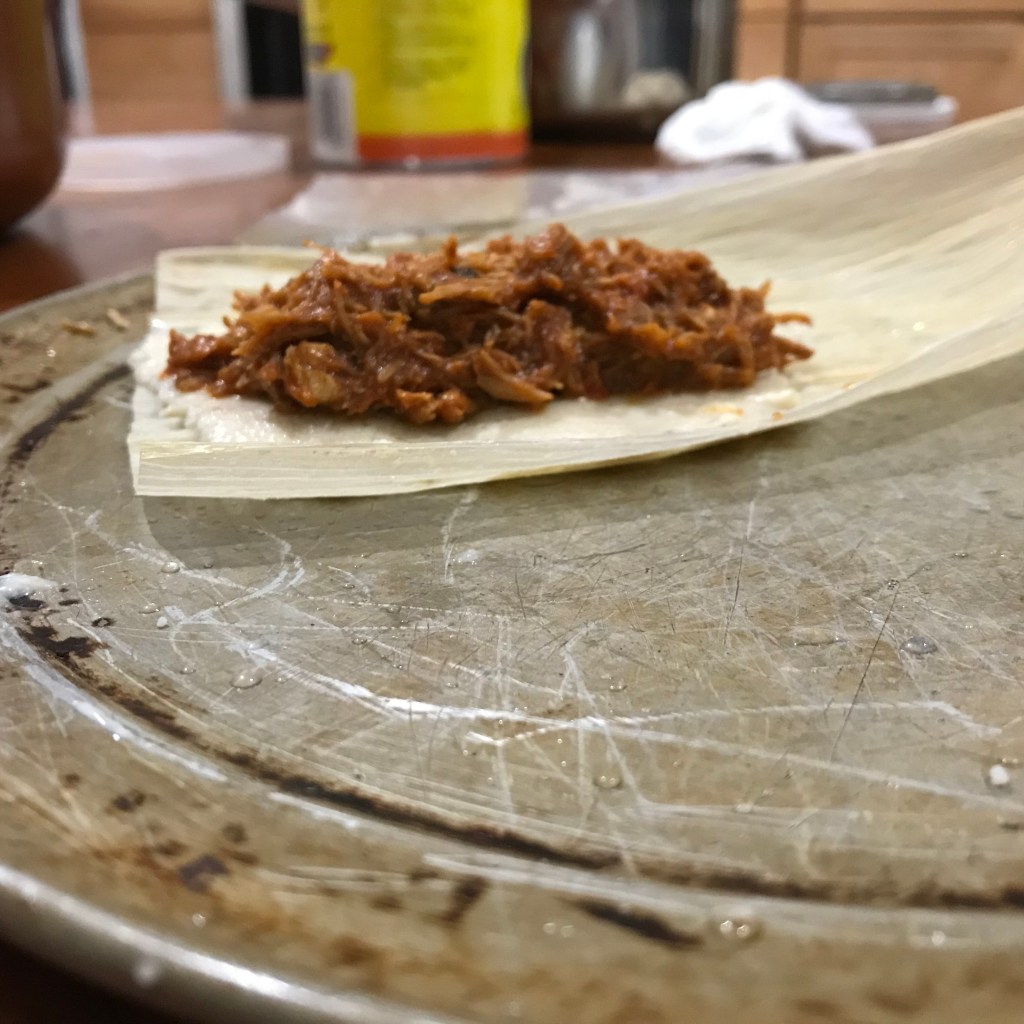
Making the Tamale. Place a corn husk on the plate. Place1 1/2 tablespoon of masa and place baggie or saranwrap over and gently even the dough out. Remove the plastic. Place 1 1/2 tablespoon of meat filling in the center and even it out on the masa. Place one side of the husk over the edge of meat and gently pull the husk away and place the other side of the masa on the edge of other and fold the other husk across and fold the bottom up and tie off. Place it in your pot and your on the way to a delicious meal you have created.
Place the tamales in the pan until full, place moist corn husks or banana leaf over the top. Place in Multi-Cooker or Rice Cooker and set to steam for 45 to 60 minutes or until masa has cooked all the way through. Test by taking one out and see if the masa is firm and easily pulls away from the corn husk. If not put the lid back on and cook for another 15 minutes and check again. Always add only 15 minutes each time you add time. If you are using a pan on the stove you just have to add more water at different intervals and watch it.
Disfruta de tu comida… Man`gia… Enjoy… Bon Appetit
Recently, French Dermatologists revealed that they may have stumbled onto a new COVID-19 symptom.
There are many strains, forms or types of this virus that have all originated from one original virus. It has come in many forms over the years. Animal related to human to slaughtering of millions of chickens throughout the world. Now COVID-19 drops in and kills thousands accross the world. Closes many countries including the USA, right when becoming happy and financially secure once again was actually happening.
We already know the usual symptoms are a dry or constant cough, shortness of breath, fever, flu-like symptoms and headaches. All of these are already proven to be COVID-19 symptoms of a person suffering from the COVID-19 virus.
However, newer symptoms related to the corona virus form COVID-19 are starting to appear as scientists, doctors and experts fighting time to get more information to get a handle on this COVID-19 virus.
Now dermatologists in France have found the virus can cause unusual manifestations on the skin that might signal infection.
According to the New York Post, the French National Union of Dermatologists-Venereologists (SNDV), found dermatological signs like pseudo-frostbite, hives, blisters and persistent redness have been associated with COVID-19. The sudden redness can be painful, said the doctors.
FRANCE – SNDV REPORTS in a press release.: “We are alerting the public and the medical profession in order to detect these potentially contagious patients as quickly as possible. The doctors advised patients to seek medical consultations in the event they experience such symptoms. According to The Hospitalist, skin manifestations were also observed in one-fifth of a group of patients with COVID-19 in the Alessandro Manzoni Hospital in Lecco, in northern Italy.
Honestly, DOES ANYONE KNOW What We Are Dealing With?
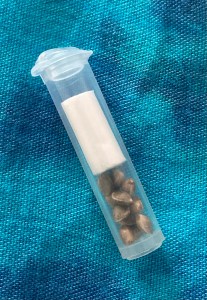
Right on the kitchen counter till they start to hatch….
It usually takes 21 days for a chicken egg to fully incubate. A day is the full 24 hours after you put the egg in the incubator I tend to see external pipping (when the chick starts to break the egg) on day 19, but it can take up to 28 days in some cases.
It’s important to heat up the incubator for 24 hours before you put eggs in to ensure the temperature is correct and stays steady.
Choosing eggs to incubate. Make sure they are fresh and fertile. You have to have a rooster to fertilize the eggs. If you don’t have a rooster you might be able to finds some through your local newspaper or Farm Supply center.
Maintain a temperature between 100°-102° with a still air incubator and 99-99.5 with a forced air incubator. Keep your humidity between 40-50% days 1-18, then increase to 50%-60% on days 18-21. Turn your eggs at least 3 times a day from days 1-18, then don’t turn them at all on days 18-21.
Enjoy and have fun with different projects that enhance your life.
An influenza pandemic is a global outbreak of a new influenza A virus that is very different from current and recently circulating human seasonal influenza A viruses. Influenza A viruses are constantly changing, making it possible on very rare occasions for non-human influenza viruses to change in such a way that they can infect people easily and spread efficiently from person to person.
Pigs experimentally infected with the strain of swine flu that caused the human pandemic of 2009–10 showed clinical signs of flu within four days, and the virus spread to other uninfected pigs housed with the infected ones and then to humans.
1/2 cup butter room temperature (1 Stick Butter or 4 ounces) 1 cup sugar 1 teaspoon vanilla extract 2 eggs 1 3/4 cups all-purpose flour 2 teaspoons baking powder 1/2 teaspoon salt (you can omit if you used salted butter) 1/2 cup water 2 tablespoons powdered sugar (to sprinkle on cake before serving)
Preheat the oven to 375°F Grease 9″ x 9 cake pan with vegetable oil and flour Cream the butter, sugar and vanilla together in a large bowl. Add the eggs, one at a time, beating well after each addition. Add the water make sure it is at room temperature. Add the flour, baking powder and salt. Mix all together beating well. Spread a layer of the batter evenly into the pan. (use 3/4 of the batter) Spread the cinnamon apple fillings on top of the batter. Spread the left over batter on top of filling.
Bake 25 to 35 minutes. Test with tooth pick at 30 minutes Remove from oven cool on rack for at least 30 minutes Cut the length of cake and then cut your cake into 12 squares
Make a powder sugar glaze or lightly sprinkle powder sugar over top right before serving.
When I say ULTIMATE I mean only 3/4 cup Brown Sugar and NO vegetable oil.
This recipe is the best banana nut bread I have tested lately. In the past year I have made 11 banana nut bread recipes.
This recipe is so full of natural flavor without all the sugar. You can taste the hint of cinnamon and vanilla.
There is no Rancid vegetable oil in this recipe either. I am switching out all vegetable oils for animal fat rich butter, lard and what ever else I can try.
This is a very dense, but fluffy quick bread
This slideshow requires JavaScript.
Prep Time: 20 to 30 minutes
Cook Time: 60 to 65 minutes
Total Time: 95 minutes
Yield: 8 servings +
Skill Level: Beginner / Easy
Kitchen Appliance: Food Processor, Mixer or by hand and Oven
Ingredients
2 cups all-purpose flour or what ever flour you want to use
1 teaspoon baking soda
1/4 teaspoon salt
1/2 teaspoon ground cinnamon
1/2 cup (1 stick) unsalted butter, softened to room temperature
3/4 cup packed light or dark brown sugar
2 large eggs, at room temperature
1/3 cup plain sour cream
2 cups mashed bananas (about 4 large ripe bananas)
1 teaspoon pure vanilla extract
optional: 3/4 cup (100g) chopped pecans or walnuts
Instructions
Adjust the oven rack to the lower third position and preheat the oven to 350°F (177°C).
Grease a 9×5-inch loaf pan. Set aside.
Whisk or stir the flour, baking soda, salt, and cinnamon together in a large bowl.
Using a mixer, whisk or a really good spoon, cream the butter and brown sugar together until smooth and creamy, about 4 minutes.
Add the eggs one at a time, stirring well after each addition.
Stir in the yogurt, mashed bananas, and vanilla extract on medium speed until combined.
Slowly mix the wet ingredients into the dry ingredients until no flour pockets remain.
Do not overmix.
Fold in the nuts, if using.
Spoon the batter into the prepared baking pan and bake for 60-65 minutes.
Loosely cover the bread with aluminum foil after 30 minutes to help prevent the top and sides from getting too brown.
A toothpick inserted in the center of the loaf will come out clean when the bread is done.
Remove from the oven and allow the bread to cool completely in the pan set on a wire rack.
Cover and store banana bread at room temperature for 2 days or in the refrigerator for up to 1 week.
Banana bread tastes best on day 2 after the flavors have settled together.
You can finish this recipe off with butter, cream cheese frosting or Ice Cream.
Two men who worked for the El Campanario Monarch Butterfly Sanctuary have been found dead within days of each other.
Both men fought for the conservation of monarch butterflies and the woods in which they hibernate in.
Homero Gomez and Raul Hernandez worked at the butterfly sanctuary in Michoacan state.
Hernandez’s body, which bore signs of beatings and a head injury, was found two days after the funeral of Homero Gomez.
Homero Gomez disappeared on 13 January. Gomez’s body was found in a well on 29 January. Gomez managed the monarch butterfly sanctuary and had received threats, his family said.
Raúl Hernández, was a guide and disappeared on Monday 27 January. His body was found a week later at the top of a hill in the sanctuary.
Forensic experts said his body was covered in bruises and he had a deep wound to his head. An investigation into his death is under way.
Gomez’s family said that prior to his disappearance, the activist had received threats warning him to stop his campaign against illegal logging.
Flu is caused by influenza virus of Class A, B and C. Flu spreads directly or indirectly from airborne droplets produced during sneezing or coughing.
Following are the symptoms of flu:
Fever
Malaise
Headache
Runny nose
Postnasal drip
Sneezing
Reduced sense of smell
Metallic taste in mouth
Chills
Cough
Body pain or muscle pain
Sore throat
Take Three Actions to Protect Against Flu
Get Vaccinated
Take preventive steps
Get Treatment
Preventive Steps You Can Take NOW
Try to avoid close contact with sick people.
While sick, limit contact with others as much as possible to keep from infecting them.
If you are sick with flu-like illness, CDC recommends that you stay home for at least 24 hours after your fever is gone except to get medical care or for other necessities. (Your fever should be gone for 24 hours without the use of a fever-reducing medicine.)
Cover your nose and mouth with a tissue when you cough or sneeze. After using a tissue, throw it in the trash and wash your hands.
Wash your hands often with soap and water. If soap and water are not available, use an alcohol-based hand rub.
Avoid touching your eyes, nose and mouth. Germs spread this way.
Clean and disinfect surfaces and objects that may be contaminated with germs like flu.
Treatments
Most of the time flu goes away without treatment. Taking medication can help relieve symptoms. Bed rest will help in faster recovery. Medication
Antiviral: This is used for treat specific viral infections. Oseltamivir · Zanamivir
Michigan couple thought they were living in their own pre-Halloween spectacle. They noticed there appeared to scratches on Lilly, their daughter. The scratches would appear after putting her in her crib at night.
But this spooky tale had more to offer. After watching the nanny security camera. What they saw had to be reviewed several times for them to even believe what they saw.
Check out what the reporters have to say on ABC 7 WXYZ Detroit, Michigan
MY COMMENT: OMG… nothing more than simple bazar incident to drive you crazy…. Enjoy the story, I did….
Pumpkin Rolls for Thanksgiving and Christmas… Yummy
Chef Sherrie Angel “Slam Dunks” Thanksgiving this year with her Pumpkin Dinner Rolls. Creamy smooth texture that melts in your mouth. Bite after bite you can taste every spice layered across your pallet correctly.
Let’s not forget about the star of the day. Juicy seasoned to perfection turkey with chicken sausage gravy & all the sides to complete the meal.
I made my dough in the bread maker, but i have added instructions for making it by hand.
Risen twice and then baked to perfection. But we will give the directions for old school mixing in a bowl.
Chef Sherrie Angel… Rocks the Kitchen with Pumpkin Rolls
INGREDIENTS
1/2 cup warm Whole Milk
1/4 cup Honey
1/4 cup salted Butter
2 1/4 teaspoons Active Dry Yeast
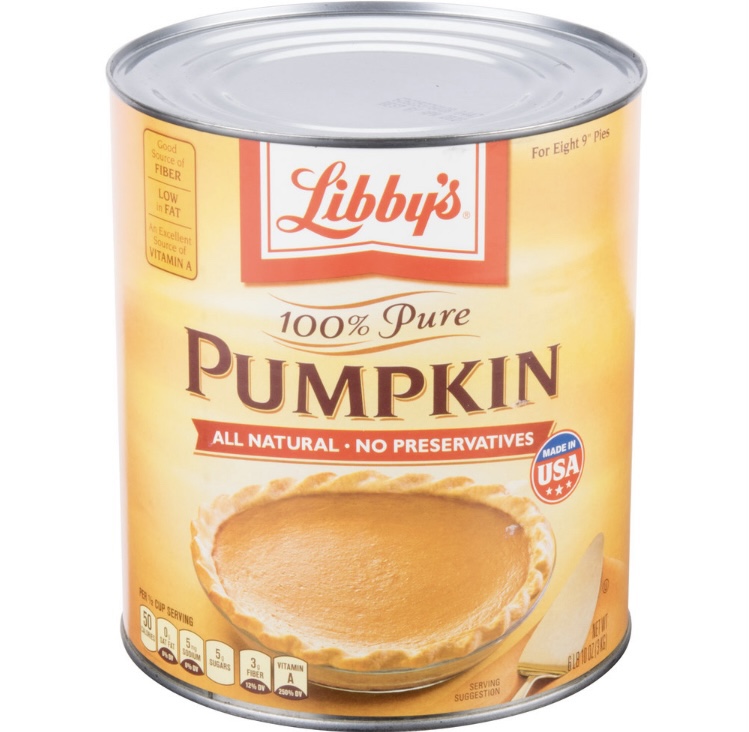
1 can (15 oz) Canned Pumpkin
1 Egg
1 1/2 teaspoon salt
5 cups Flour
DIRECTIONS
Place milk , 1 teaspoon honey and whisk together. Sprinkle yeast on top, set to the side for 5 minutes.
In a large bowl combine and mix together the remaining ingredients. Add the milk mixture and start mixing. Dough will be wet. If the dough is extremely wet you can add some flour, but the dough should remain sticky. Don’t add to much flour at once, a little at a time until you can handle to dough.
After you have the dough mixed together remove from the bowl to a floured surface so you can knead the dough. Knead for 15 minutes.
Lightly butter a bowl and place the dough inside and cover with Saran Wrap. Allow the dough to rise. It should be doubled in size. About 1 1/2 to 2 hours.
Remove dough from bowl. You can use a pastry mat / board, greased surface or parchment paper to use for your work area.
Divide the dough into 4 pieces so it’s easier to handle. Cut the dough into 24 pieces. Grease or butter your hands and roll the dough inward into balls. Place the pieces into a greased pan or pans. Depending on what you have handy.
Cover pans with a kitchen towel and allow the rolls to rise to double or triple the size. About 1 1/2 to 2 hours.
About 30 minutes before the rolls are finished rising turn the oven on to 375 degrees F.
Bake the rolls for 25 – 30 minutes or until golden.
Remove from the oven. Brush the tops of rolls with butter. Let the rolls cool in the pans for 10 minutes. Remove rolls and place on wire rack. These rolls can be served warm or at room temperature.
If needed you can make these a day ahead, so you can concentrate on all the other dinner items.
You can eat more and still lose weight. It’s that easy!
It seems natural: You want to, so you do a diet slash-and-burn, eating less and thinking about food more. The usual result also seems pretty natural: You feel denied, so you give up. Repeat as diet fads come and go. Enough already!
Why not eat more for weight loss and weight maintenance, instead of less? If your schedule does not allow you to exercise, it’s even more important to change your intake values. If your body does not recognize the food as a value, it turns it into FAT… Read through all the articles and see if it makes sense to you. Start to change the inside of you. Read the labels. This will be the most vital part about living healthy. Juicing is an excellent way to intake healthy vitamins and minerals. With the a Juicer you will be able to make healthy juices while still eating a healthy diet.


 You can eat more and still lose weight. It’s that easy!
